4. How to Use
User Guide
Page 4-20
Step 2: SAN Volume Create (Quick Wizard). See section 4.6.2
Step 3: Add SAN Client IP in SANit (SW16 side). See section 4.6.4
Step 4: Add Clients (Client side Install & Set up). See section 4.6.5
4.6.1
Import License
After installing SANit software, you will then need to activate the software. To activate
SANit software, you must decide if you want a trial version or an official version and you
need to obtain a Signature File. Please follow the steps below:
Note
The default package of SW16 includes 6 SANit client licenses. If users
need to active more than 6 licenses, please refer to the section
4.6.1.2.
4.6.1.1
Trial Version of SANit
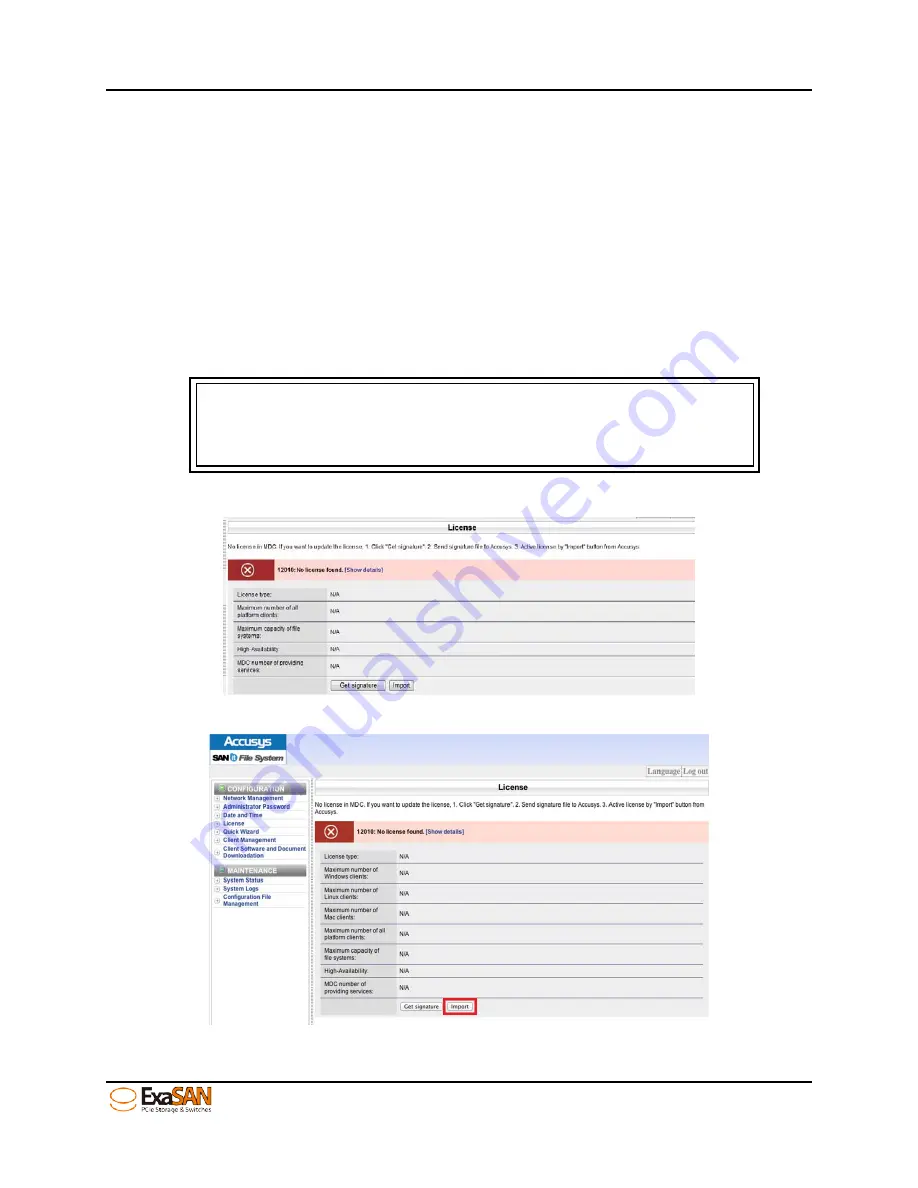
Step 1: Click “License” and then “Import.”
Summary of Contents for ExaSAN SW16
Page 10: ...1 Introduction User Guide 1 Introducing ExaSAN PCIe2 0 switch ...
Page 28: ...2 Preparation User Guide 2 Preparing to Install ExaSAN SW16 ...
Page 31: ...3 Installation User Guide 3 Installing the ExaSAN SW16 ...
Page 48: ...4 How to Use User Guide 4 Using ExaSAN switch web GUI ...
Page 85: ...4 How to Use User Guide Page 4 37 Step 3 Click Install Step 4 Click Continue Install ...
Page 95: ...4 How to Use User Guide Page 4 47 ...
Page 96: ...5 RAID Overview User Guide 5 RAID Overview ...
Page 100: ...Appendices User Guide Page 6 1 6 Appendices ...


