4. How to Use
User Guide
Page 4-1
4.
Using Switch Web GUI
After you have connected all your ExaSAN components, powered the system on, and
used a web browser in a computer, which is in the same network, we will first need to
perform some basic configuration and setup before the ExaSAN SAN environment is
fully operational.
Note
The default IP of eth0 is 192.168.0.25 and eth1 is 192.168.1.25.
4.1
ExaSAN switch web GUI
4.1.1
Entering ExaSAN switch web GUI
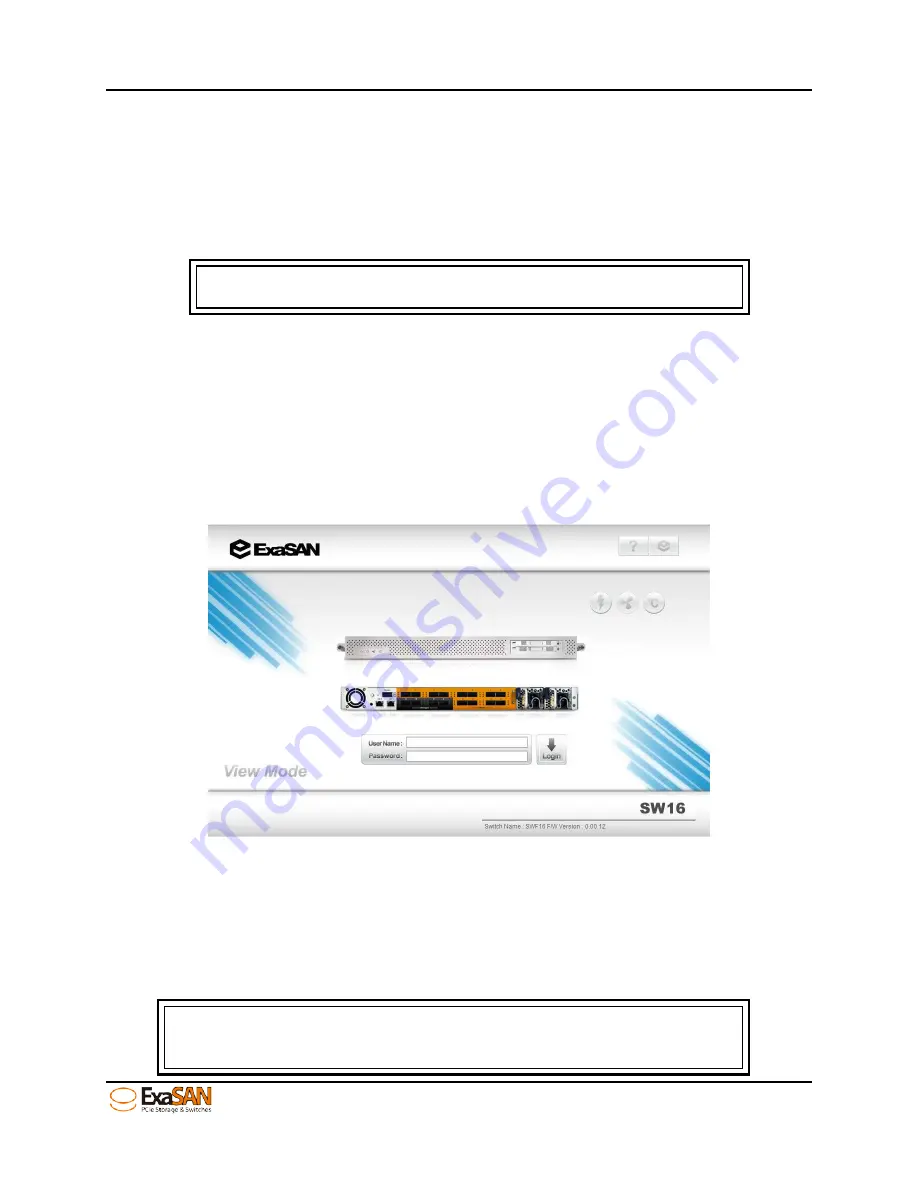
After you type the IP address “192.168.0.25” on your web browser to enter the main
page of the web GUI as following screen shot, it might ask you to install the JAVA script.
Please follow the steps shown on the screen to complete the installation. Then you can
see the following screen shot.
Figure 36: login screen of web GUI
4.1.2
User name and Password
The default user name and password is “admin” and “00000000” (8 zeros). Please type
the user name and password to enter the configuration menu of the web GUI as the
following figure.
Note
User cannot change the default user name but password. If you forget
Summary of Contents for ExaSAN SW16
Page 10: ...1 Introduction User Guide 1 Introducing ExaSAN PCIe2 0 switch ...
Page 28: ...2 Preparation User Guide 2 Preparing to Install ExaSAN SW16 ...
Page 31: ...3 Installation User Guide 3 Installing the ExaSAN SW16 ...
Page 48: ...4 How to Use User Guide 4 Using ExaSAN switch web GUI ...
Page 85: ...4 How to Use User Guide Page 4 37 Step 3 Click Install Step 4 Click Continue Install ...
Page 95: ...4 How to Use User Guide Page 4 47 ...
Page 96: ...5 RAID Overview User Guide 5 RAID Overview ...
Page 100: ...Appendices User Guide Page 6 1 6 Appendices ...


