Step 5:
Step 5:
Step 5:
Step 5:
Step 5:
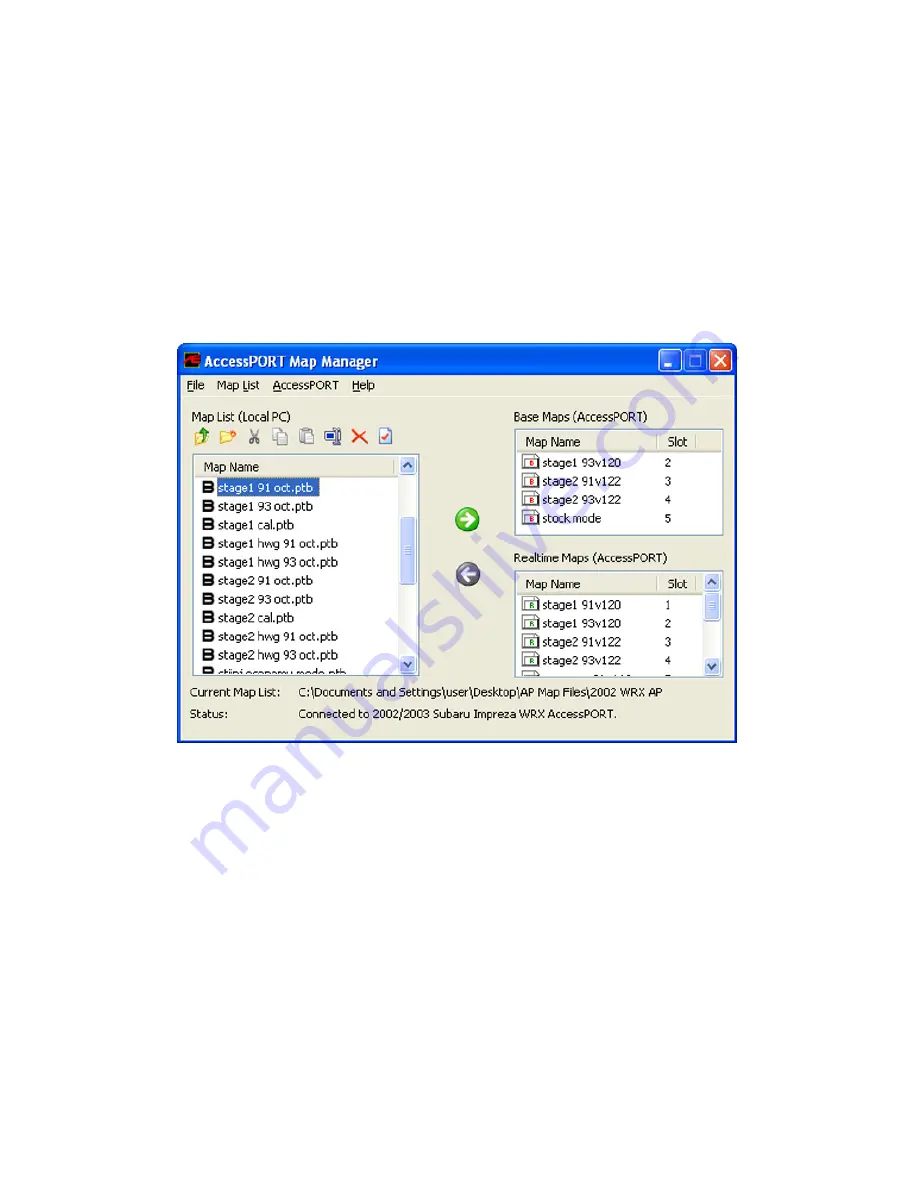
Transmit an AccessPORT map file to your AccessPORT.
Select the AccessPORT map files from the local map list you wish to load onto
the AccessPORT. This is the map list displayed on the left side of the
application.
Once you have selected the map(s) you wish to transfer, the “left” arrow button
located in the center of the application window will be highlighted green. Click
on the highlighted arrow button to transfer the AccessPORT map files to your
AccessPORT.
A progress window will appear as the map file is being transferred to the
AccessPORT. The AccessPORT screen will go blank briefly and then begin to
display a percentage status of the upload progress. Once complete, the
AccessPORT Map Manager software will now display the map on the right hand
side of the Map Manager in whatever was the first available Slot. The
AccessPORT screen will return to displaying “Connected to PC”.
Please note the AccessPORT can store 6 Base Maps and 10 Real Time maps. The
slot numbers represent the order in which they will be displayed on your
AccessPORT.
Base Maps are represented by a ‘B’ icon and have a .ptb file extension.
Realtime maps are represented by a ‘R’ icon and have a .ptr file extension.
36
Summary of Contents for 2005
Page 1: ...AccessPORT User s Guide 2002 2005 Subaru WRX Accessecu ...
Page 2: ......
Page 4: ......
Page 68: ......
Page 69: ......
Page 70: ...AccessECU www accessecu com Copyright 2005 Subaru WRX Manual Rev 1 20 Authorized Distributor ...


