57
10. Basic Settings
Please note:
The retrieval and entry of basic settings is principally carried out automatically during
the fi rst initial operations and shall be carried out in full (all menu items).
All menus can be cancelled by pressing on a key of your choice for a longer time.
After approx. 3 minutes without a keystroke all menus are automatically aborted (you
should thus not allow too much time to pass between menus)
Press the small round ”setup” key (see chapter 8b) for approx. 2 seconds to manually
start retrieval / entry of the basic settings (i.e. if more than 3 minutes have passed
since you inserted the batteries or if you would like to convert the device to suit another
cylinder lock).
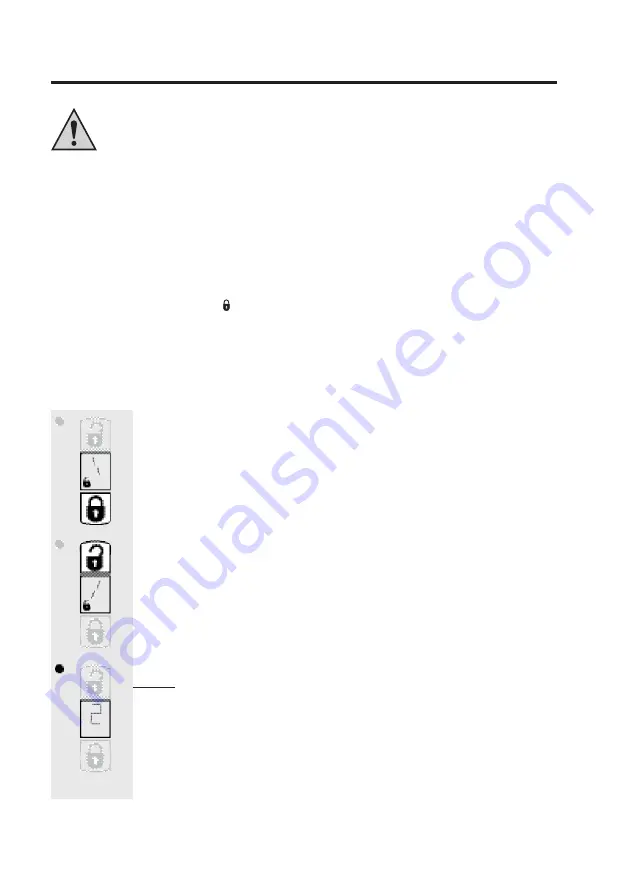
At the beginning of the query/entry, the display ”1” will appear for the fi rst setup step (see below,
10. a) and the symbol ”locked” ( ), then the rotating direction symbol.
+
This shows in which direction the key is turned to lock the lock.
a) Selection of direction of rotation
• Test the lock and the cylinder lock on your door to establish which direction
of rotation is required for locking (locking means that the locking bolt is pro-
jected).
• With the lower key, the direction of rotation is switched to ”left”.
• The bars on the inside of the LC display rotate to the left to show you the
direction of rotation ”to the left”.
• With the upper key, the direction of rotation is switched to ”right”.
• The bars on the inside of the LC display rotate to the right to show you the
direction of rotation ”to the right”.
Select the desired direction of rotation by briefl y pressing the appropriate
key.
Note: Please open the door now if it has not already been opened so that
the end stops can be correctly recognised at a later date.
• Quickly press the small round ”setup” key with a pointed object in order to
reach the next menu item; the initialisation drive (see next page) begins.
• ”2” is shown in the display to mark the second setup step (see b).
Summary of Contents for CFA 1000
Page 151: ...151 ...


