


Precision Xceed Pro, TrueID, TrueMeasure, TrueAccess, PrecisionWeb, Precision, MediSense
and Precision PCx are trademarks of the Abbott Group of Companies. Other trademarks
are the property of their respective owners.
© 2007 Abbott
Operator’s Manual
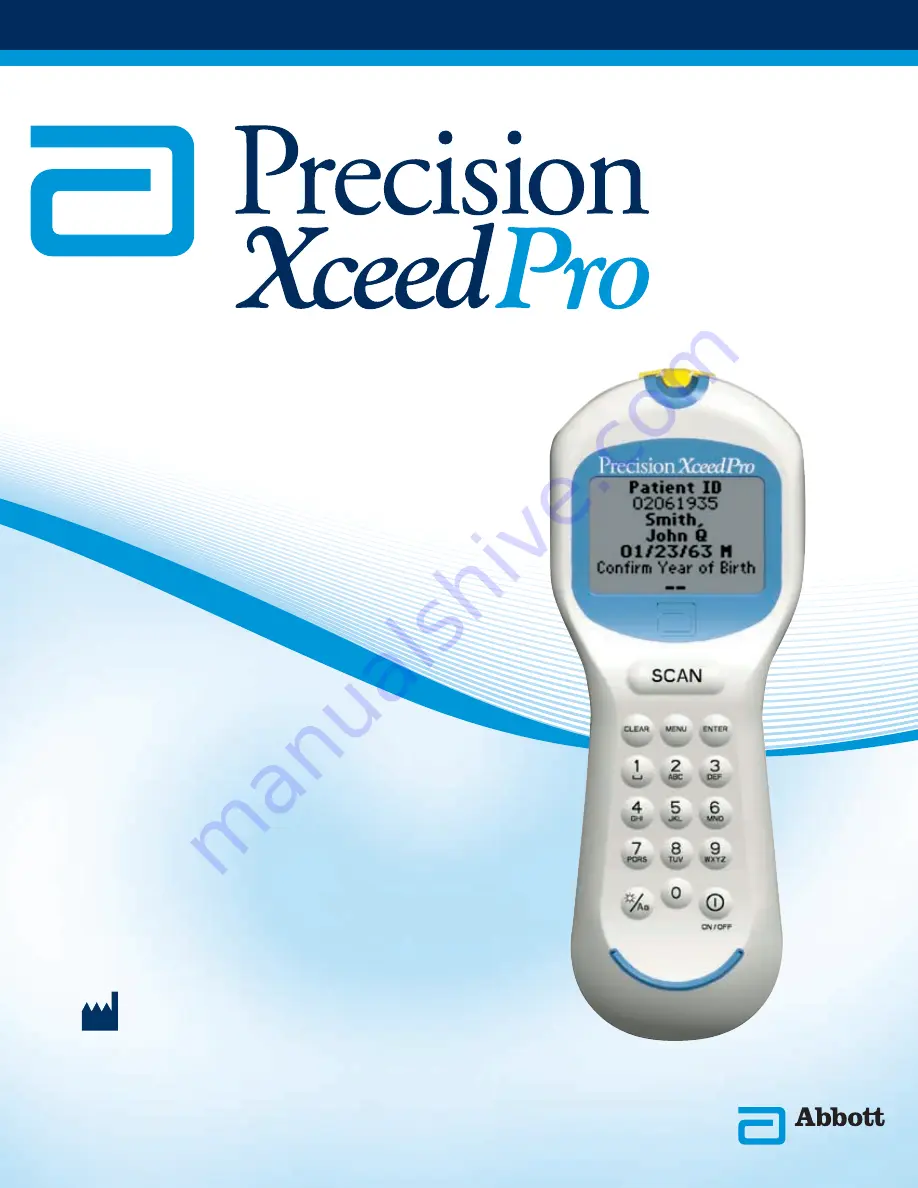
Point of Care System
ART14576 Rev. A 11/07
Abbott Diabetes Care Inc.
1360 South Loop Road
Alameda, CA 94502 USA
for Blood Glucose Monitoring


