Page 6
© 2021 ABB. All rights reserved.
Quick Start Guide
Step 10
-
Initial Start Up
Bring Rectifiers Online
:
1. Verify the AC and DC connections are complete and secure.
2. Turn on AC input breakers.
Bring Batteries Online:
3. Measure voltage of all battery strings.
4. Set float voltage in controller to lowest measured valid string voltage.
5. Turn on battery breaker of any battery string within 1/2 volt of this lowest measured voltage.
6. Continue by adjusting system voltage up to next measured string not on
-
line.
Repeat process 5 and 6 until all battery strings are on
-
line.
Step 11
-
Configure Controller
Notes:
1. The Pulsar Plus Controller Family Product Manual includes additional information.
2. This system automatically configures Rectifier Parameters.
View and Change Parameters and Alarm Severity
View and change system parameters from the factory defaults via
a. Controller Display
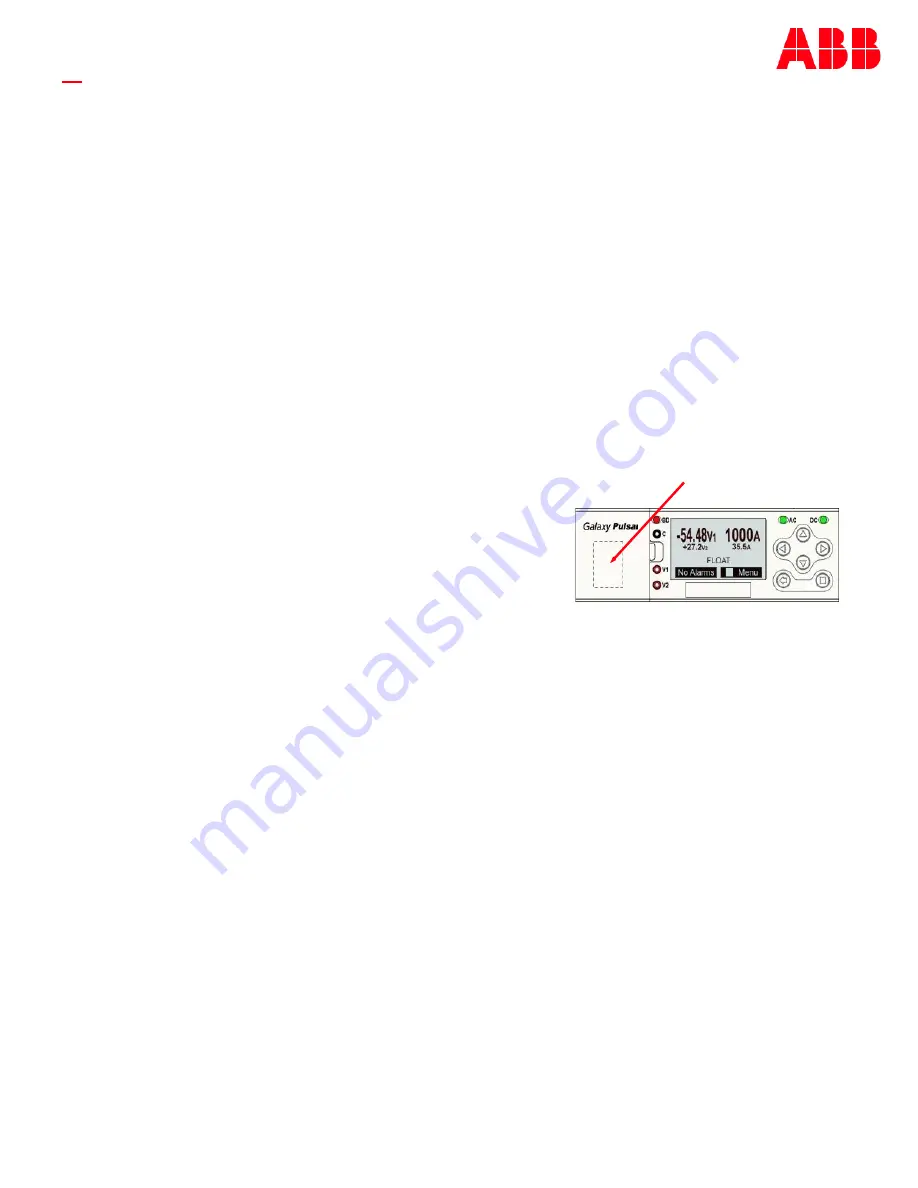
b. Craft Port on front of controller using a laptop with EasyView2 software
or HyperTerminal.
EasyView2 (GUI) software can be downloaded from
www.abbpowerconversion.com
c
. J5 LAN port web pages using a laptop with browser. LAN port Server mode is for local laptop connection. Set the
LAN port to Server: With the controller set to Server enter the default IP address 192.168.2.1 (default) in the web
browser address field.
Warning:
Do not connect J5 LAN port to a network when set to Server. Set the controller to Client or Static before
connecting
to the network. Static is the factory default setting and the typical setting for most networks.
LAN Port
-
Local / Network
The LAN port is be configured as Local or Network
controller display menu path: Configuration > Communication Ports > Network Settings > DHCP > mode
CLIENT or SERVER
Local (Server): LAN connects to a laptop.
Local (Server) is a temporary setting. When configuration is complete, return LAN port to Network (Client)
mode.
Craft Port behind door


