4 Repair
4.6.3. Replacement of motor, axis 3
319
3HAC020993-001 Revision: G
©
Co
py
rig
h
t 200
4-
200
8 ABB. All righ
ts reser
v
ed.
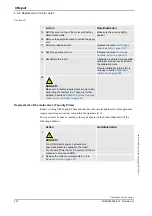
3. Remove the cover for connector access on top of
the motor by unscrewing its four attachment
screws.
xx0600002874
•
A: attachment screw
•
B: air hose
•
C: top cover
•
D: motor unit
4.
note
NOTE!
Keep the old
top cover
with the air nipple
mounted.
5. Continue to remove the motor unit, according to
step 6 to 17 in
.
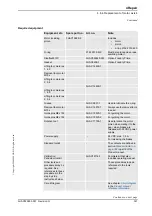
6. Fill the four screw recesses on the new motor with
Sikaflex. (After hardening, Sikaflex can be formed
with a knife)
xx0600002875
•
A: motor unit
•
B: sikaflex in screw recesses
7. Continue to refitt the new motor according to,
.
8. Perform a leak test according to
hoses (Foundry Prime) on page 152
Action
Note/Illustration
A
C
D
B
Continued


