3e–525C–3 Wireless Access Point
Chapter 5: Wireless Bridge Configuration
82
29000171-001 A
3e–525C–3 Wireless Access Point
Chapter 5: Wireless Bridge Configuration
29000171-001 A
83
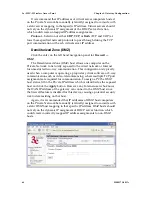
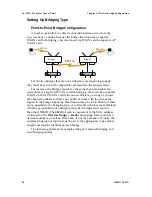
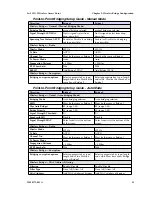
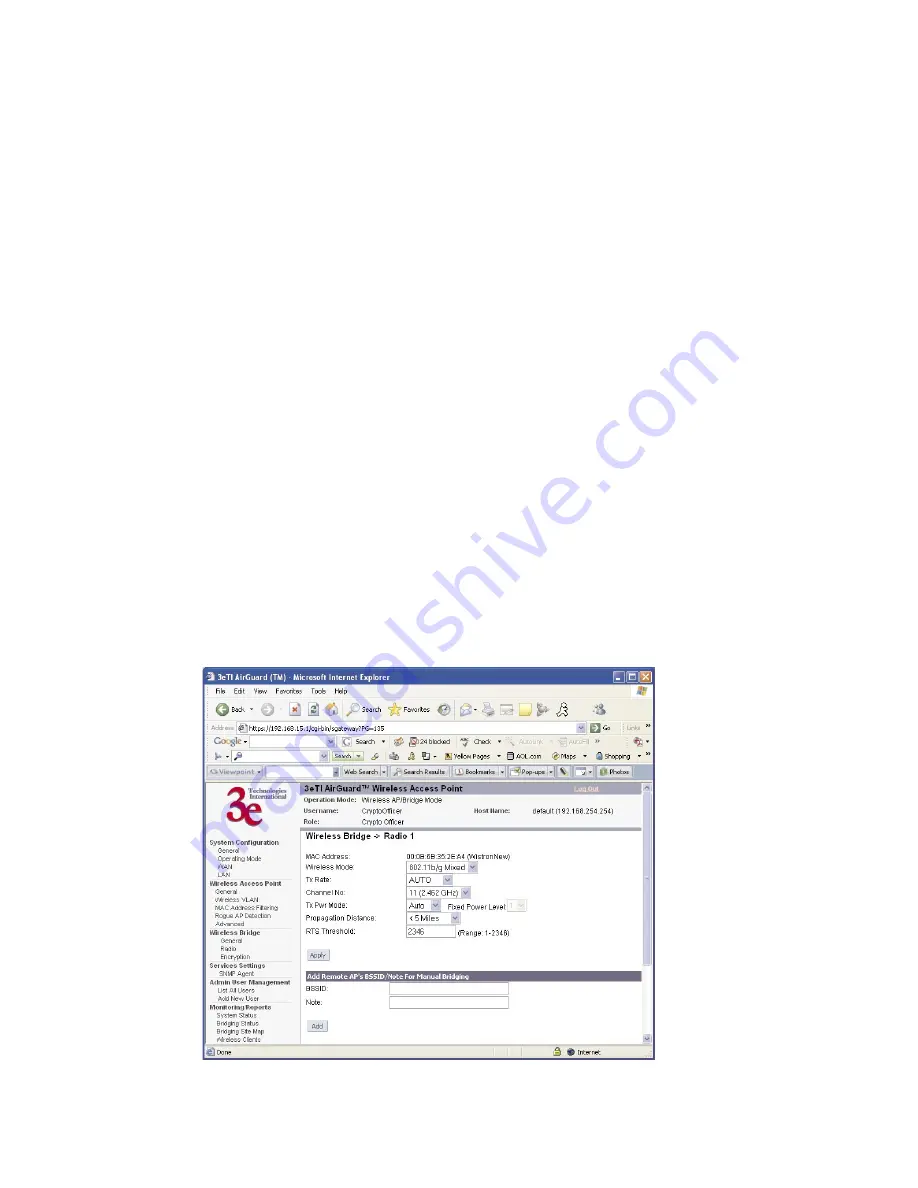
The following sequence walks you through the setup of bridge 1.
Bridge 2 would duplicate this procedure, with the BSSID of bridge 2 be-
ing the MAC address of bridge 1 and vice versa.
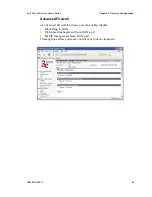
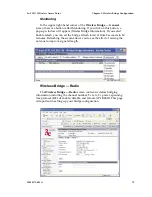
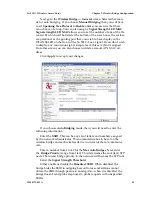
Navigate to the
Wireless Bridge — Radio
screen.
In the first section you will see the MAC Address of the bridging card.
This is used as the BSSID on other 3e–525C–3s that will be communicat-
ingwith this one.
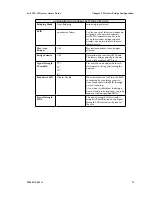
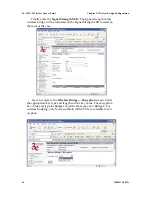
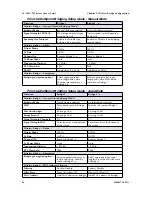
Select the
Wireless Mode
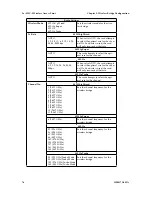
to be used for bridging. Set the
Tx Rate
to
a fixed transmit rate or select AUTO if you want the card to attempt to
select the optimal rate for the channel If the Tx rate is set to a fixed rate,
then the card will only transmit at that rate.
Next select the
Channel Number.
The
Channel Number
must be set
to the same frequency in order for each bridge to communicate.
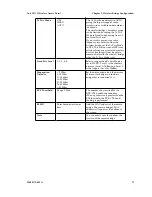
TX Pwr
Mode
can be left on
Auto
unless the power needs to be regulated.
Select the
Propagation Distance
which is based on the distance be-
tween a bridge and the furthest bridge that is connected to it.
Set the
RTS Threshold
which is the number of bytes used for the
RTS/CTS handshake boundary. When a packet size is greater than the
RTS threshold, the RTS/CTS handshaking is performed.
Click
Apply
to accept your changes but stay on this screen.
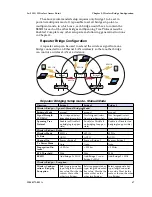
Add the
BSSID
of the remote bridge. The BSSID corresponds to that
bridge’s MAC address. In entering the BSSID, enter only hexadecimal
numbers, no colons. Data entry is not case sensitive. You may also enter
a note that defines the location of the remote bridge. Then click
Add
to
accept. The remote bridge’s BSSID will now appear at the bottom of the
Wireless Bridge — General
screen.

