LEVELING THE JET WIPER HEIGHT
If your Jet Wiper is set too low or too high, you can adjust it using the orange capped
bolt located under the print jet, screwing it into the floor to set the Jet wipe lower and
unscrewing it to set the Jet Wipe higher . (Fig . 95)
It is important that the Print Pad is level in order to get a good print . To help you out,
we make every effort to ensure that the Print Pad is level when the machine leaves
our factory . However, the Print Pad may move in transit, making it necessary to
check that it is still level when it reaches you .
You will first need to ensure that your aluminum pad support is level. After this you
can install the Print Pad and fine-tune the leveling.
NOTE: When leveling the Print Pad, always use print tip 1 as your reference.
RESTORING ROUGHNESS TO THE PRINT PAD
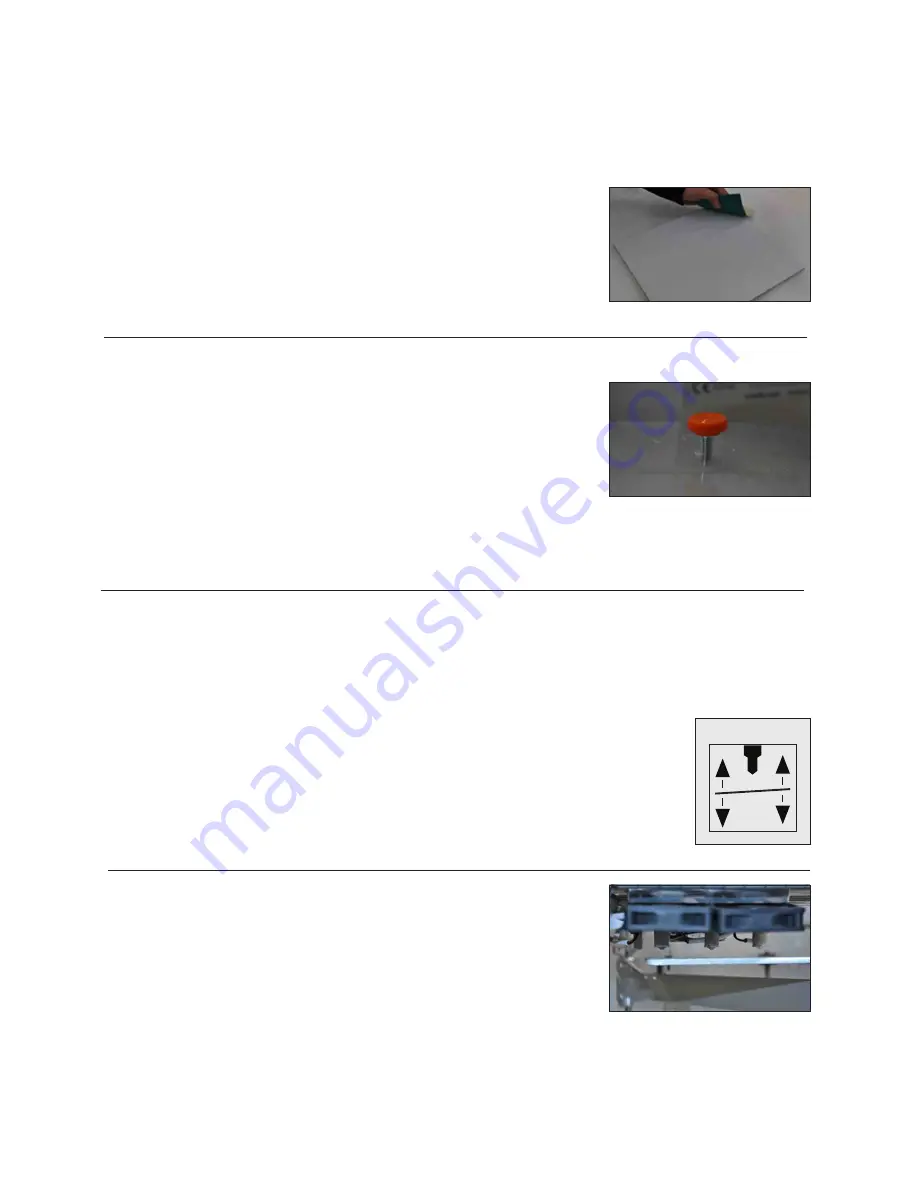
To restore roughness to the Print Pad, run the sandpaper included in your toolkit
diagonally across the bed corner to corner in both directions . (Fig . 94)
CUBEX MAINTENANCE
29
Fig . 94
Fig . 95
LEVELING THE PRINT PAD
Make sure the Print Pad is securely installed onto the Aluminum Print Plate . Do not perform leveling function without the
Print Pad correctly installed .
The aluminum print plate is mounted on three sprung bolts which allow you to adjust the height of the Print Plate in three
places .
The ‘Level’ function moves the extruder carriage around the corners of the print area so the operator
can adjust the Print Pad support bolts for leveling .
1 . Select ‘Level’ on the touchscreen . (Fig . 96)
Fig . 96
Fig . 97
2 . Use the Up and Down arrows to raise and lower the print plate to adjust the
gap between the print jet tip and Print Plate . Start with approximately 10 mm
between the tip and the Print Pad . This distance will enable rough leveling . (Fig .
97)
LEVEL


