6
Configuring the NIC
52
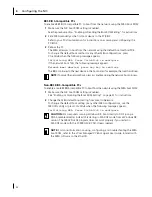
BBS BIOS-Compatible PCs
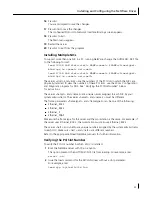
To enable a BBS BIOS-compatible PC to boot from the network using the MBA boot ROM:
1
Make sure the NIC boot ROM setting is
Enabled.
See the previous section, “Enabling or Disabling the Boot ROM Setting,” for instructions.
2
Set a MBA manually as the first boot device in the PC BIOS.
Refer to your PC documentation for instructions on accessing and configuring the
PC BIOS.
3
Reboot the PC.
The MBA attempts to boot from the network using the default boot method PXE.
To change the default boot method or any other MBA configurations, press
Ctrl+Alt+B when the following message appears:
Initializing MBA. Press Ctrl+Alt+B to configure...
If the network boot fails, the following message appears:
Network boot aborted, press any key to continue
The BIOS continues to the next device in the boot order (for example, the local hard drive).
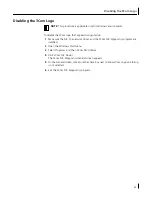
Non-BBS BIOS-Compatible PCs
To enable a non-BBS BIOS-compatible PC to boot from the network using the MBA boot ROM:
1
Make sure the NIC boot ROM setting is
Enabled.
See “Enabling or Disabling the Boot ROM Setting” on page 51 for instructions.
2
Change the MBA default boot setting from
Local
to
Network
.
To change the default boot setting or any other MBA configurations, use the
MBACFG utility or press Ctrl+Alt+B when the following message appears:
Initializing MBA. Press Ctrl+Alt+B to configure...
NOTE:
To cancel the network boot, press Esc anytime during the network boot process.
CAUTION:
For computers running Windows 98, boot directly to DOS (using a
DOS-bootable diskette) instead of restarting in MS-DOS mode from a Windows 98
session. The MBACFG.EXE program does not work properly if you restart in
MS-DOS mode with the 3CR990-FX-97 NIC drivers loaded.
NOTE:
For more information on using, configuring, and troubleshooting the MBA
boot ROM, refer to the
3Com Managed PC Boot Agent User Guide,
located with
the MBA software on the
EtherCD.


