MIDI CONTROLLER MAPPING
You can use an external MIDI controller to customize the way you
control your mix. You can also use a MIDI connection to
synchronize MIDI clocks with external devices.
Control Bluebox Settings with a MIDI Controller:
You will need to connect the controller to bluebox, and then use
MIDI Learn mode on bluebox to map the controls to the bluebox
settings.
1.
Connect your MIDI Controller to the MIDI Device input
on the back panel of bluebox, or to the TRS MIDI IN jack
on the front panel.
2.
Push EDIT.
3.
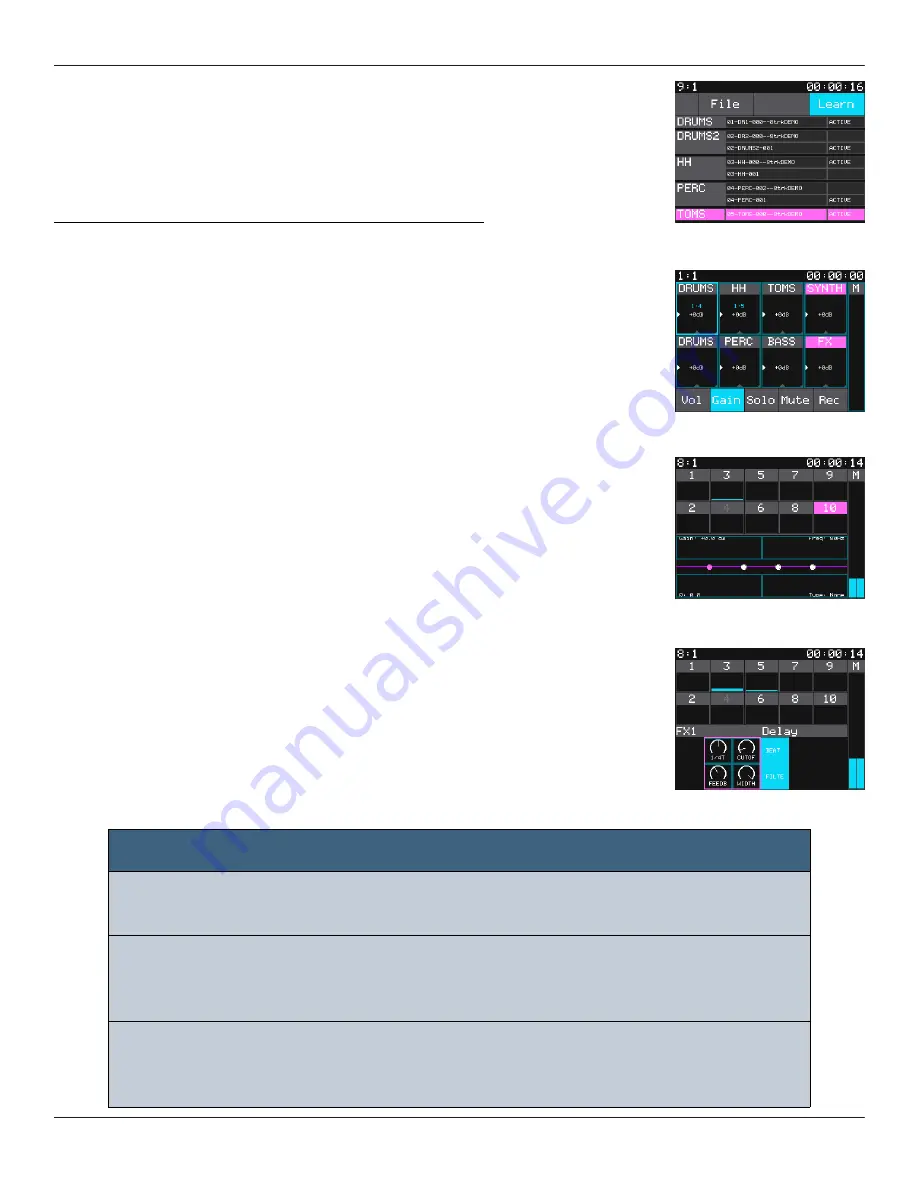
Touch Learn. The Learn button turns blue and you are
now in Learn mode. While in Learn mode, the settings
you can map to a MIDI device have a blue frame.
4.
Touch one of the blue framed settings to select it and
the frame will turn a lighter blue. You can use MIDI to
control settings in MIXER, EQ, and FX modes.
5.
Use the controller you want to connect to this setting.
Bluebox will now map this MIDI Control to this setting
and display the MIDI mapping in blue on the screen.
The mapping is in the format
<Channel>
:
<CC Number>
.
6.
Repeat steps 4 and 5 to create additional mappings.
7.
Push EDIT and touch Learn to exit MIDI Learn mode. You
can now use the MIDI device to control the mapped
settings.t
EDIT Mode - MIDI
Learn On
NOTE:
►
Bluebox cannot connect directly to a computer through the USB
Device port. This port is only for MIDI controllers.
►
Bluebox can power some external MIDI devices through the USB MIDI
device connection. Some MIDI devices require too much power and
will need to be powered separately.
►
The TRS MIDI input on the front panel can support both MIDI TRS Type
A and Type B connections. You can use the MIDI Adapter included with
bluebox to connect through a MIDI 5 pin DIN.
MIXER Mode - MIDI
Learn On
FX Mode - MIDI
Learn On
TRACK Mode - MIDI
Learn On
Copyright 1010music LLC 2020
Page 45 of 50
Jan 7, 2021
Bluebox User Manual v 1.0.5


