Chapter 8 Basic Setting
XGS1930 Series User’s Guide
95
8.8.1 PoE Time Range Setup
Use this screen to apply a schedule to the ports on the Switch. You must first configure a schedule in the
Advanced Application
>
Time Range
screen.
Click the
PoE Time Range Setup
link in the
Basic Setting
>
PoE Status
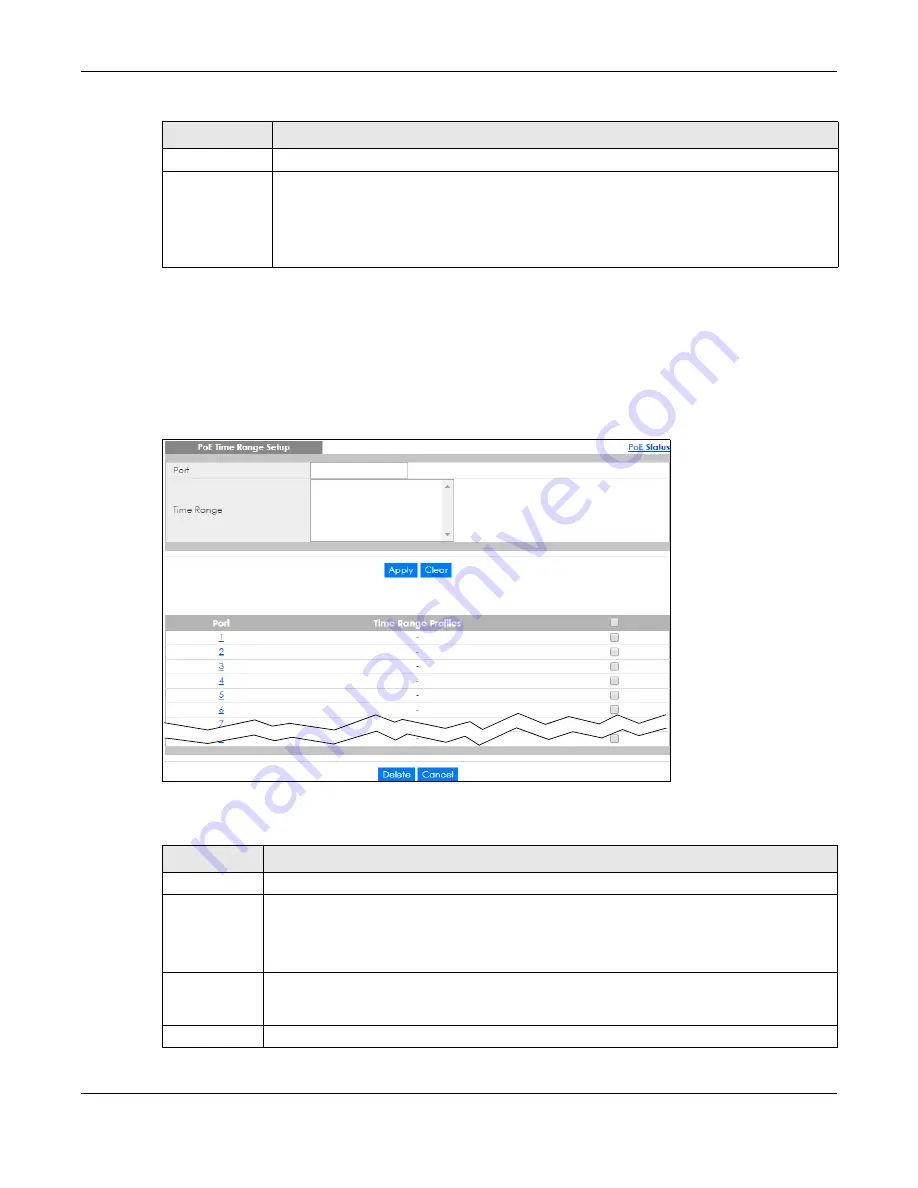
screen. The following screen opens.
Figure 70
Basic Setting > PoE Setup > PoE Time Range Setup
The following table describes the labels in this screen.
Max Power (W)
This field displays the maximum amount of power the PD could use from the Switch on this port.
Time-Range
State
This field shows whether or not the port currently receives power from the Switch according to its
schedule.
• It shows “
In
” followed by the time range name if PoE is currently enabled on the port.
• It shows “
Out
” if PoE is currently disabled on the port.
• It shows
“–”
if no schedule is applied to the port. PoE is enabled by default.
Table 31 Basic Setting > PoE Status (continued)
LABEL
DESCRIPTION
Table 32 Basic Setting > PoE Setup > PoE Time Range Setup
LABEL
DESCRIPTION
Port
Enter the number of the port to which you want to apply a schedule.
Time Range
This field displays the name of the schedule that you have created using the
Advanced
Application
>
Time Range
screen.
Select a pre-defined schedule to control when the Switch enables PoE to provide power on the
port. To select more than one schedule, press [SHIFT] and select the choices at the same time.
Apply
Click
Apply
to save your changes to the Switch’s run-time memory. The Switch loses these
changes if it is turned off or loses power, so use the
Save
link on the top navigation panel to save
your changes to the non-volatile memory when you are done configuring.
Clear
Click
Clear
to clear the fields to the factory defaults.
Содержание XGS1930-28HP
Страница 19: ...19 PART I User s Guide...
Страница 39: ...39 PART II Technical Reference...
Страница 250: ...XGS1930 Series User s Guide 250 Figure 179 Advanced Application LLDP LLDP Local Status LLDP Local Port Status Detail...
Страница 322: ...Chapter 37 Access Control XGS1930 Series User s Guide 322 Figure 239 Example Lock Denoting a Secure Connection EXAMPLE...
Страница 359: ...359 PART III Troubleshooting and Appendices...


