MultiBio700- User Manual
eSSL Pvt. Ltd.
Page 12
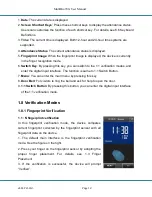
1.
Date
: The current date is displayed.
2.
Screen Shortcut Keys
: Press these shortcut keys to display the attendance status.
Users can customize the function of each shortcut key. For details, see 6.6 Keyboard
Definitions.
3.
Time
: The current time is displayed. Both 12-hour and 24-hour time systems are
supported.
4.
Attendance Status
: The current attendance status is displayed.
5.
Fingerprint Image
: When the fingerprint image is displayed, the device is currently
in the finger recognition mode.
6.
Switch Key
: By pressing this key, you can switch to the 1:1 verification modes, and
enter the digital input interface. The function is same to 1:1 Switch Button.
7.
Menu
: You can enter the main menu by pressing this key.
8.
Door Bell
: For visitors to ring the bell and ask for help to open the door.
9.
1:1 Switch Button
: By pressing this button, you can enter the digital input interface
of the 1:1 verification mode.
1.8 Verification Modes
1.8.1 Fingerprint Verification
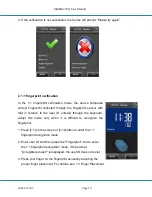
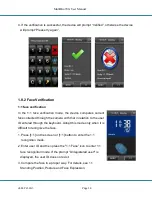
1. 1: N fingerprint verification
In this fingerprint verification mode, the device compares
current fingerprint collected by the fingerprint sensor with all
fingerprint data on the device.
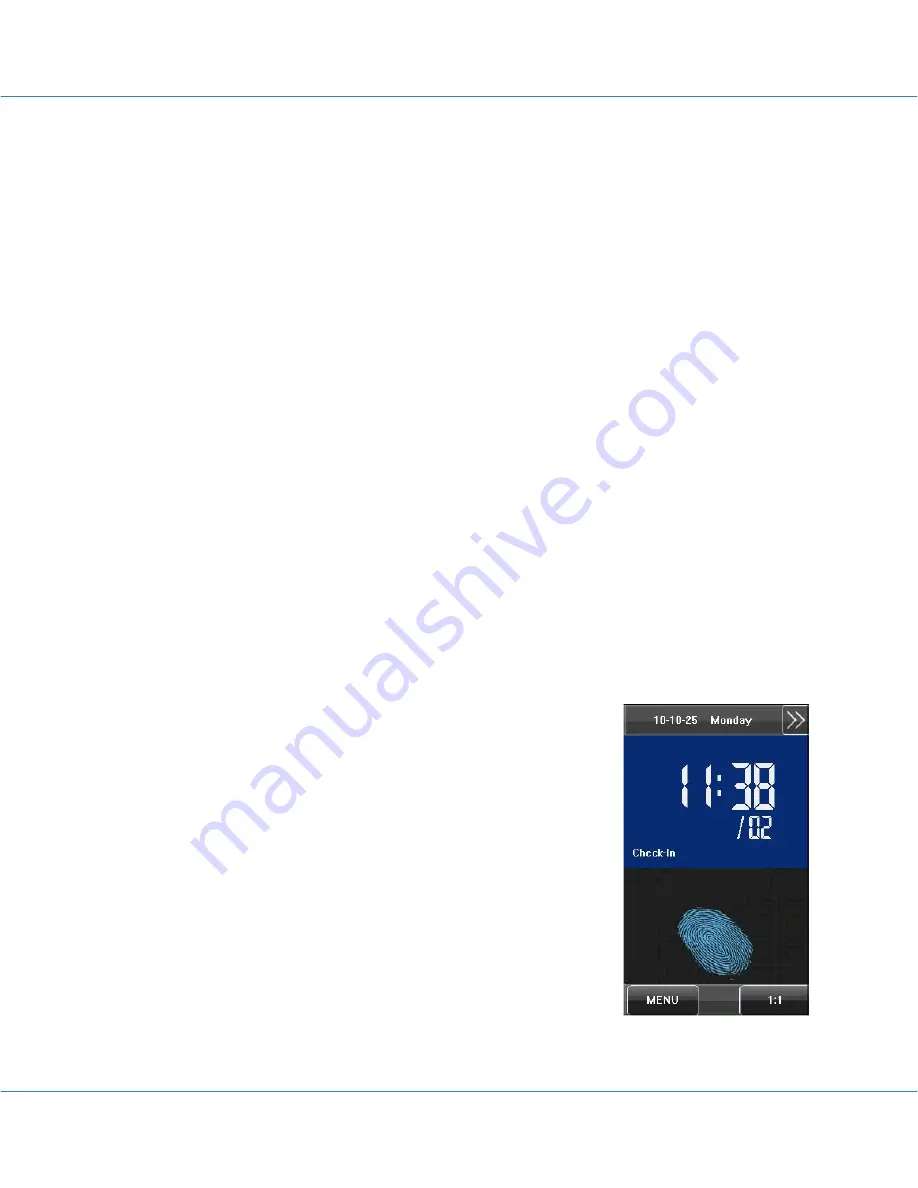
1. The default main interface is the fingerprint verification
mode. See the figure on the right.
2. Press your finger on the fingerprint sensor by adopting the
proper finger placement. For details, see 1.3 Finger
Placement.
3. If the verification is successful, the device will prompt
“Verified”.


