background image


18 


Photo Slideshow Mode 

Supported photo and audio format:  JPEG and MP3.  

1.  Press 

 under any mode to begin a slideshow.  

2.  Press 

“EXIT”

 to exit slideshow mode. By default, the screen will return 

to the 

MAIN MENU


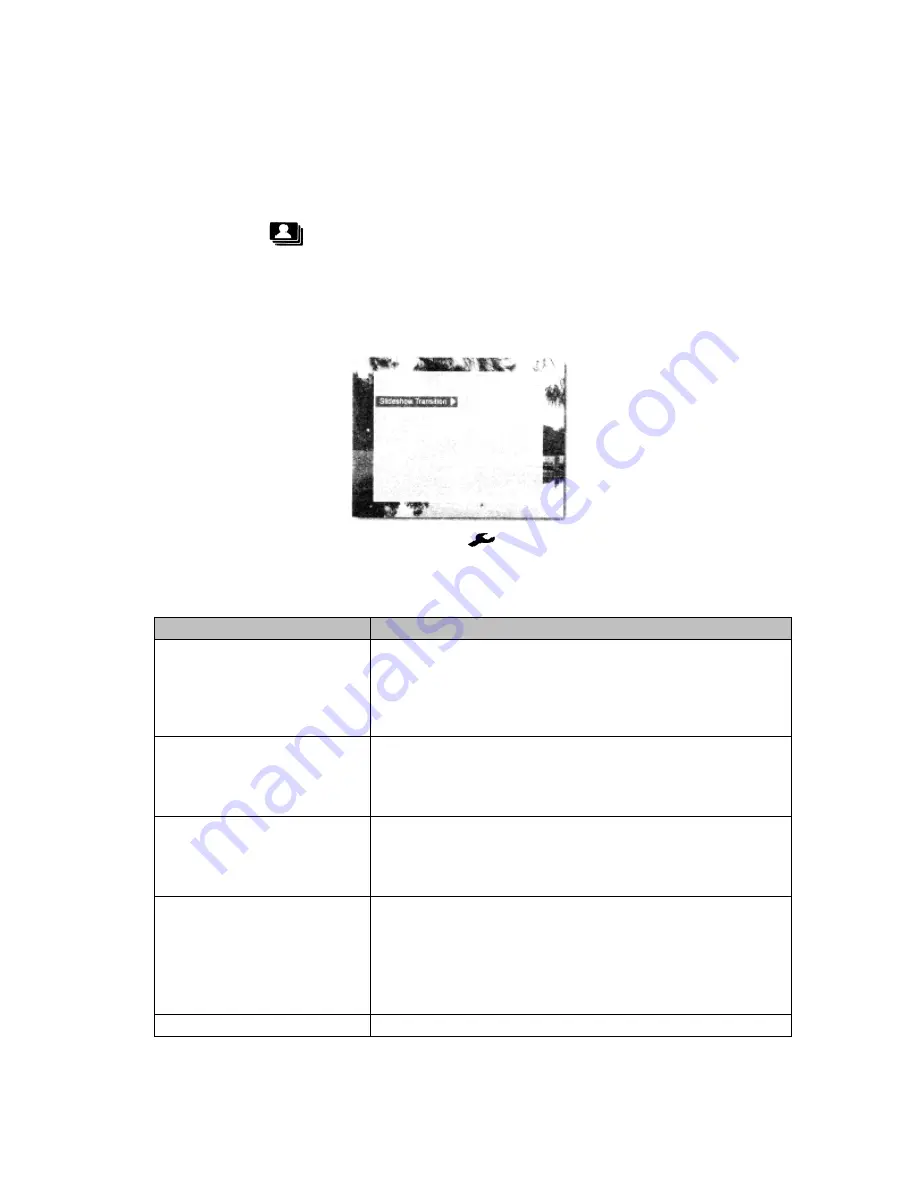
Slideshow Options   


1.  During the Slideshow mode, press 

to bring up the 

Options

 menu. 

2.  Use the arrow keys to browse through the available options, and press 

“OK”

 to select.   

Menu Options 

Descriptions 

Slideshow Transition 

Select a style for the photo transition during 
slideshow 
 

Options:  None, Random, Ken Burns, Mosaic, Fading, 
Door Open, Lines, Box Out, Page Turning.  

Slideshow Speed 

Select a desired transition speed in slideshow.  
 

Options:  5 seconds, 10 seconds, 15 seconds, 30 
seconds, 60 seconds, or 1 hour

.  

Slideshow Shuffle 

Select 

On

 to have the slideshow photos shown in 

random order, or select 

Off

 to disable.  


Options:  On, Off.  

Slideshow Music 

Select 

On

 to enable background music during a 

slideshow or 

Off

 to disable.  


Options:  On, Off.  
Note: 

This function requires music file(s) to be saved in the 

same memory device as the photos

.  

System Setup  

Bring up the 

System Setup

 menu.  


Содержание OPS-8

Страница 1: ...OPS 8 Digital Photo Frame Scanner OUR PICTURE SHOW Users Manual ...

Страница 2: ...o Motion JPEG MPEG1 MP4 Photo Scan Photo Size 4 x 6 3 x 5 1 5 x 2 Resolution up to 300 dpi 1200 x 1800 pixels Color Depth 16 77M Storage Format JPEG My favor folder for photo filing Scan Photo to Internal Memory Power Saving Auto power ON OFF Timer power OFF setting 1Hr 2Hr 3Hr Light sensor with 3 levels detection Normal Dim Screen Saving Screen saving mode Alarm Clock and Calendar Clock calendar ...

Страница 3: ... the OPS 8 The power indicator will turn green and the slideshow will begin automatically Note By default each time the photo frame is powered on it searches all the memory devices for photos in the following order Internal Memory My Favorites SD MMC MS xD CF USB and Internal Memory Photos If one or more of those devices is not present the OPS 8 will automatically access the next available source ...

Страница 4: ...e slideshow 3 Moves up in the menus 4 OK Press to make selections in the menus or option modes 5 Moves down in the menus 6 EXIT returns you to the previous menu 7 Setup Press to access the Setup Menu 8 SCAN Press to scan photos 9 Photo scanner cover 10 Photo feed slot Open to feed photos into the scanner ...

Страница 5: ... to USB Flash Drive 14 DC IN Connects to the supplied AC Power Adaptor 15 Power Standby Button Press to power on Press for 4 seconds to power off 16 Light Sensor Adjusts backlight intensity of screen automatically 17 SD MMC MS xD Card Slot 18 CF Card Slot 19 Speakers 20 Photo Scanner output slot 21 Photo Scanner Cover release button Press to scan in photos ...

Страница 6: ...ves down in menus 5 PRINT Press to print selected photo when connected to printer 6 Volume Control 7 Slideshow Press to view photos in slideshow 8 Video Playback Press to playback video files saved on memory card 9 Rotate Press to rotate the photo 90 degrees clockwise 10 Zoom Press to enlarge photo Each press will enlarge the photo in the sequence of 2x 3x 4x 5x and back to original size ...

Страница 7: ...l when you press the slot of the battery holder 2 Pull out the battery holder completely in the direction of arrow 2 as illustrated above 3 Remove the old battery and replace the new battery in the holder 4 Push the holder back into the remote control Note The battery may explode if it is incorrectly replaced or disposed of in fire Replace with only CR2025 or equivalent Do not short circuit batter...

Страница 8: ...m the OPS 8 remote control sensor and within the 60 of the front of the unit The operating distance may vary according to the brightness of the room Storing The Remote Control Place the remote control in the storage slot located in upper left corner of the rear panel as illustrated below ...

Страница 9: ... 8 to power on automatically Select OFF to cancel this function Options ON OFF Schedule Power Off HH MM AM OFF Set the time for the OPS 8 to power off automatically Options ON OFF Sleep Timer The OPS 8 can be turned off automatically in specified hours Options 1 hour 2 hours 3 hours OFF USB Link to Select PC if connecting to a PC or select Printer if connecting to a printer Options PC Printer Ligh...

Страница 10: ...isplay quality 1 From the MAIN MENU press to bring up the System Setup 2 Press or to highlight Light Sensor the press 3 Press or to highlight On the press OK to enable screen brightness adjustment 4 Press MENU to return to the MAIN MENU The brightness will be lowered automatically if the OPS 8 is in a dark environment and increased if it is in a well lit environment ...

Страница 11: ...e same time However the OPS 8 can only select one device at a time content playback 1 Power on the OPS 8 If a slideshow is running press the EXIT button twice to enter the MEMORY SELECT MENU as illustrated below When a memory device is inserted its corresponding icon on the screen will light up 2 Use the arrows to select the desired memory device and press OK to select 3 After selecting a device t...

Страница 12: ...sped at the end by the feed slot then press SCAN again to scan the photo Note 1 To avoid photo jam please align photo within the scanning zone on the screen 1 toward the feeder guide bar 2 on the right side Note 2 The OPS 8 supports photo sizes from 1 5 x 2 to 4 x 6 Note 3 Do not press any button while the scanning is in process 5 A scanner menu appears on the screen after scanning is completed Pr...

Страница 13: ...to highlight Save this Image then press OK to save A status message will appear on the screen to indicate when the photo is saved Photo is being saved Photo has been saved Cancel Scan A New Photo To scan a new photo press or to highlight Cancel Scan a new photo and then press OK The previous scanned photo will be erased and the unit will be ready to scan the next photo Exit Scan Mode Press or to h...

Страница 14: ...lications not supplied to convert such images into standard JPG format Photo Thumbnail Mode 1 From the MAIN MENU select Photo and press OK to enter All photos stored in the selected memory device will be displayed in the thumbnail mode 2 Use the arrow keys to navigate Select a photo and press OK to view it in full size Photo Thumbnail Mode Options 1 During the thumbnail mode select a photo the pre...

Страница 15: ... Otherwise choose No to cancel Options Yes No Mark This function allows you to select multiple photos to copy or delete Select Mark Several if you want to select multiple photos It will bring you back to the thumbnail screen for the photo selection Use the arrow keys and OK to make your selection then press to return to Options menu to continue Copy to Delete or Add to My Favorites function Select...

Страница 16: ...ed photo frame is rotated right by 90 the displayed photo will automatically rotate anti clockwise by 90 If the vertically placed photo frame is rotated to the left by 90 the displayed photo will automatically rotate clockwise by 90 Zoom Press to zoom into a photo Each time the button is pressed the photo will be enlarged in the sequence of 2X 3X 4X and 5X At 5X zoom press this button again to ret...

Страница 17: ...Select Zoom and press OK to zoom in selected photo Each time the OK button is pressed the photo will be enlarged in the sequence of 2X 3X 4X 5X and then returned to the original size Alternately you can use the button on the remote to use this function Print This option allows you to print the selected photo through the connection of a PictBridge printer Please refer to page 31 for details Choose ...

Страница 18: ...style for the photo transition during slideshow Options None Random Ken Burns Mosaic Fading Door Open Lines Box Out Page Turning Slideshow Speed Select a desired transition speed in slideshow Options 5 seconds 10 seconds 15 seconds 30 seconds 60 seconds or 1 hour Slideshow Shuffle Select On to have the slideshow photos shown in random order or select Off to disable Options On Off Slideshow Music S...

Страница 19: ... photos will be displayed in thumbnail mode From here you can view these photos individually in browse mode or as a slide show Please refer to the Photo Thumbnail Mode Photo Browse Mode and Slideshow Mode for details Note 1 All the photos in the My Favorites folder are saved in the internal memory regardless of the current memory device Note 2 To avoid duplicates photos and My Favorites can not be...

Страница 20: ...be displayed in thumbnail mode From here you can view these photos individually in browse mode or as a slide show Please refer to the Photo Thumbnail Mode Photo Browse Mode and Slideshow Mode for details Transfer the Scanned Images to a Computer 1 To copy the scanned images to a computer from an internal memory please connect this unit to a computer via the mini USB cable supplied 2 Use drag and d...

Страница 21: ...emory device will be listed in the screen 4 Press or to highlight the desired music file then press OK to playback Audio Options Press to access the Options Menu Menu Options Descriptions Copy to This option allows you to copy the selected music from the current memory device to other available device s Options Internal Memory USB CF SD MMC MS xD Delete To delete the selected photo select Yes Othe...

Страница 22: ...he or to highlight the desired video file then press OK to playback Note Alternatively you can press to immediately bring up the video files in your current selected memory device for playback Video Options Press to access the Options Menu Menu Options Descriptions Copy to This option allows you to copy the selected video from the current memory device to other available device s Options Internal ...

Страница 23: ...and on the remote to switch between HOUR and MINUTE fields Press and to change the value When finished press OK to confirm Options HH MM Set Alarm Set the time for the alarm to activate When the alarm goes off press any button on the remote to stop it You can also set the alarm to activate just once or to repeat daily Options HH MM Once Daily Off Set Date Set the system date for the OPS 8 press an...

Страница 24: ...inter Note The print function only works with printers that are PictBridge compatible Be sure the USB Link to is set to the Printer setting otherwise the print function will not work Printing a Photo 1 Select a photo and display it in Photo Browse Mode 2 Press to bring up the Options menu 3 Use the arrow keys select Print then press OK 4 A confirmation message will appear Select Yes and press OK t...

Страница 25: ...t the mini USB to the OPS 8 and the larger USB connector to your PC Note To ensure a proper connection to your PC stop all Slideshow music or video playback before connecting to PC PC must have Windows 2000 SP4 or higher Windows XP SP2 or higher Windows Vista 5 It may take a few minutes for your PC to recognize the OPS 8 when it is recognized 3 new removable drives should appear in Windows Explore...

Страница 26: ...fer to Specifications section for information on supported formats Why can t I play some of my video clips Some video file formats are not supported Please refer to Specifications section for information on supported formats Can I delete photos from external memory cards or flash drives Yes Please refer to Photo Options section of this manual Can I delete photos from internal memory Yes Please ref...

Отзывы: