28
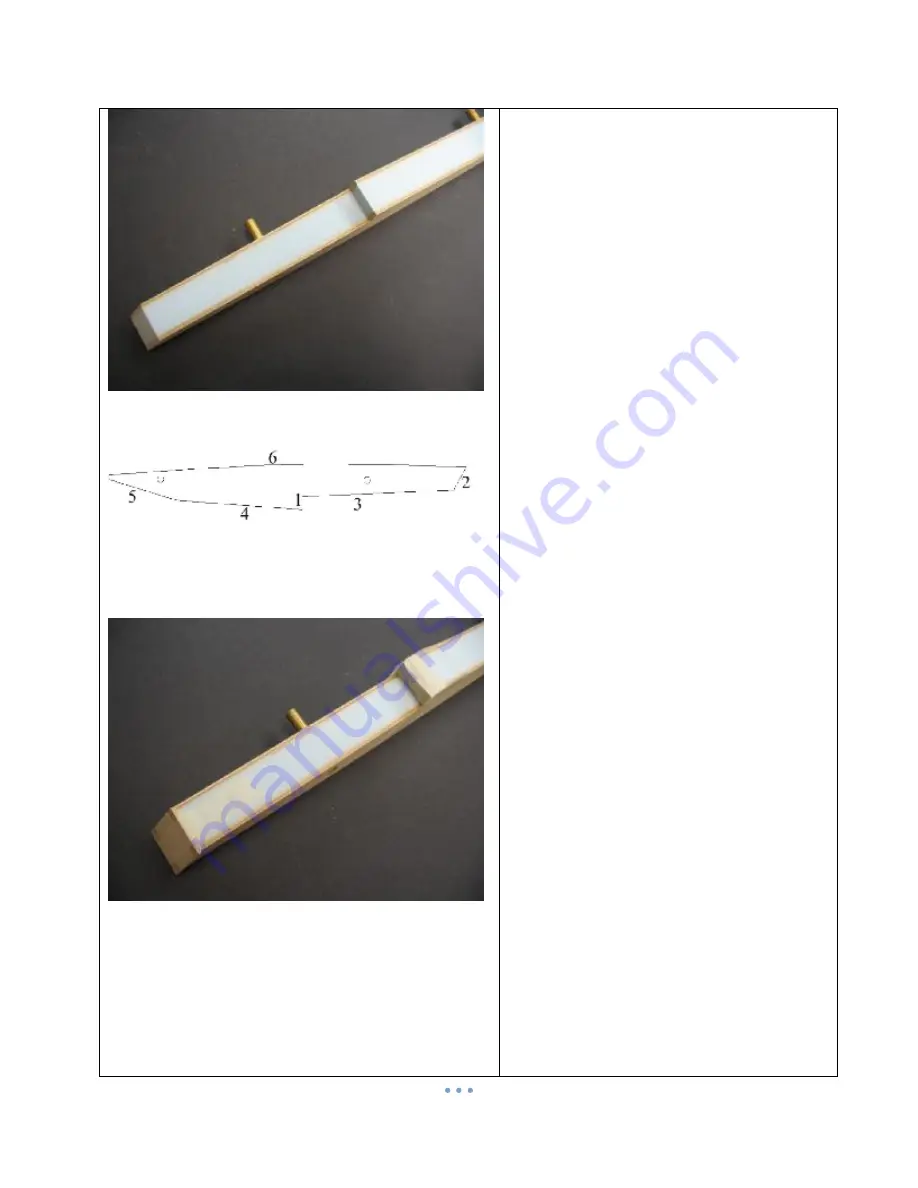
Foam sanded flush with sponson plates.
Sponson sheeting order. Needed for correct overhangs.
1 and 2 glued in place. Note masking tape.
sponson step. Use masking tape to hold it
in place while it cures.
It’s okay to repeat the steps on the other
sponson.
Glue R-2 to the sponson rear.
Once these have cured, sand the bottom
and sides of R-2 and R-1 flush.
Glue R-3 in place, leaving equal overhang
on both sides, and an overhang on the rear.
Glue R-4 with equal overhang on the sides,
and leave an overhang in the rear.
Note that the bottom overhangs don’t get
sanded off if you plan to use a low power
engine.
If you are using a high performance engine,
glue the bottom sheets so that all of the
overhang is on the outside of the sponson,
opposite the sponson tubes. This will make
it much easier to sand them off.
Once R-4 is cured, sand the front of R-4
flush with the forward bottom. This is
exactly like the forward tub bottom. Do not
round any corners.


