6 |
iASSIST 2-Pod Version
Surgical Technique
Buttons, Icon and Pod Status Bar
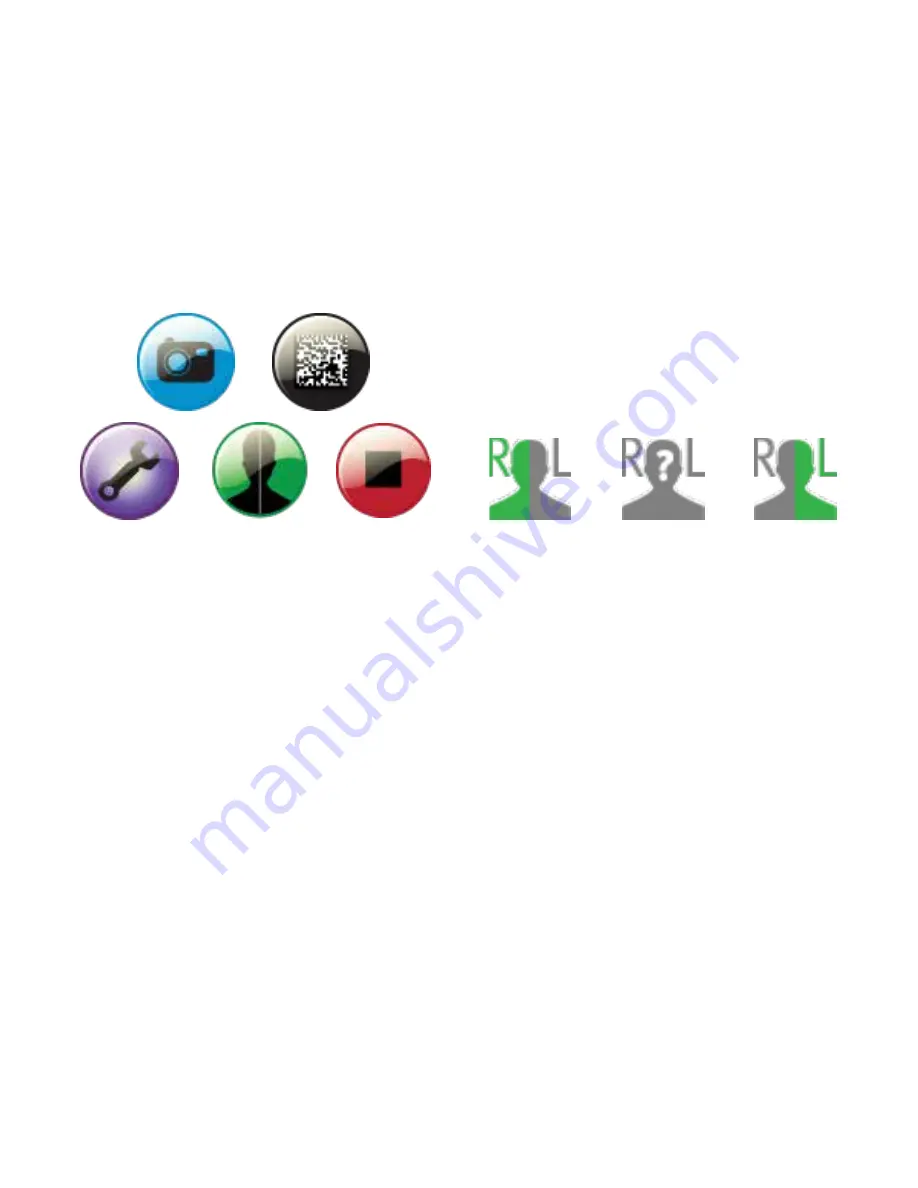
Settings Button
Click the “Settings” button located at the bottom
of the system controller computer screen and enter
the desired cut targets for the “Tibia Slope Target”
and “Femur Flexion Target” prompts. These settings
can be modified either before or during a surgical
procedure. Settings will remain in the system for
following surgical procedures.
Snapshot Button
Click the “Snapshot” button located at the bottom
of the system controller computer screen to record
a picture of the entire computer screen. This action
can be performed at any time during the surgical
procedure. All images will be saved in the snapshot
directory found in the surgery folder of the “Copy
Logs” feature.
Figure 2.5
Patient Side Icon: Right, Undetermined, Left
Side Button
Click the “Side” button located at the bottom of the
system controller computer screen to change the
patient side. The “Patient Side” view will be displayed
and the user will be able to click on the “L” icon for the
left knee or the “R” icon for the right knee. When the
patient side is set the selected side is green. If patient
side is not determined the icon is grey with a “?” sign.
This action can be performed at any moment during
the surgery once the pods have joined the network.
Barcode Button
Click the “Barcode” button located at the bottom
of the system controller computer screen if the 2D
barcode cannot be read. The user will then be able to
manually enter the barcode.
Figure 2.4
Settings, Snapshot, Side, Barcode and Quit Buttons
Содержание iASSIST Knee
Страница 1: ...iASSIST Knee 2 Pod Version Surgical Technique ...
Страница 2: ......
Страница 67: ...65 iASSIST 2 Pod Version Surgical Technique ...


