42
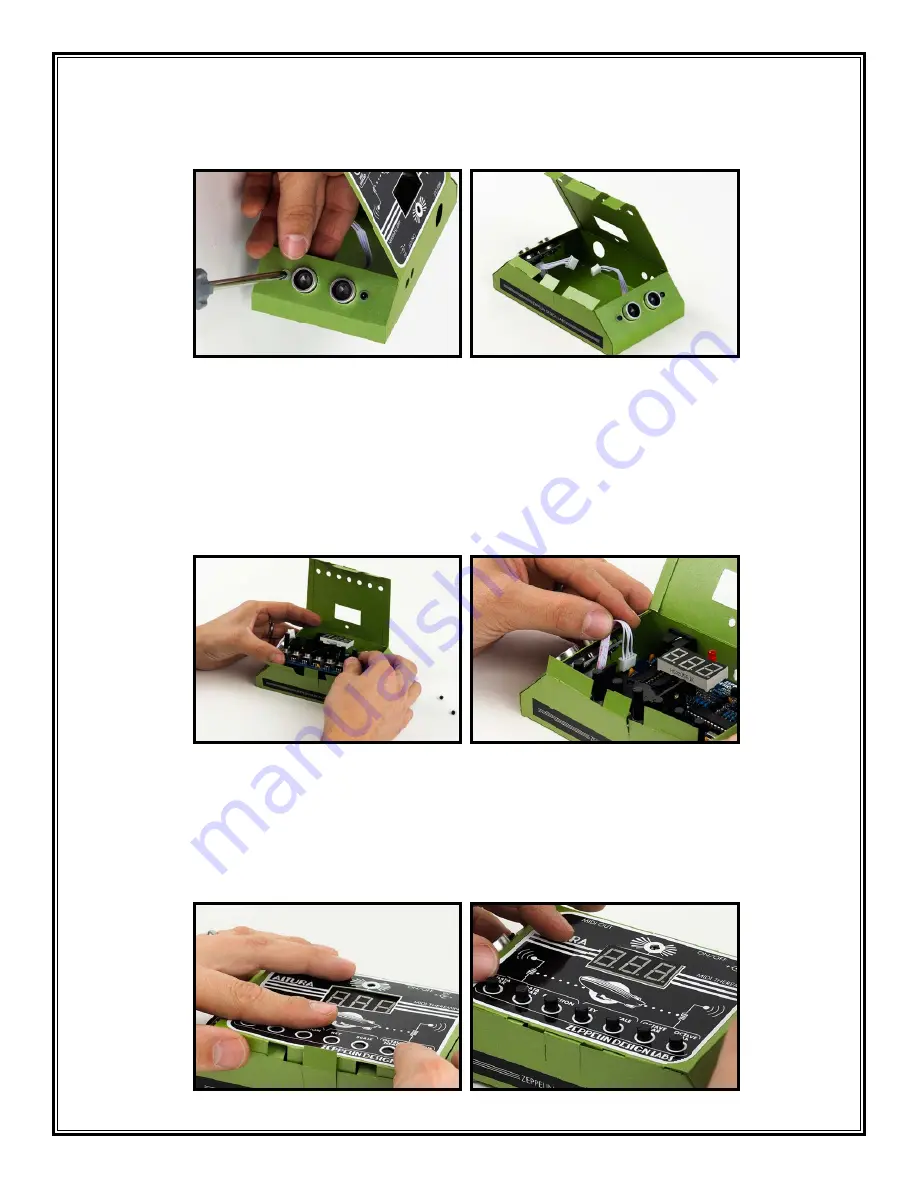
c. Repeat for the other sonar assembly (50, 51).
50
51
17. Install the PCB:
a. Fish the ribbon cables out of the cabinet and drape them over the sides.
b. If desired, pop in a 9V battery. Gently fit the PCB into the cabinet (52).
c. Plug the two ribbobn cables onto the headers (53). Remember the ribbed side of the ribbon-
cable socket faces toward the interior of the PCB. NOTE: DO NOT TWIST THE CABLE! If
you install a cable backwards, it won’t hurt anything except that the sensor won’t work.
52
53
d. Close the lid over the LED, the 3-digit display, and the seven pots (54). You may need to
push the LED and 3-digit display around a little to get the lid to fit.Tuck Tabs C into the slits in
Tabs K, while also tucking Tab A behind Tab L. (54). Pull Tab L gently away from the cabinet
and tuck it into the slit in Tab A (55). This will neatly lock the cabinet closed. You can open
the cabinet up again to change the battery by gently teasing Tab L out with a fingernail. Do
this as seldom as possible, or you will wear out the tabs.
54
55


