14
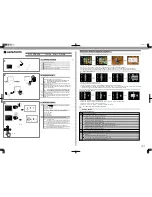
A. The waist-level finder can be interchanged with other optional
finders to match shooting conditions with photographic conditions.
To attach the finder, align the front end of the finder with the front
end of the finder frame on top of the main camera body, as shown.
Then gently lower the finder and, when well-seated, slide forward
until it locks.
B. To detach, simply depress the finder release button while sliding
the finder backwards at the same time. It can now be taken off by
lifting.
* Finders incorporating exposure meters can be attached but the
meter will not activate.
A. The focusing hood of the waist-level finder is opened by pushing
up on the focusing hood catch. The focusing hood catch is located at
the rear end of the folded waist-level finder.
* Although instructions are based on the waist-level finder included
in this kit, you may choose the Prism Finder S and other finder units
to suit your photography.
C. To close the focusing hood, first, push down the magnifier (if it is
not in viewing position.) Next, press in both side frames, as illustrated,
and press the front frame back towards the rear at the same time.
The focusing hood will automatically be folded down.
B. The magnifier is flipped into viewing position by simply sliding the
release lever in the arrow indicated direction. To store the magnifier
simply push it down until it catches.
* The magnifier can be exchanged for one matching the eyesight of
the user.
15. Interchanging Finders
16. Waist-Level Finder and Magnifiers


