13
12
PL
PL
EN
EN
Handy Hints
1. The button is touch control, please press the button gently.
2. Use refrigerated whole milk for best result. Non-dairy milk doesn’t froth as well as dairy milk since the
protein content is lower that dairy milk, so it barely froths.
3. Milk heats to approximately 50-65℃ when heating milk. This is the optimal temperature, as it ensures the
flavor of the coffee is not impaired. Over-heating will destroy milk nutrients.
4. Do not fill the milk amount exceed corresponding level indicator inside of the jug. It will overflow.
Milk Frothing & Heating (RC. 2)
1. Set the whisk 1 inside of the jug.
2. Pour the milk into the jug: MAX: 110ml.
Notice: Do not exceed the MAX line-the middle max inside of jug.
3. Touch the button once, then the red indicator light will illuminate to show that the unit is in operation.
Approx. 150 seconds the device power off automatically. The LED light will flash 10 seconds to indicate the
work is done and then go off. The process can be interrupted at any time by touching the button.
4. Unplug the power plug from the power socket after done.
Frothing Cold Milk (RC. 3)
1. Set the whisk 1 inside of the jug.
2. Pour the milk into the jug: MAX: 110ml.
Notice: Do not exceed the MAX line-the middle max inside of jug.
3. Touch twice in a row, then the blue indicator light will illuminate to show that the unit is in operation.
Approx. 150 seconds the device power off automatically. The LED light will flash 10 seconds to indicate the
work is done and then go off. The process can be interrupted at any time by touching the button.
4. Unplug the power plug from the power socket after done.
Heating Milk (RC. 4)
1. Set the whisk 2 inside of the jug.
2. Pour the milk into the jug: MAX: 200ml.
Notice: Do not exceed the MAX line-the middle max inside of jug.
3. Touch the button once, then the red indicator light will illuminate to show that the unit is in operation.
Approx. 150 seconds the device power off automatically. The LED light will flash 10 seconds to indicate the
work is done and then go off. The process can be interrupted at any time by touching the button.
4. Unplug the power plug from the power socket after done.
Cleaning and Care
Unplug the power plug and allow the appliance to cool down after each use.
Always remove the jug from the power base before cleaning.
The power base with cord cannot be cleaned in dishwasher. Clean it with a soft cloth only.
The milk frother is non dishwasher-safe. Do not rinse the milk frother bottom into water.
Important: do not submerge the entire device in water. Be careful not to wet the controller located
in the milk frother and base- it can cause a short circuit!
Never use sharp cleaning agents, metal objects or a hard nylon or metal brush on the milk frother. Abrasive
cleaner will scratch the non-stick inner surfaces.
1. The jug: clean immediately after each use. Flush and clean the walls using warm, soapy water and a
non-abrasive cloth.
2. The lid: separate the silicon ring from the lid before washing/rinsing both pieces with water. Reassemble
the ring into the lid before reuse or storage.
3. The whisks: remove the whisks from the jug. Wash with warm water. Dry and store in a safe place. Out
of young children reach. Do not use the dishwasher.
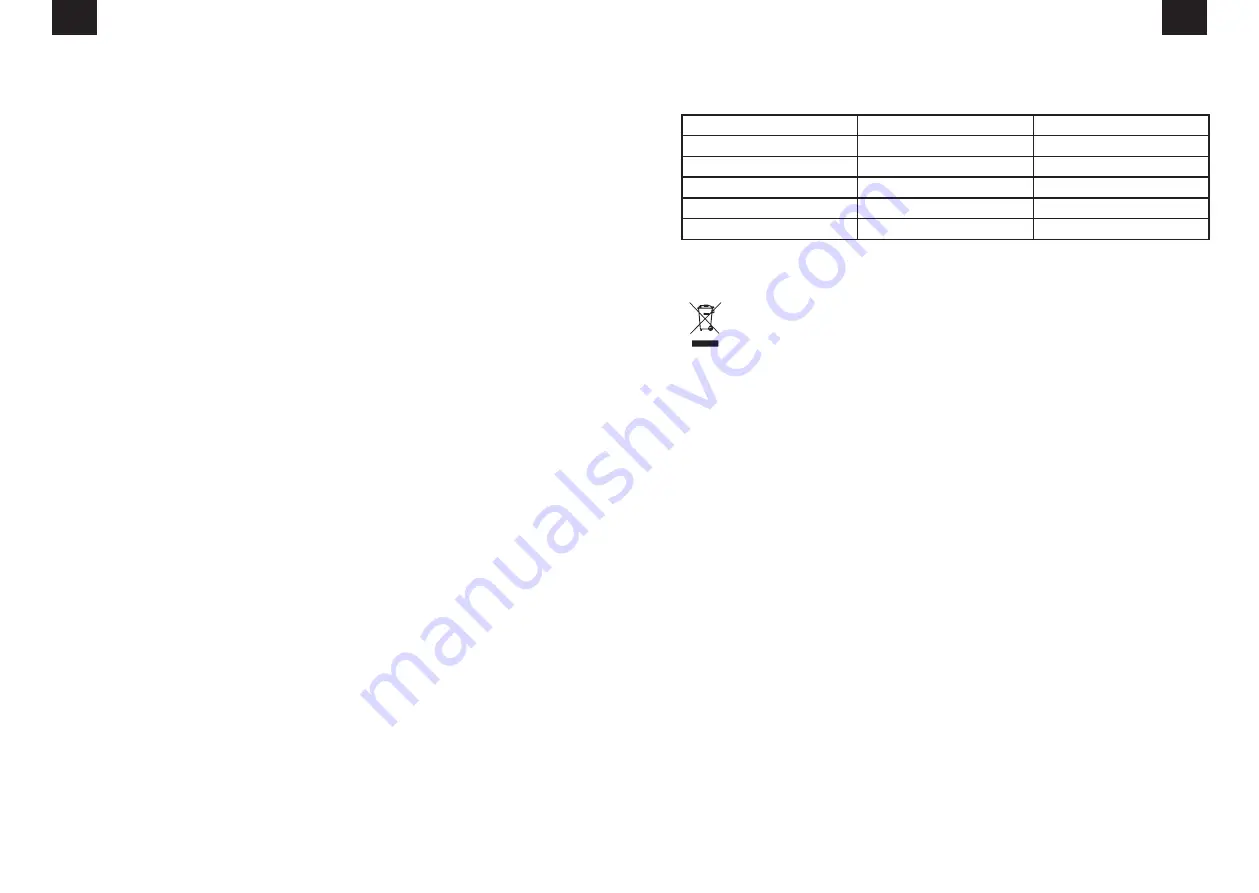
DISHWASHER
WATER
Transparent lid
+
+
Sealing ring inside of the lid
+
+
Whisk 1 / Whisk 2
-
+
Jug
-
+
Power Base with Cord
-
-
PRODUCT DISPOSAL
This product complies with European Directive 2012/19/EU on electrical and electronic devices,
known as WEEE (Waste Electrical and Electronic Equipment), provides the legal framework
applicable in the European Union for the disposal and reuse of waste electronic and electrical
devices. Do not dispose of this product in the bin, instead going to the electrical and electronic
waste collection centre closest to your home.
Содержание ZMF0550
Страница 2: ...3 2...
Страница 21: ...41 40 PL PL RU RU ZELMER 1 2 1 3 2 4 5 6 7 8 8...
Страница 24: ...47 46 PL PL BG BG ZELMER 1 2 1 3 2 4 5 6 7 8 8...
Страница 27: ...53 52 PL PL UA UA ZELMER 1 2 1 3 2 4 5 6 7 8 8...
Страница 29: ...57 56 PL PL UA UA MAX MAX 3 150 LED 10 4 1 5 2 1 3 2 3 2012 19 EU WEEE...
Страница 30: ...59 58 PL PL UA UA...
Страница 32: ...63 62...
Страница 33: ...65 64...
Страница 34: ...67 66...


