Z3-DME-20 User Instructions
DOC-USR-0180-05
___________________________________________________________________________________________
Z3 Technology, LLC
♦
100 N 8
th
ST, STE 250
♦
Lincoln, NE 68508-1369 USA
♦
+1.402.323.0702
35
7.0
PERFORMING OTHER OPERATIONS WITH THE Z3-DME-20
7.1
Setting NTP
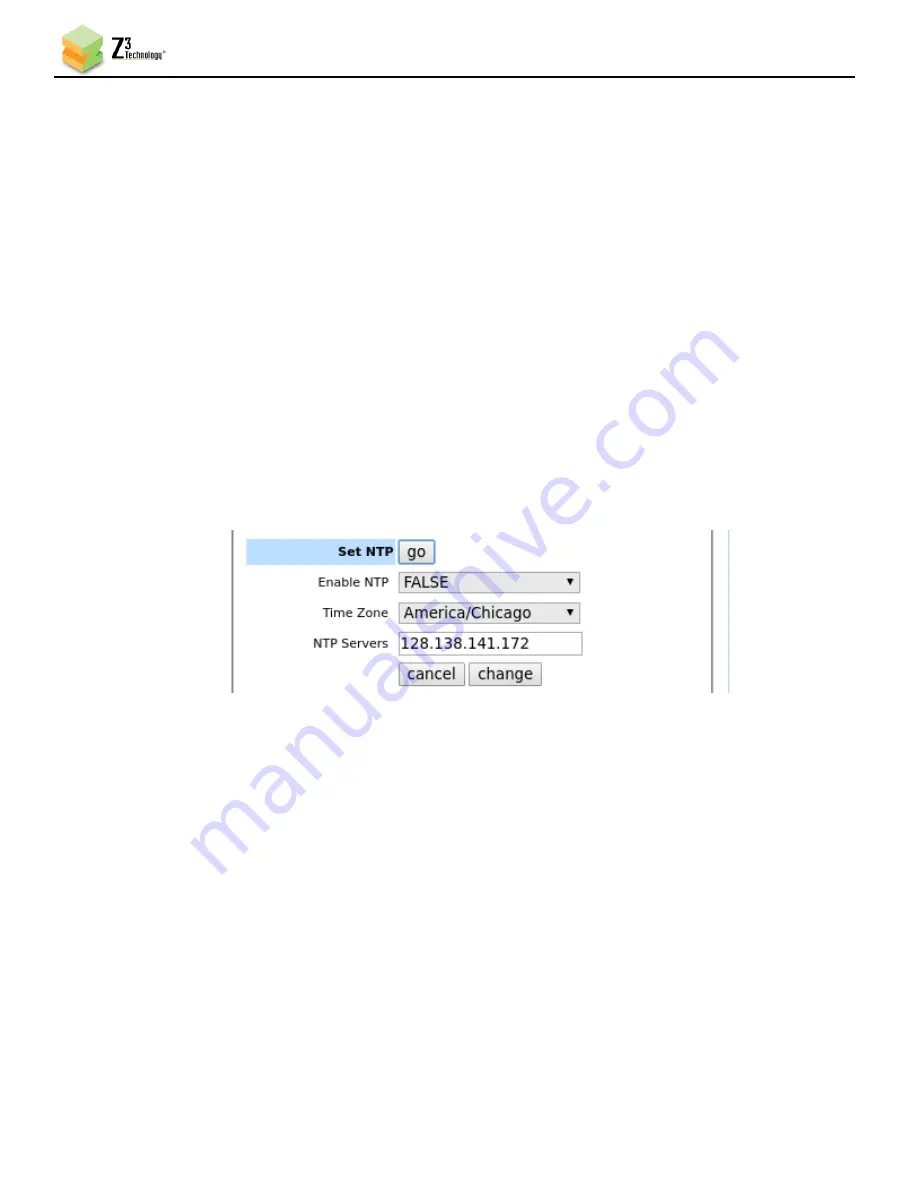
The DME-20 has support for NTP to set the time on the unit. If you require the system time to be set do
the following
(1)
Load the web UI of the unit and switch to the System Setup tab. Click the go button next to Set
NTP.
(2)
Select TRUE from the Enable NTP dropdown.
(3)
Select the desired time zone for the unit form the Time Zone dropdown.
(4)
Enter an NTP server address. The default is 128.138.141.172 (NIST).
(5)
Click the change button. NTP is now enabled and your system clock will be adjusted.
Note:
The encoder will need to be on a network with a route to the specified NTP server and port 123 open
on the router. If the system time is not as expected check the network settings of the encoder.
Figure 29 Setting up NTP
7.2
Overlay Timestamp
The DME-20 supports the overlay of a system timestamp on the video stream. This is done via the Text
Overlay feature on the encoder tab.
(1)
Click on the CH1 tab and stop the stream with the Stop button, if necessary.
(2)
On the right side of the page select True in the Text Overlay Enable dropdown.
(3)
The Overlay Text text box will appear. Add {ts} to the text box and click the Start button.
(4)
The date and time will be overlayed on the video stream in YYYY-MM-DD HH:MM:SS format.
Note
: To use a different timestamp format add strftime characters in the tag. For example, for timestamp
format of YYYY/MM HH:MM:SS use “{ts%Y/%m %H:%M:%S}”


