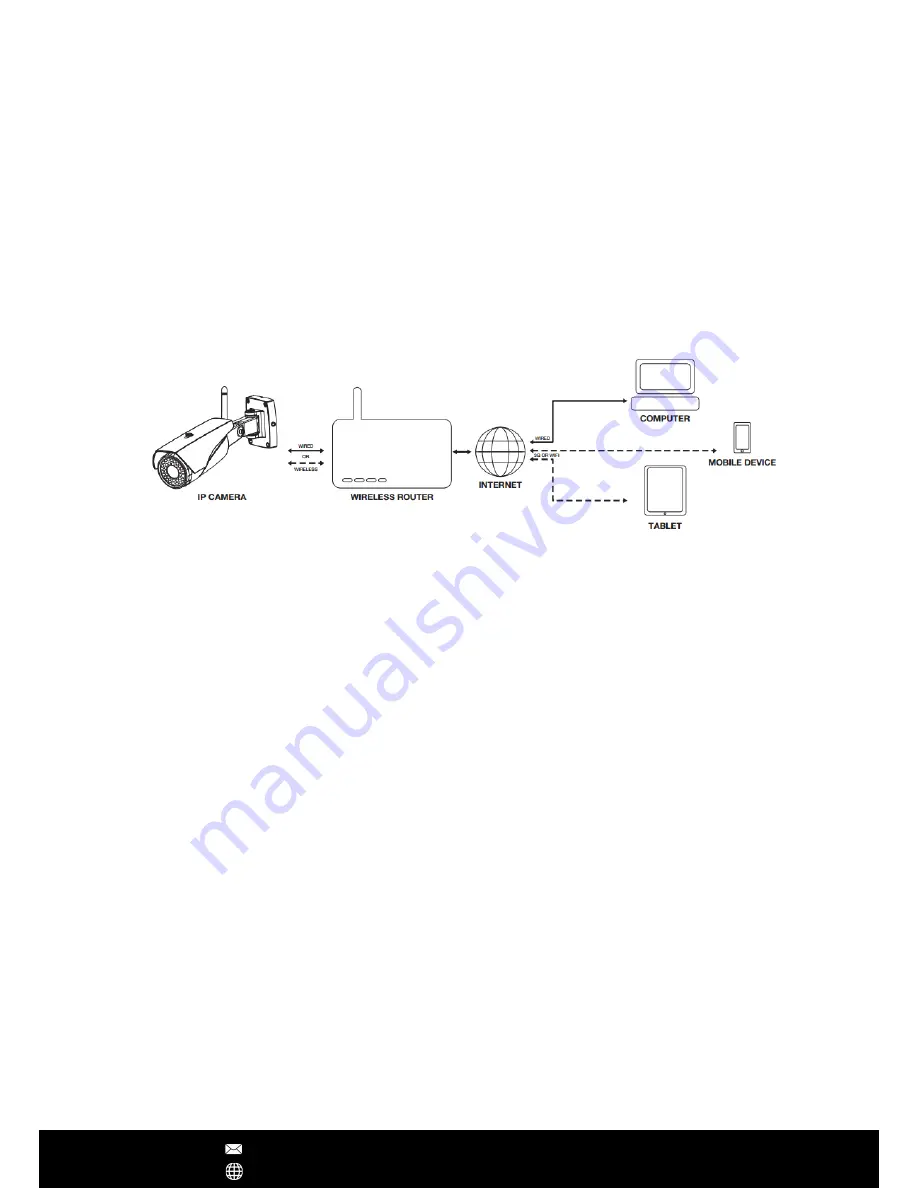
Product Overview
Introduction
Congratulations on the purchase of your eRobot Wireless IP Cameras. This product is
designed to make remote video surveillance become more easier. Leveraging the HD
CMOS image sensors and advanced image signal processor, eRobot cameras can deliver
720p/1080p video with high image quality. Included many useful and smart features
including motion detection, push notification alert, email with snapshot alert, even some
models can work with security cameras to allow you setup a customize system to cater
your own specific needs. Utilizing 360° or 180° fisheye lens, VR cameras can provide
you panoramic video monitoring featuring with ePTZ function, bring you the VR user-
exprience.
Hardware Installation
1. Connect the power supply
Finding the included AC/DC adapter to plug into the electricity outlet/socket, then
connect it to the camera. Generally indoor cameras usually use DC5V 2A power supply
and outdoor cameras use DC12V 1.5A power supply.
2. Connect the Ethernet cable
It's recommended to use the Ethernet wired connection when firstly setup the camera (if
Ethernet port is available on your camera), especially if you failed to setup the camera via
WiFi. Connecting the camera to the router with the network cable.
Note - The Ethernet cable is not required after the camera’s Network Settings have been
changed to WiFi
3. Reset the camera
If you want to setup the WiFi connection instead of using wired Ethernet cable, you
should reset the camera at the beginning of configuration. Using a shape object (e.g.
toothpick) to press the reset button up to 10 seconds, release it until you hear a "Sou"
tone. Once the camera keeps making "di, di, di" sound, then you can start to add the
camera via 'Smartlink'.
Note - The camera only supports 2.4GHz WiFi, can't support 5GHz. Making sure the WiFi SSID
has no special character, also DHCP function should be enabled in your router.
After Sales Support [email protected]
www.yooseecamera.com


