


DS1054-057
P
Then tap on button
+
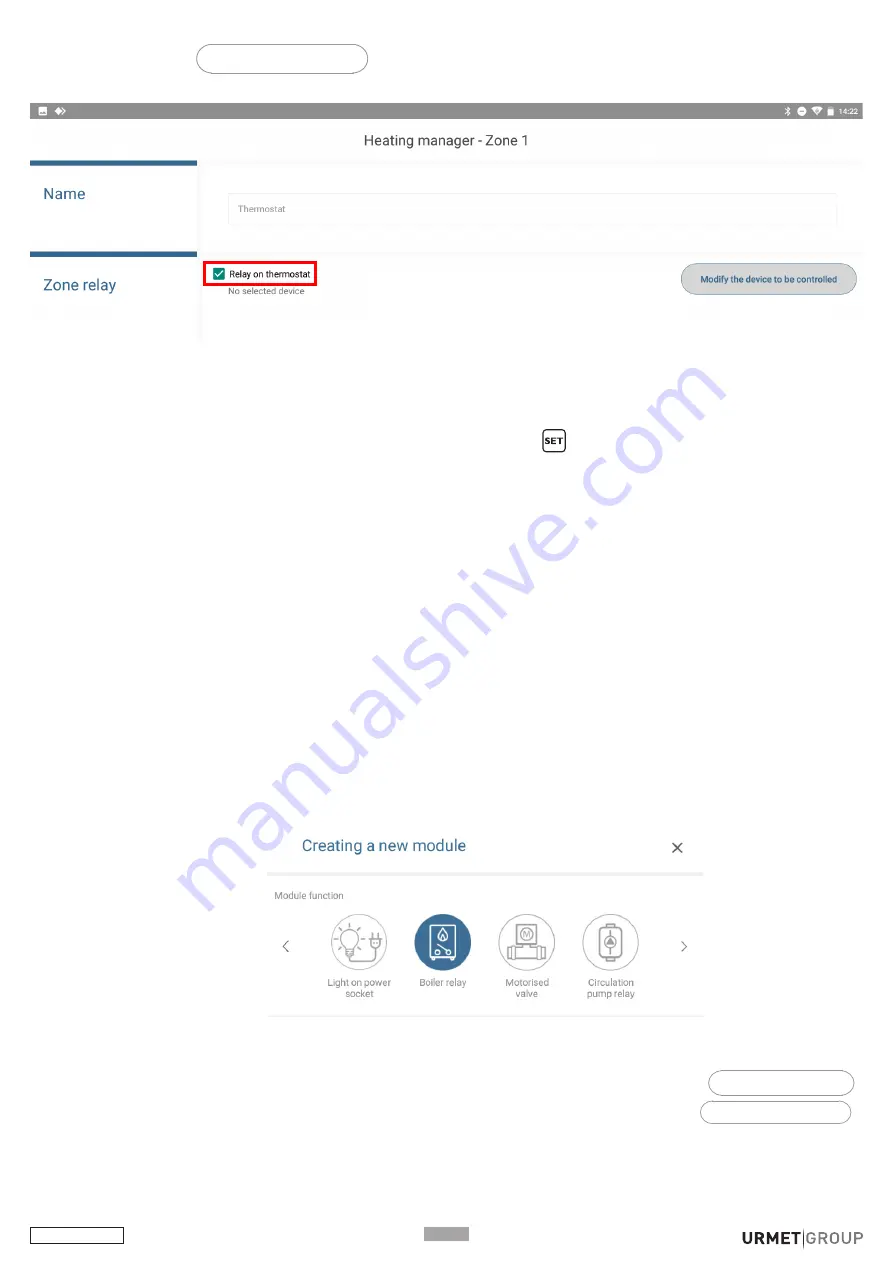
Configure the zone
and on the new screen which appears, leaving the “Relay on
thermostat” option selected.
When you have finished configuring the zone, store the programming by pressing “Store”.
Go back to the point on the previous page, you must now transfer the configuration from the App to the
thermostat. To do this, similarly to what you are used to do with a remote control, tap on the button at the
bottom right, “Program” and, on the thermostat, press the button
twice as soon as the app prompts you
to.
At the end of the transfer, “PASS” will be briefly displayed on the thermostat. If the transfer was not successful,
“Err 16” will appear instead. In that case, try again.
Note:
When configured in this way, the thermostat cannot be accessed remotely or locally via the Yno app. To
be so, a Yokis Hub must also be also installed in the system..
10.4.5. YOKIS PRO: Single-zone thermostat configuration with wireless connection
(MTR)
Three steps are required in this case:
Add the MTR module that will control the boiler.
Add and configure the thermostat, which is considered a Control Point in the app.
Connect the thermostat to the MTR actuator module.
The MTR module must be added to the Yokis PRO app in the usual way (automatic or manual detection).
However, it is necessary to specialise its function and it is suggested to select the “Boiler relay” type in single-
zone systems.
Then add the thermostat as the Control Point and configure it.
After adding and configuring the thermostat, to “connect” it to your MTR, tap on the button
+
Configure the zone
.
On the screen that appears, firstly uncheck the “Relay on thermostat” option, then touch
Change the device to be controlled
.
•
•
•
Содержание Thermarp
Страница 38: ...DS1054 057 P38...
Страница 39: ...P39 DS1054 057...


