29
VF2400
6. Adjustments
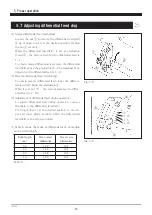
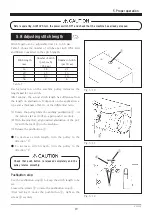
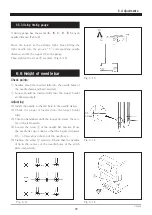
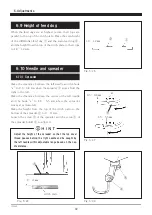
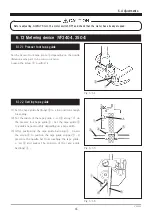
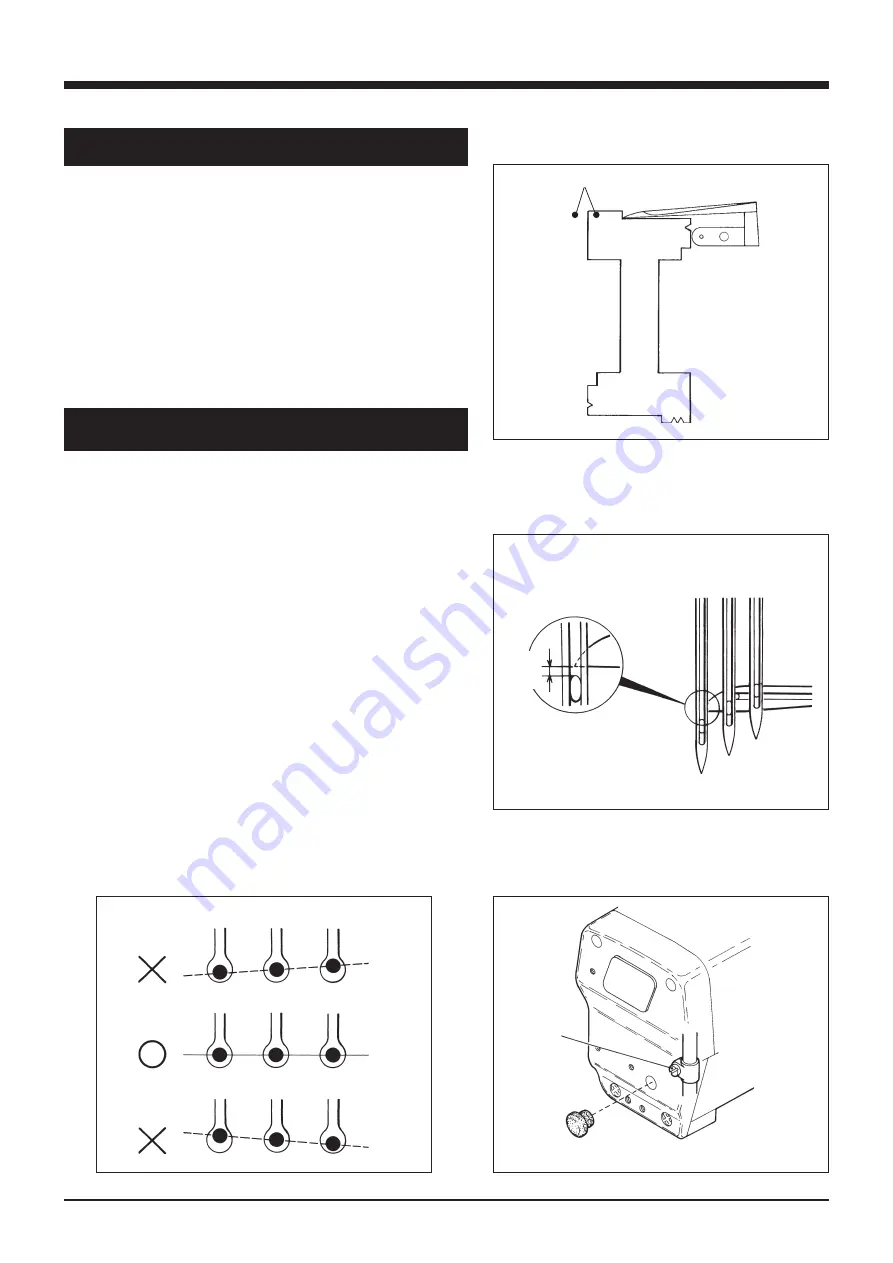
A timing gauge has the marks (
A, B, C, D, E
) for each
needle distance (Table 8).
Move the looper at the extreme right. Keep fitting the
right needle into the groove “V” corresponding needle
distance, and fit the looper tip to the gauge.
Then, tighten the screw ④ securely. (Fig. 6-13)
6.5.3 Using timing gauge
Fig. 6-15
針
C
D
B
AE
Fig. 6-16
Fig. 6-17
Fig. 6-18
0.5 -
1.0 ㎜
①
6.6 Height of needle bar
Check points:
◇ Needles should be inserted fully into the needle holes of
the needle clamp and fixed securely.
◇ Looper should be inserted fully into the looper holder
and fixed securely.
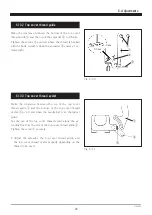
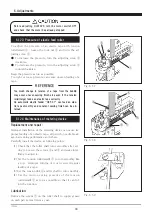
Adjusting:
(1) Install the needle to the left hole in the needle clamp.
(2) Check the looper is inserted into the looper holder
fully.
(3) Turn the handwheel until the looper tip meets the cen-
ter of the left needle.
(4) Loosen the screw ① of the needle bar bracket. Move
the needle bar up or down so that the looper tip passes
0.5 - 1.0 mm above the top of the needle eye.
(5) Tighten the screw ① securely. Check that the needles
drop in the centers of the needle holes of the stitch
plate respectively.

