


19
VF2400
5. Proper operation
Before operating, ALWAYS turn the power switch OFF and check that the machine has already stopped.
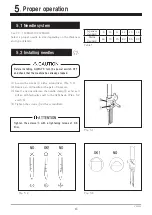
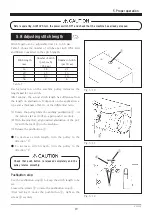
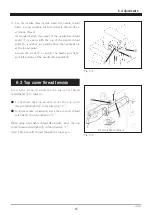
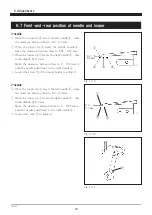
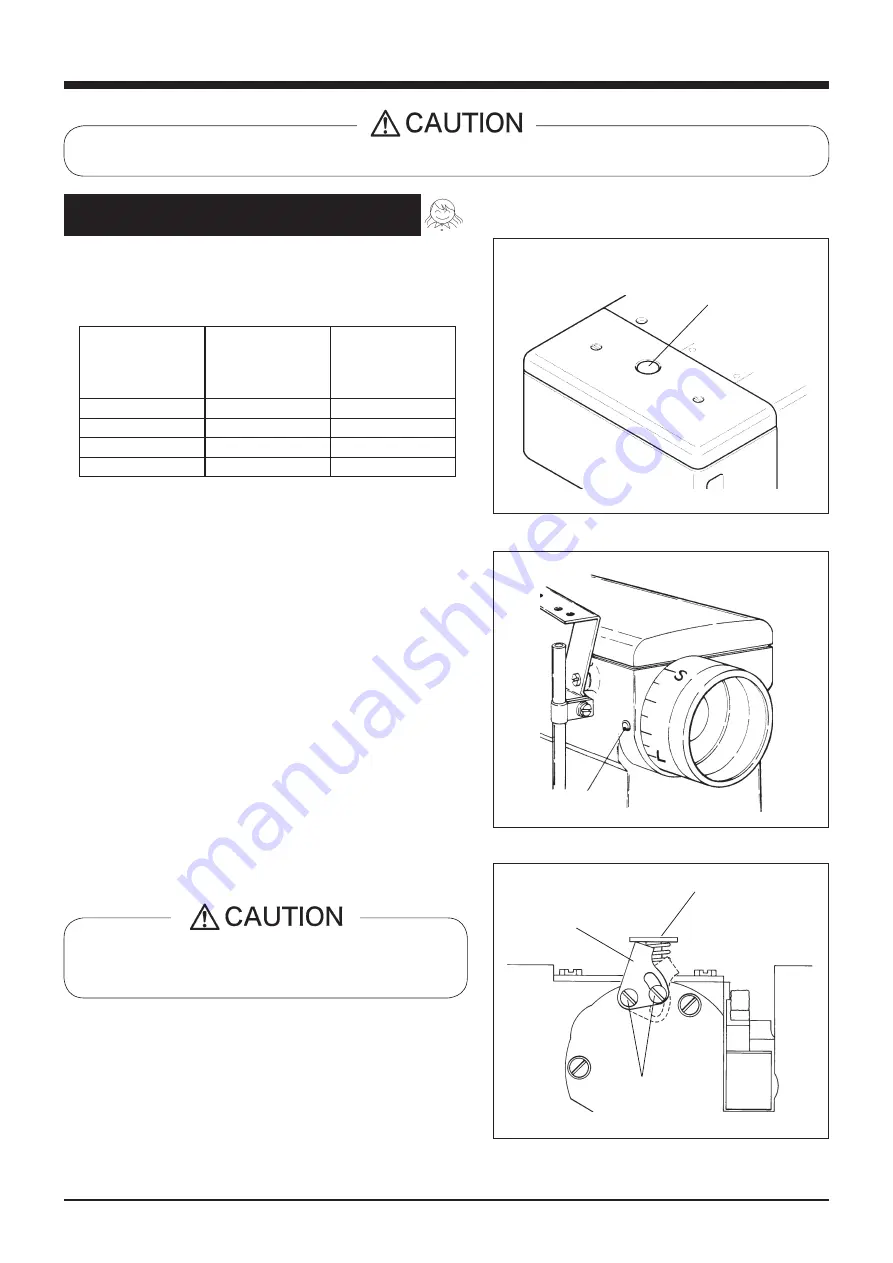
5.8 Adjusting stitch length
Each graduation on the machine pulley indicates the
length( ㎜ ) for one stitch.
After sewing, the actual stitch length has difference from
the length on graduation. It depends on the application, a
type and a thickness of fabric, or the differential ratio.
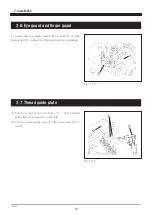
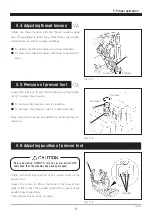
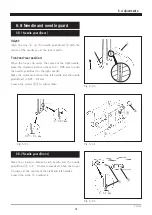
(1) Rotate the pulley while the pushing pushbutton ① . At
the point as far as it will go, again push it securely.
(2) With keeping that, align desired graduation of the pul-
ley with the mark ② on the machine.
(3) Release the pushbutton ① .
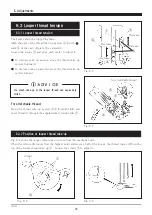
● To decrease stitch length, turn the pulley in the
direction “S” .
● To increase stitch length, turn the pulley in the
direction “L” .
Stitch length can be adjustable from 1.4 to 3.6 mm.
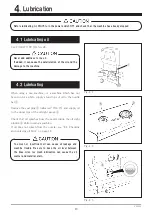
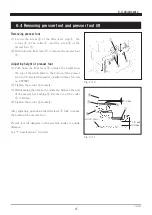
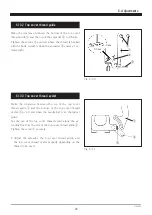
Table 7 shows the number of stitches per inch (25.4 mm)
and 30 mm converted to the stitch length.
Check that push button is released completely and the
pulley rotates smoothly.
Fig. 5-10
Fig. 5-11
Fig. 5-12
①
②
①
④
③
Table 7
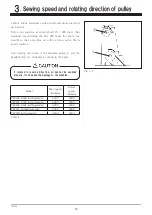
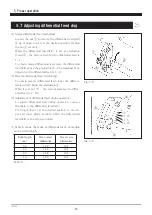
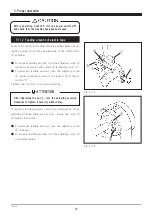
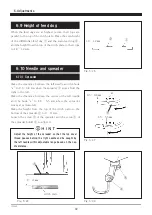
Pushbutton stop:
Use the pushbutton stop ④ to keep the stitch length to be
set.
Loosen the screws ③ to raise the pushbutton stop ④ .
After setting it under the pushbutton ① , tighten the
screws ③ securely.
Stitch length
(㎜)
Number of stitch
(per 1 inch)
(25.4 ㎜)
Number of stitch
(per 30 ㎜)
1.4
18
21
2.0
13
15
3.0
8.5
10
3.6
7
8


