TF5/TF3/TF1
157
7-16-2. HAAD34_MAX (INPUT)
[Contents]
The signals inputted into INPUT17-32 are outputted to
OMNI OUT 1-16.
The HA GAIN setting at that time is +66dB.
The concrete setup is as follows.
INPUT
HA GAIN
OUTPUT
INPUT17
+66dB
g
OMNI OUT 1
INPUT18
+66dB
g
OMNI OUT 2
:
:
:
INPUT32
+66dB
g
OMNI OUT16
[Procedure]
Push the
[HAAD34_MAX]
button in the MEASUREMENT
SETTING screen. TF becomes the setup mentioned above
and the following popup dialog is displayed.
<GUI>
[ HAAD34_MAX ]
INPUT 16 – 32 Max gain setting (+66dB) -> OMNI 1-16
BREAK
●
Take measurements with these settings, according to
TEST SPEC “A. INPUT-OMNI OUT Gain max.”
.
(See page 159.) When measurement is completed, push
[BREAK]
button. Popup dialog is closed and the setup is
canceled.
7-16-3. HAAD12_MIN (INPUT)
[Contents]
The signals inputted into INPUT1-16 are outputted to OMNI
OUT 1-16.
The HA GAIN setting at that time is -6dB.
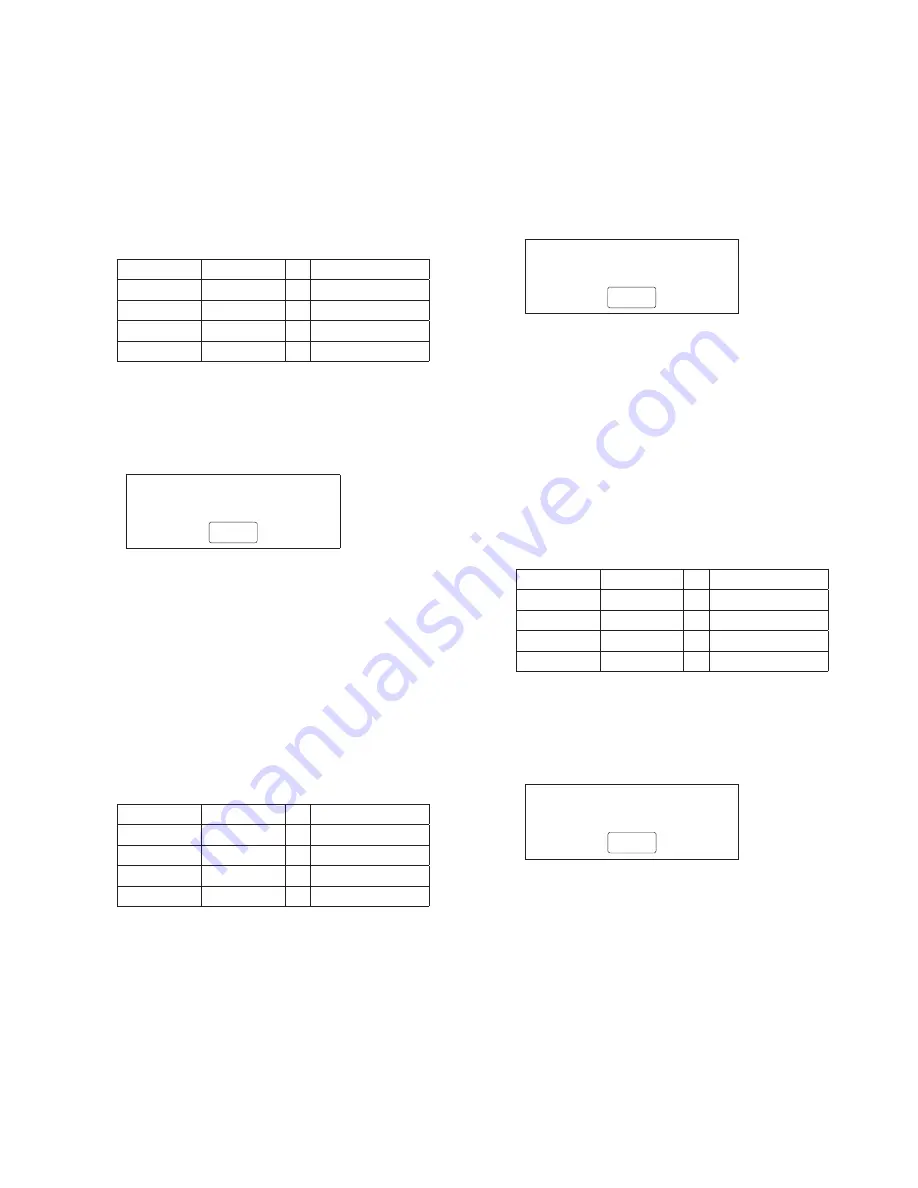
The concrete setup is as follows.
INPUT
HA GAIN
OUTPUT
INPUT 1
-6dB
g
OMNI OUT 1
INPUT 2
-6dB
g
OMNI OUT 2
:
:
:
INPUT16
-6dB
g
OMNI OUT16
[Procedure]
Push the
[HAAD12_MIN]
button in the MEASUREMENT
SETTING screen. TF becomes the setup mentioned above
and the following popup dialog is displayed.
<GUI>
[ HAAD12_MIN ]
INPUT 1 – 16 Max gain setting ( -6dB) -> OMNI 1-16
BREAK
●
Take measurements with these settings, according to
TEST SPEC “B. INPUT-OMNI OUT Gain min.”
.
(See page 159.) When measurement is completed, push
[BREAK]
button. Popup dialog is closed and the setup is
canceled.
7-16-4. HAAD34_MIN (INPUT)
[Contents]
The signals inputted into INPUT17-32 are outputted to
OMNI OUT 1-16.
The HA GAIN setting at that time is -6dB.
The concrete setup is as follows.
INPUT
HA GAIN
OUTPUT
INPUT17
-6dB
g
OMNI OUT 1
INPUT18
-6dB
g
OMNI OUT 2
:
:
:
INPUT32
-6dB
g
OMNI OUT16
[Procedure]
Push the
[HAAD34_MIN]
button in the MEASUREMENT
SETTING screen. TF becomes the setup mentioned above
and the following popup dialog is displayed.
<GUI>
[ HAAD34_MIN ]
INPUT 16 – 32 Max gain setting ( -6dB) -> OMNI 1-16
BREAK
●
Take measurements with these settings, according to
TEST SPEC “B. INPUT-OMNI OUT Gain min.”
.
(See page 159.) When measurement is completed, push
[BREAK]
button. Popup dialog is closed and the setup is
canceled.
Содержание TF5
Страница 10: ...10 TF5 TF3 TF1 866 716 225 599 225 599 TF5 TF3 Unit mm Unit mm DIMENSIONS...
Страница 11: ...11 TF5 TF3 TF1 225 510 599 TF1 Unit mm...
Страница 110: ...B B MAIN MAINCOM Circuit Board 2NA0 ZJ06330 3 110 TF5 TF3 TF1...
Страница 111: ...B B Scale 90 100 Pattern side 2NA0 ZJ06330 3 111 TF5 TF3 TF1...
Страница 112: ...WR 3 1 1 WR 1 WR 0 1 1 WR 36 1 WR 1 DA1 DACOM Circuit Board Component side 2NA ZJ06450 1 112 TF5 TF3 TF1...
Страница 113: ...WR 1 WR 1 DA2 Circuit Board Scale 90 100 Component side 2NA ZJ06430 2 113 TF5 TF3 TF1...
Страница 116: ...WR 1 WR 1 7 WR 32 5 6 C C PS Circuit Board 2NA ZJ06320 2 116 TF5 TF3 TF1...
Страница 119: ...Component side D D Component side 2NA ZJ06380 4 119 TF5 TF3 TF1...
Страница 120: ...7 WR 31 1 7 WR 31 1 7 WR 31 1 WR 31 1 WR 31 1 QRW LQVWDOOHG E E PNC PNCOM Circuit Board 2NA ZJ06380 4 120 TF5 TF3 TF1...
Страница 166: ...TF5 TF3 TF1 166 q w e r PLAY q PASS FAIL w CLOSE USER DEFINED KEYS B...
Страница 201: ...TF5 TF3 TF1 201 USB 1 1GByte USB FAT32 2 1 YSISS TF updater v bin USB root 2 USB TF USB 3 4 LCD Update 5 LCD 6 LCD Close...
Страница 202: ...TF5 TF3 TF1 202 7 SYSTEM SETUP ABOUT 8 HOME Initialize All Memory CANCEL OK OK EXIT...


