31
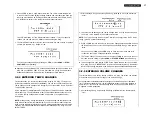
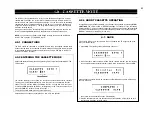
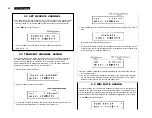
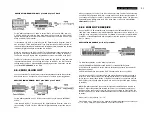
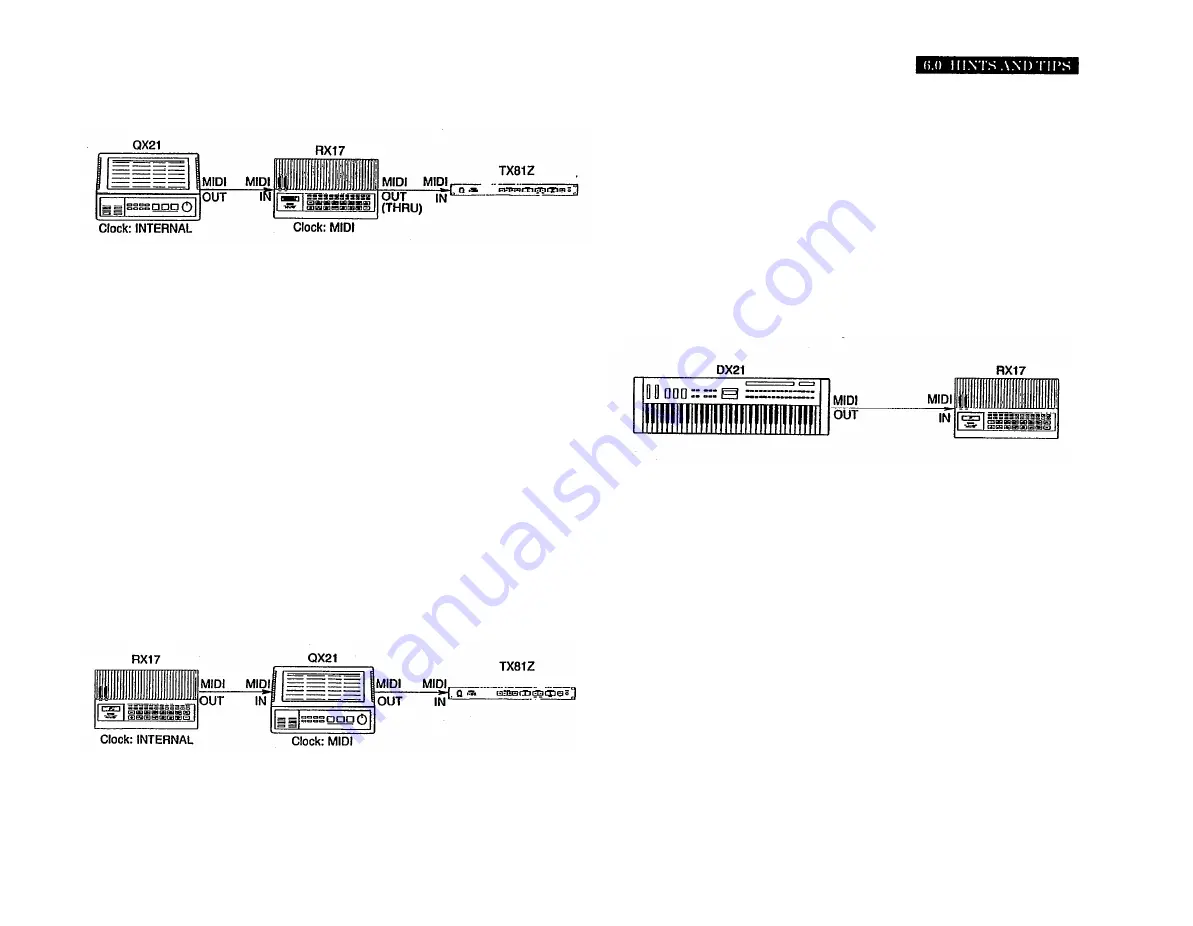
APPLICATION EXAMPLE: RX17 plus QX21 plus TX81Z
6.5.3 MIDI NOTE RECEIVE
For this MIDI application use 5.1 SYNC to set the RX17’s sync mode to MIDI. Also, use
5.8 ECHO BACK to turn ON the “Echo Back” feature, so as to allow the QX21’s MIDI
signals to be passed to the TX81Z via the RX17's MIDI OUT connector, which will be
acting as a MIDI THRU terminal.
In this example, the RX17 is controlled by a QX21 Digital Sequence Recorder, which is
also controlling a TX81Z Multi-Timbral FM Tone Generator (which provides 160 state-of-
the-art FM voices featuring simulated Reverb, variable waveform operators and variable
intonation). Digital music data is recorded into the QX21.
When you start play on the QX21, the RX17 will also start play (either Pattern Play, or
Song Play, according to whether you have selected a Pattern or Song on the RX17).
The Pattern or Song will have been programmed to fit the music stored in the QX21.
The RX17 will continuously receive MIDI Clock signals from the QX21, to keep both units
in perfect synchronization. If you change the Tempo on the QX21, the RX17 will also
change tempo. The RX17 will automatically stop playing when the music ends, or when
you press
STOP/CONTINUE
on the QX21.
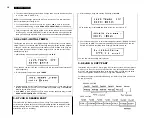
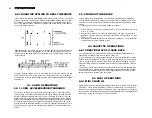
6.5.2 MIDI CLOCK OUT
You can use the RX17’s internal clock to control the playback and tempo of an external
MIDI device such as a sequencer, music computer or another rhythm programmer.
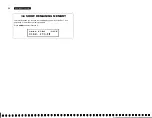
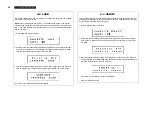
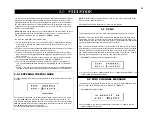
APPLICATION EXAMPLE: RX17 plus QX21 plus TX81Z.
For this MIDI application, use 5.1 SYNC to set the RX17’s sync mode to INTERNAL
CLOCK.
In this example, the RX17 is controlling a QX21 Digital Sequence Recorder, which is in
turn controlling a TX81Z FM Tone Generator. Digital music data is recorded into the
QX21.
When you start play on the RX17, the QX21 will also start play. The RX17 will continuously
send MIDI Clock signals to the QX21, to keep both units in perfect synchronization. If
you change the Tempo on the RX17, the QX21 will also change tempo. The QX21 will
automatically stop playing when the RX17’s Song ends, or when you press
STOP/
CONTINUE
on the RX17.
Each of the RX17’s 26 instruments can be assigned to a different MIDI Key. You can
then “play” each instrument from a MIDI keyboard, sequencer or music computer. For
example, if you set the RX17’s Cowbell to C3 (Middle C), whenever you play Middle C
on a DX21, or send Middle C data from a sequencer or music computer, you’ll hear the
RX17’s Cowbell.
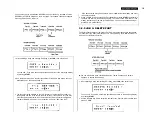
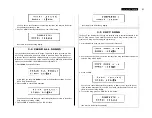
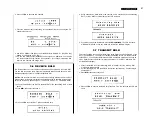
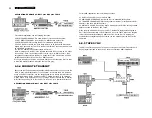
APPLICATION EXAMPLE #1: RX17 plus DX21
For this MIDI application, use the following Functions:
5.2 MIDI CHANNEL MESSAGE to allow the RX17 to receive MIDI Key data.
5.3 SET RECEIVE CHANNEL to set the RX17’s MIDI Receive Channel to the same MIDI
channel as the DX21.
5.5 MIDI NOTE ASSIGN to assign the RX17’s instruments to keys on the DX21.
You could set the DX21 to Keyboard Split, and adjust its balance so that no sound is
output from the left hand section of the keyboard. With the RX17’s instruments assigned
only to keys on the left hand section of the DX21’s keyboard, you could then play the
DX21 so that your left hand plays only the RX21, while your right hand plays a melody
on the DX21.
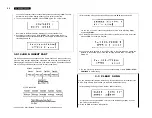
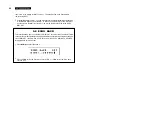
NOTE:
This MIDI setup allows you use a MIDI keyboard to write Patterns in real time on
the RX17. Key Velocity data will be received by the RX17, so the harder you play a key,
the higher will be the Accent Level of the note you have entered (in other words, the
note will be louder). The actual relationship between Key Velocity and Accent Level is
as follows:
Accent Level = (Key Velocity / 4) – 16.
For example, a Key Velocity of 0 (the minimum possible) will produce an Accent Level
of –16. A Key Velocity of 100 will produce an Accent Level of +9.
Содержание RX-17
Страница 1: ...DIGITAL RHYTHM PROGRAMMER YAMAHA AUTHORIZED PRODUCT MANUAL ...
Страница 2: ...YAMAHA DIGITAL RHYTHM PROGRAMMER OWNER S MANUAL ...
Страница 7: ...2 ...
Страница 41: ...36 ...
Страница 43: ...38 ...
Страница 44: ...39 ...
Страница 46: ...SINCE 1887 YAMAHA ...

