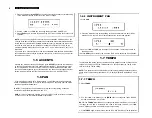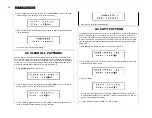
On the RX17, a “Pattern” means a one bar sequence, which repeats when you play it
back. You “write” (enter) each note of a Pattern, by pressing the instrument keys. Pattern
Writing can be done in two ways: Real Time (see 2.2) or Step Write (see 2.3). The
Quantize feature allows you to set the “fineness” of Pattern Writing, i.e., the shortest
notes that may be written (see 6.2.2. and 6.2.3 for a full explanation of Quantize). The
RX17 lets you create up to 100 Patterns, numbered 00 thru 99.
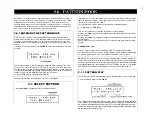
2.0.1 ENTERING THE PATTERN MODE
When you turn on the RX17, the Patterns Mode’s first Function (Select Pattern) is
automatically selected. Once you have selected a Pattern, you can play it, or use other
Functions to edit its Accent Levels, or to copy, clear (erase) or write on it (to enter
additional notes). If you’ve selected an empty Pattern, you can then begin writing a new
Pattern.
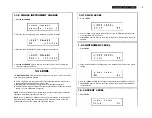
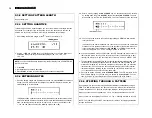
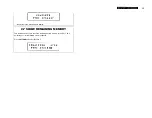
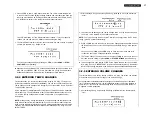
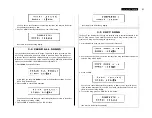
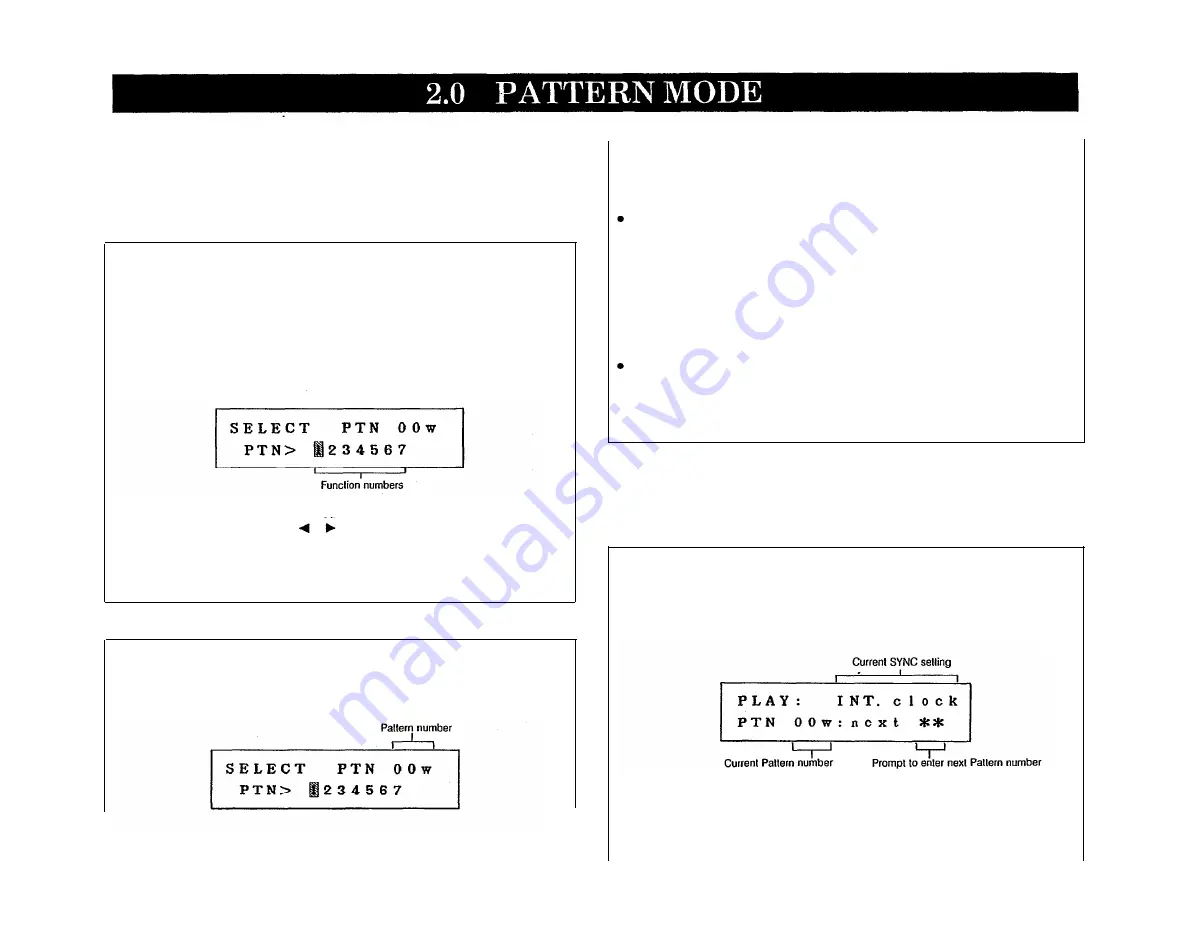
If the RX17 is in another Mode, press
PATTERN
to enter the Pattern Mode. The LCD
will show
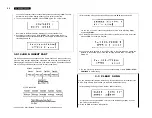
The Function numbers (1 thru 7) allow you to select the Pattern Mode’s seven main
Functions. This is done by using the or keys to move the cursor to the appropriate
Function number. The LCD will then display the selected function. You can also move
the cursor by holding
JOB
and pressing the Numeric Key corresponding to the Function
number. If you press only
JOB,
the cursor will move to Function 1.
To exit the Pattern Mode, press any other Mode key.
Pattern Mode Functions are numbered 2.1 thru 2.7 in this chapter.
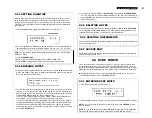
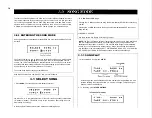
2.1 SELECT PATTERN
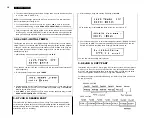
1. Press
PATTERN
The flashing cursor will indicate Function 1.
You will see a “w” in the right upper corner of the LCD if the Pattern already contains
data (“w” stands for “written”). This makes it easy for you to select an empty Pattern,
should you wish to write a new Pattern.
In the Pattern Select Mode, there are two methods of selecting Patterns.
–1 NO and +1 YES keys
This is a convenient way of selecting an adjacent or nearby Pattern.
Pressing the
–1/NO
key selects the Pattern number immediately BELOW the current
Pattern number.
Pressing the
+1/YES
key selects the Pattern number immediately ABOVE the current
Pattern number.
Each of these keys when held down causes a continuous and rapid Pattern number
change.
NUMERIC KEY PAD
This is a more convenient way of selecting a Pattern in a distant number range.
Use the Numeric Key Pad to enter a two-digit Pattern number. Pattern numbers below
10 must be preceded by a zero. For example, for Pattern 5, enter “0” then “5”.
NOTE:
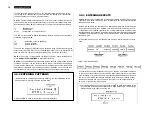
The RX17 contains a variety of factory-preset Patterns in Pattern locations 50
thru 99. We suggest that you listen to all of them–you will find many of them immediately
usable, while others can be edited to create your own Patterns. These Patterns are listed
and fully described in the accompanying RX17 PATTERN BOOK. See 2.1.2 LOADING
THE PRESET PATTERNS for a description of how to recall the preset Patterns.
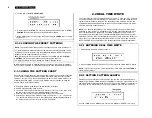
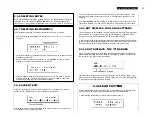
2.1.1 PATTERN PLAY
The Pattern Play function will repeatedly play the selected Pattern until you stop play.
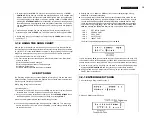
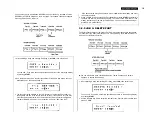
1. After selecting a Pattern, press
START
New Patterns can be selected during play, using either of the two methods described
in 2.1 SELECT PATTERN (except that holding down the
–1 NO
and
+1 YES
keys will
NOT produce continuous Pattern number change. The asterisks will be replaced by the
new Pattern number, and the newly selected Pattern will begin playing immediately after
the last beat of the previous Pattern.
7
Содержание RX-17
Страница 1: ...DIGITAL RHYTHM PROGRAMMER YAMAHA AUTHORIZED PRODUCT MANUAL ...
Страница 2: ...YAMAHA DIGITAL RHYTHM PROGRAMMER OWNER S MANUAL ...
Страница 7: ...2 ...
Страница 41: ...36 ...
Страница 43: ...38 ...
Страница 44: ...39 ...
Страница 46: ...SINCE 1887 YAMAHA ...


