The Controls & Connectors
18
RS7000
K
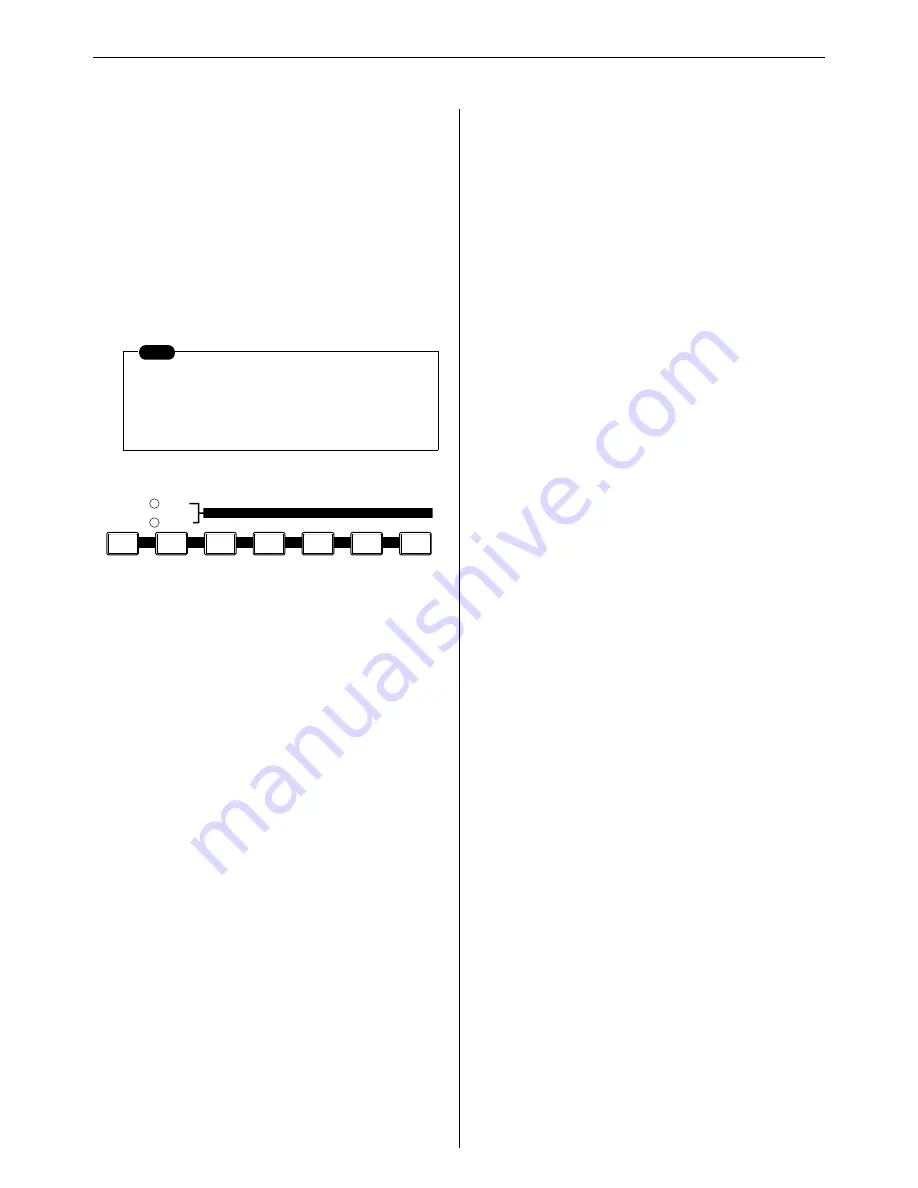
SCENE/MUTE Buttons
Up to 5 complete scene and mute setups can be stored in
memory and recalled at the touch of a button.
A “scene” includes all parameter settings for all tracks (all
knob settings and mute on/off settings). A mute setup
includes the mute on/off status for all tracks.
The ability to store and instantly recall complete scene and
mute setups means that even complex setups that would
take a considerable amount of time to program in real time
can be called up at the touch of a button. Recall operations
can be recorded to pattern chains and songs as well.
[STORE] Button
Store the current scene or mute settings to one of the 5
available memory locations: [MEMORY 1] ~ [MEMORY
5]. The selected type of data is stored when a scene/mute
memory button — [MEMORY 1] ~ [MEMORY 5] — is
pressed while the [STORE] button is held.
[SCENE/MUTE] Button
Switches between the scene and mute memory functions.
The SCENE and MUTE indicators light alternately each
time the button is pressed.
[MEMORY 1] ~ [MEMORY 5] Button
Used in conjunction with the [STORE] button (see above)
to store scene or mute setups, and when pressed alone
these buttons recall the stored scene or mute data.
L
[KEYBOARD] Button
Determines whether the RS7000 keyboard is to be used as
a music keyboard (i.e., to play notes). When you press the
[KEYBOARD] button so that its indicator lights, the key-
board will function as a music keyboard to play notes. If you
press the button once again so that the indicator goes dark,
the keyboard can be used to select sections, to select
tracks, or as track mute buttons.
M
[ARPEGGIO ON] Button
Turns the RS7000 automatic arpeggio feature on or off. The
[ARPEGGIO ON] button indicator will light when the
ARPEGGIO feature is on, and notes played on the keyboard
will be played as an arpeggio. To turn the arpeggio function
off press the button again so that its indicator goes out.
N
[OCT DOWN] and [OCT UP] Buttons
The [OCT DOWN] and [OCT UP] buttons allow the pitch of
the keyboard to be shifted down or up in octave steps.
Press both buttons simultaneously to return to normal
pitch. The current amount of octave shift is indicated on the
LCD display. (Page 73)
O
[TRANSPOSE] Button
(Page 73)
Used in conjunction with the keyboard to transpose the
overall pitch. Transposition is set by holding the [TRANS-
POSE] button and pressing the key on the keyboard corre-
sponding to the desired amount of transposition above or
below the E (track 8) key. While the [TRANSPOSE] button
is held the E indicator will light and the indicator of the
selected transpose key will flash. To transpose by more
than an octave first press the [OCT UP] or [OCT DOWN]
button and then the keyboard.
P
[MUTE] Button
(Page 74)
This button is used to make track mute settings and solo
settings.To make mute settings, press the [MUTE] button to
make the indicator light. To make solo settings, hold down
the [SHIFT] button and press the [MUTE] button to make
the indicator flash. When you do so, the keyboard pad indi-
cators (white keys) corresponding to tracks that contain
data will light, and pressing one of these keys will engage
the mute or solo function for that track, causing the indica-
tor to flash. Press the same key again to disengage the
mute function for that track. To disengage the solo function,
press the [MUTE] button.
Q
[TRACK SELECT] Button
(Page 67)
Used in conjunction with the keyboard to select a track for
recording or other operations. Tracks are selected by press-
ing the appropriate white key on the keyboard while holding
the [TRACK SELECT] button.
R
Keyboard
The keyboard is used like a conventional keyboard to enter
performance data, as well as to select sections, select
tracks, mute and solo tracks, set transposition, and more.
Normally the number “6” key corresponds to middle C. The
keyboard does not respond to velocity or aftertouch.
S
[TAP] Button
Tap this button at the desired tempo to automatically set the
BPM.
NOTE
• Scenes do not include sequence data.
• Scene/mute setups cannot be stored during
sequence recording. Store operations are
possible during playback.
STORE
MUTE
SCENE
1
2
3
4
5
MEMORY
Содержание RS7000 Ver.1.2
Страница 1: ......
Страница 26: ...Restoring the Initial Factory Settings 26 RS7000 ...
Страница 50: ...6 Finalizing Your Sound 50 RS7000 ...
Страница 51: ...RS7000 51 Chapter 1 Basic 1 RS7000 System Overview 52 2 RS7000 Internal Structure 58 3 Basic Operation 64 ...
Страница 178: ...7 Pattern Chain Editing 178 RS7000 ...
Страница 254: ...4 The Sample Jobs 254 RS7000 ...
Страница 255: ...RS7000 255 Chapter 6 The Utility Mode About the Utility Mode 256 1 System 257 2 MIDI Setup 260 3 MIDI Filter 262 ...
Страница 263: ...RS7000 263 Chapter 7 Other Information 1 MIDI Basics 264 2 MIDI Events Handled by the RS7000 266 ...


