27
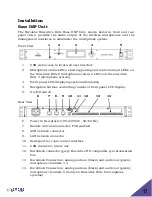
The on / off switch powers the Executive Elite base and the connected remote
antenna receiver on and off. During operation, this switch should be in the
“1”, or ‘on’, position.
The LEDs on the front panel show the current microphone states. An LED that
is off indicates that there is either no microphone paired to this channel, or the
paired microphone is in the charger, out of reach, or switched off. A green
blinking LED indicates an active microphone that is unmuted. A red blinking
LED, showing a double blink, indicates an active microphone that is muted. A
rapidly red blinking LED with a single blink indicates the microphone is
upgrading. A constant red LED indicates a channel on which microphone
pairing is taking place at the moment.
The LCD screen together with the navigation keypad allows easy monitoring of
the Executive Elite system as well as managing some system settings without
additional equipment. Its home screens provide information on audio levels,
radio signal strength, and access to gain settings for the analog audio output.
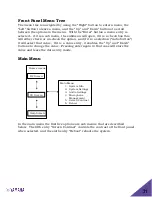
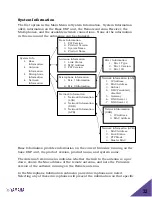
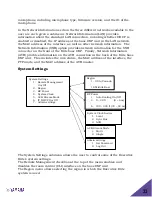
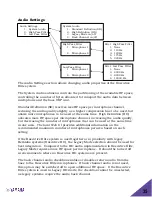
The menu structure displays system information, and allows changes to some
system and audio settings. The front panel can also be used to pair and un-
pair microphones. It does not replace the local web UI interface to manage all
options and functionality of an Executive Elite system. The front panel
interface will also not allow access to password protected areas of the interface
unless the system has first been set up using the local web UI.
Home Screens
When starting an Executive Elite system, the first page that comes up on the
Front Panel LCD is the Volume Unit (VU) screen. This screen is one of the 3
home screens on the Front Panel UI. Using the “up” and “down” keys to the
right of the LCD while on the VU page will show the other two home screens.
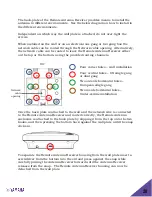
The VU screen shows the audio volume for each unmuted, linked microphone,
as well as battery charge information.


