Example 2) High audio quality system with XMV and YDIF connections (digital connections)
MTX Setup Manual
48
Example settings for other DCP units
Storing a preset
Now we’ll store the settings we’ve made up to this point as a preset.
By recalling presets from the MTX itself or from the DCP, you can switch
the settings as appropriate for various situations.
To store or recall a preset, click the camera icon in the upper part of
MTX-MRX Editor.
When you click the camera icon, the “Preset” dialog box will appear. You can create up to 50 presets.
Click the preset number that you want to store; the line will be selected. Then click the [Store] button, specify the preset
name, and click the [OK] button.
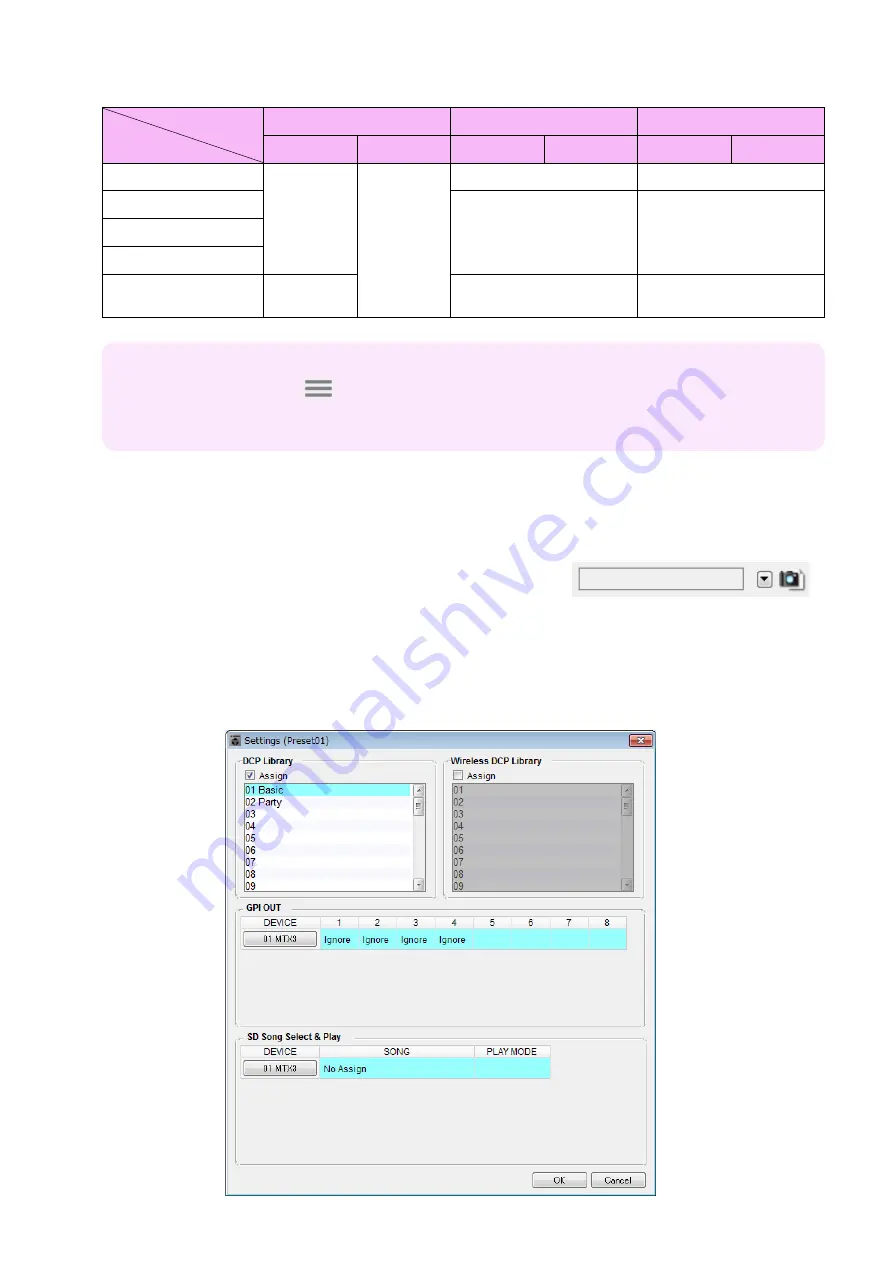
Double-click a location where the DCP column indicates “No Assign,” and choose a library that you specified on the
DCP.
1 (Hall B)
2 (Entrance)
3 (Kitchen)
Basic
Party
Basic
Party
Basic
Party
Switch 1
Same as ID=0
(Hall A)
Same as ID=0
(Hall A)
Input Ch O
N
(CH1)
Input Ch O
N
(CH2)
Switch 2
N
o Assign
N
o Assign
Switch 3
Switch 4
Knob 1
ZO
N
E OUT
Level (ZO
N
E2)
Input Ch Level (CH1)
Input Ch Level (CH2)
ID of the DCP
Library name
Tips
By clicking the menu button (
), you can copy and paste the Parameter Assign and Dimmer & Lock set-
tings of the displayed library item. By copying the ID=0 settings to ID=1, you can speed up your workflow. Sim-
ilarly, you can make Basic settings for ID=2 and then copy them to Party, or copy them to ID=4.


