54
4.9.7 Auto Scan Setup
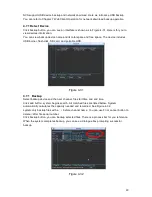
In
X347H347H347H
Figure 4-38, click border button. The interface is shown as in
X348H348H348H
Figure 4-43.
Please go to
X349H349H349H
X349H349H349H
Figure 4-35, use direction arrows to select camera left limit
Then please go to
X350H350H350H
Figure 4-43
X
and click left limit button
Repeat the above procedures to set right limit.
Figure 4-44
4.9.8 Activate Auto Scan
In Figure 4-40
, click ―Auto Scan‖ button, the system begins auto scan. Correspondingly, the auto
scan button becomes Stop button. Click stop button to terminate scan operation.
4.10
Flip
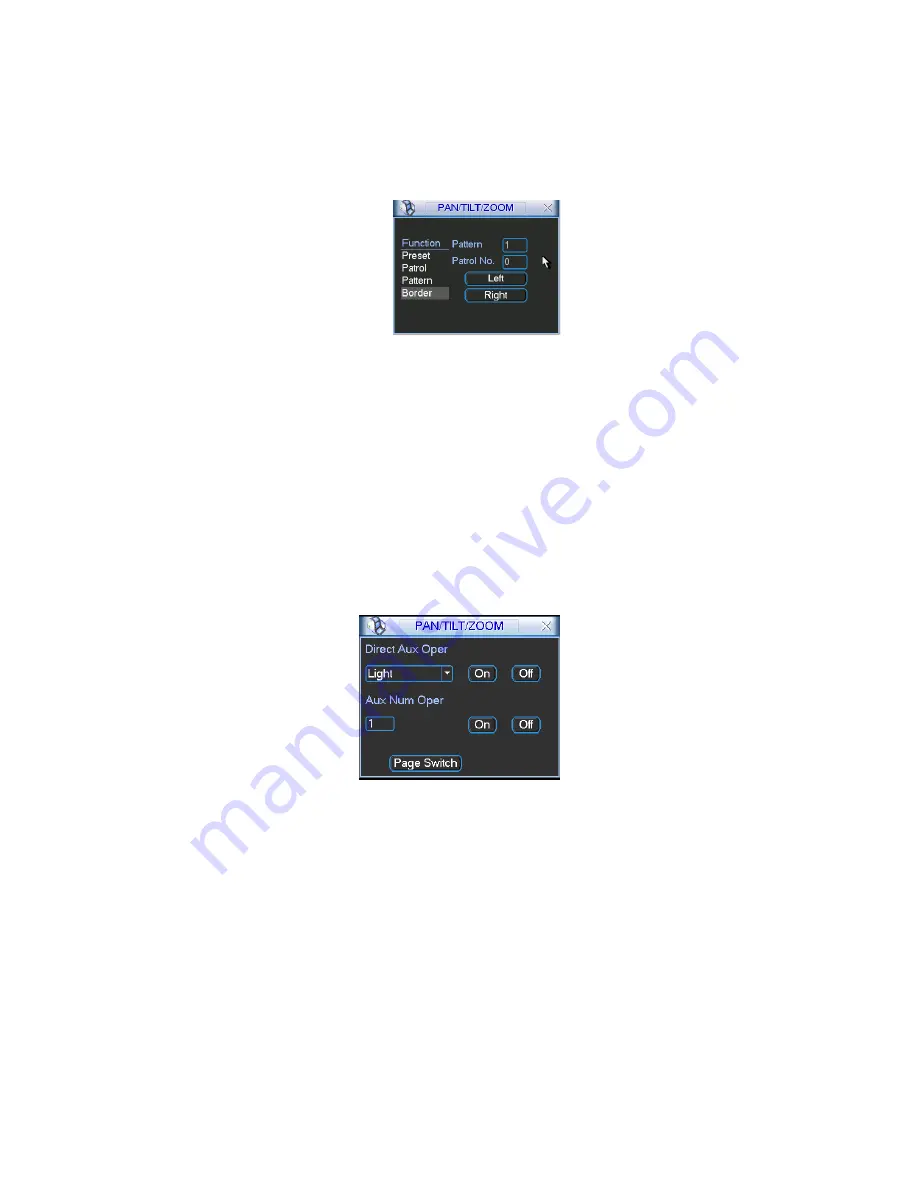
In Figure 4-40, click page switch button, you can see an interface is shown as below. See Figure
4-45. Here you can set auxiliary function. The aux value has relation ship with the Aux button of
the decoder.
Click page switch button again, system goes back to Figure 4-36.
Figure 4-45
Содержание XP116VS
Страница 1: ...1 4 8 16 Channel Real time D1 NVS User s Manual Version 1 0 0 XP116VS ...
Страница 15: ...15 Dimension 440mm 300mm 42 1mm Weight 2 35KG Exclude HDD Installation Mode Desktop installation ...
Страница 44: ...44 Figure 4 21 Figure 4 22 Figure 4 23 Figure 4 24 4 5 3 Video Loss ...
Страница 47: ...47 Figure 4 27 Figure 4 28 Figure 4 29 Figure 4 30 4 7 Backup ...
Страница 92: ...92 Figure 6 11 ...
Страница 148: ...148 Samsung HA101UJ CE 1T SATA ...

