24
Important:
If the HDD amount is less than four, you do not need to install the HDD bracket.
When there is a bracket, please make sure the installation direction of HDDs is the same.
3.4
Rack Installation
Please follow the steps listed below.
Use twelve screws to fix the unit
Please make sure the indoor temperature is below 35
℃
(95°f).
Please make sure there is 15cm (6 inches) space around the device to guarantee sound
ventilation.
Please install from the bottom to the top.
If there are more accessories connected in the rack, please take precaution measures in
case the rack power is overload.
3.5
Connecting Power Supply
Please check input voltage and device power button match or not.
We recommend you use UPS to guarantee steady operation, NVS life span, and other peripheral
equipments operation such as cameras.
3.6
Connecting Video Input and Output Devices
3.6.1 Connecting Video Input
The video input interface is BNC. The input video format includes: PAL/NTSC
BNC
(
1.0V
B
P-
P
,
B
75Ω.
)
/
The video signal should comply with your national standards.
The input video signal shall have high SNR, low distortion; low interference, natural color and
suitable lightness.
Guarantee the stability and reliability of the camera signal:
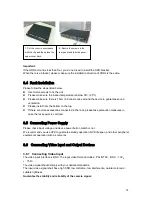
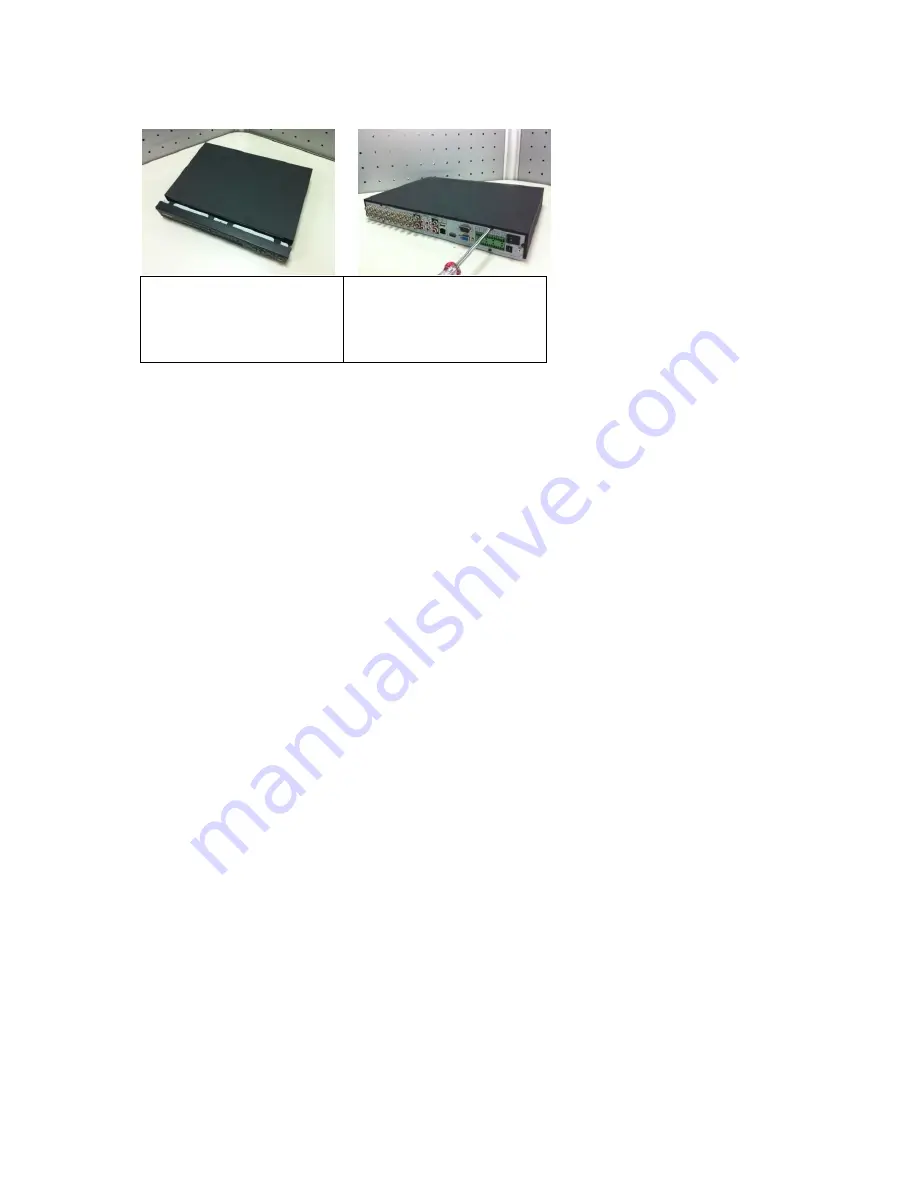
7. Put the cover in accordance
with the clip and then place the
upper cover back.
8. Secure the screws in the
rear panel and the side panel.
Содержание XP116VS
Страница 1: ...1 4 8 16 Channel Real time D1 NVS User s Manual Version 1 0 0 XP116VS ...
Страница 15: ...15 Dimension 440mm 300mm 42 1mm Weight 2 35KG Exclude HDD Installation Mode Desktop installation ...
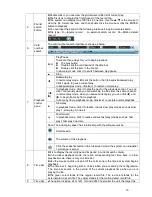
Страница 44: ...44 Figure 4 21 Figure 4 22 Figure 4 23 Figure 4 24 4 5 3 Video Loss ...
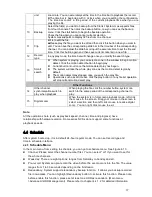
Страница 47: ...47 Figure 4 27 Figure 4 28 Figure 4 29 Figure 4 30 4 7 Backup ...
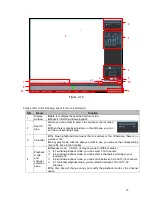
Страница 92: ...92 Figure 6 11 ...
Страница 148: ...148 Samsung HA101UJ CE 1T SATA ...


