.
21
.
Type the IP address and Password and press Connect button. You can save the IP address for
future use by checking “Save IP.” Once an IP address saved, the IP address will be the default
IP address.
If the client is connected to your DVR, you will see the current DVR screen image on the screen
and the Status Window Show Current Connection Speed.
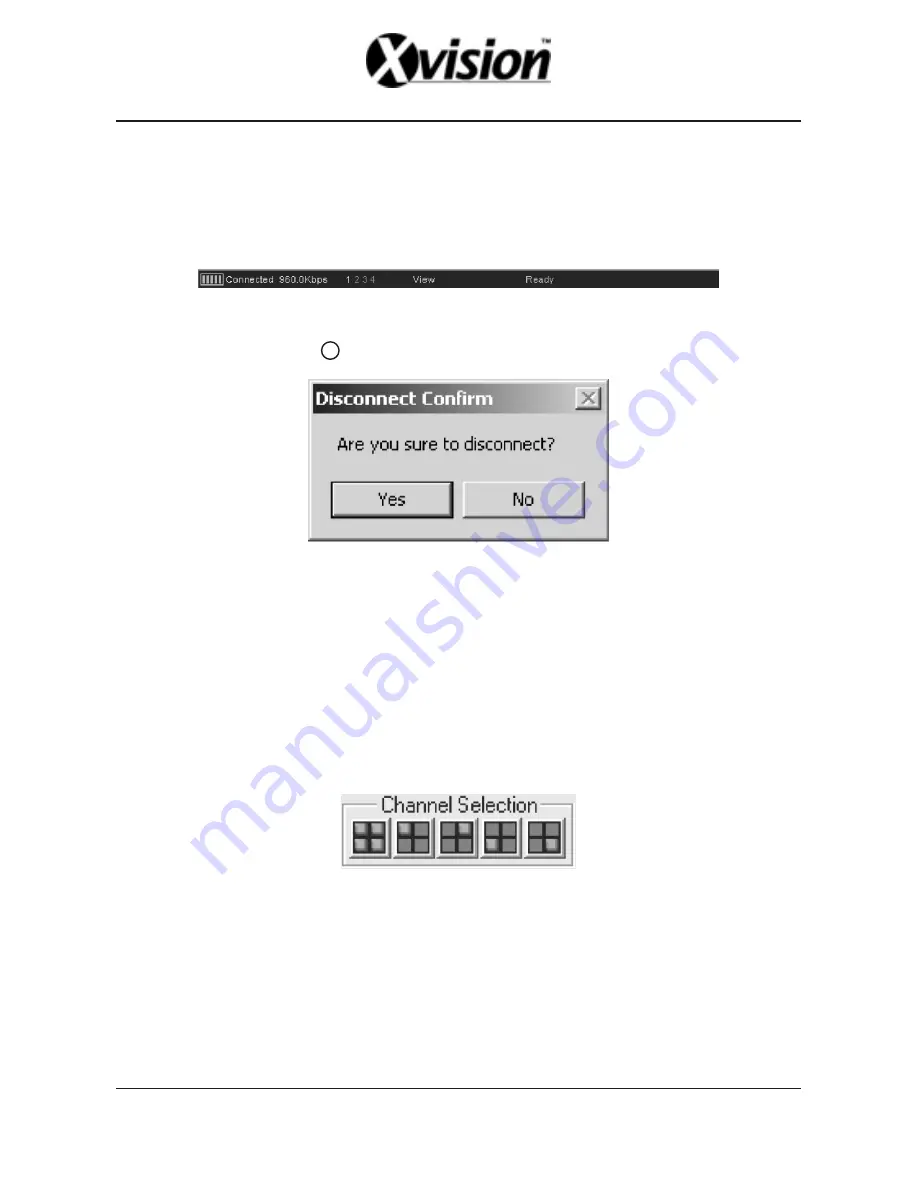
Fig.2. The Status Window [showing connection speed of 960 Kbps]
B. Disconnection
To disconnect, press
button (or press [Ctrl+C] key) again. Then you will see the confirmation
window.
!
Fig.3. Disconnection Confirm Window
To disconnect, press “YES.” Press “NO” to maintain current connection. However, you can
configure the application not to show the confirmation window if you want. See Section 8.A.ii for
more information.
Once the application successfully connected to your DVR, you would see all four channels in
the screen (the channel display may differ depending on the record channel setting of the DVR).
Now, you can select a channel to see as full screen image.
■
Channel Navigation
A. Change Channel
Select one channel button shown in Fig.4.
Fig.4. Channel Navigation Buttons
You can also use keyboard to change view channel. The key is listed below.
* [1] or [NUMPAD 1] channel 1
* [2] or [NUMPAD 2] channel 2
* [3] or [NUMPAD 3] channel 3
* [4] or [NUMPAD 4] channel 4
* [5] or [NUMPAD 5] all four channels
Содержание 4 Channel Standalone DVR
Страница 1: ...4 Channel Standalone DVR USERS MANUAL...
Страница 2: ......
Страница 35: ...R12C403001...


