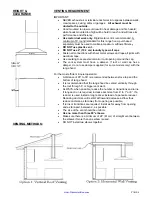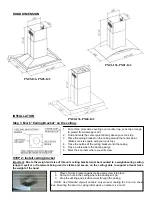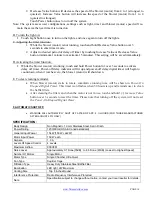
HOOD DIMENSION
INSTALLATION
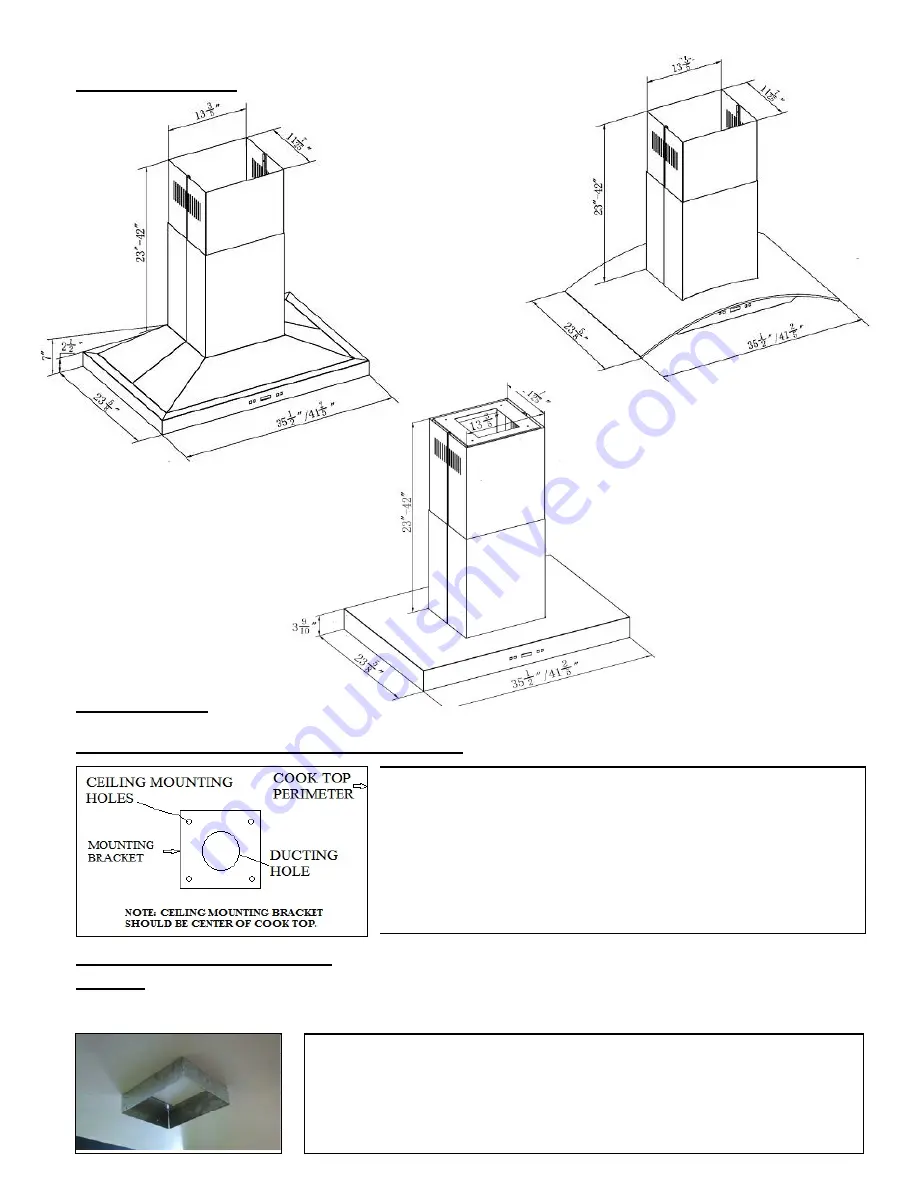
Step 1: Mark “Ceiling Bracket” on the ceiling.
www.XtremeAirUsa.com
PAGE
6
PX01-I36, PX01-I42
PX05-I36, PX05-I42
PX04-I36, PX04-I42
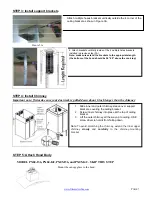
STEP 2: Install ceiling bracket
1. Put a thick, protective covering over counter top, cook top or range
to protect from damage or dirt.
2. Find and mark the center point directly above your cook top
3. Place the ceiling bracket on the ceiling around the center point.
(Make sure it is square with your cook top).
4. Trace the outline of the ceiling bracket onto the ceiling
5. Trace a circle where the ducting will go
6. Mark the 4 corners where you will screw.
Important: Due to the weight and size of this unit, ceiling bracket must be mounted to a weight-bearing ceiling
(support system or framework being used is stable and secure on the ceiling) able to support at least twice
the weight of the hood
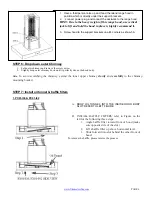
1. Place chimney bracket against ceiling and screw into place
2. Cut out a hole in the ceiling where the ducting will go.
3. Drop the ducting and electrical work through the ceiling
NOTE: Use threaded drywall anchors only when mounting the hood on sheet
rock. Mounting the hood on ceiling rafter studs or lumbers is a must.


