STEP 3: Install support brackets
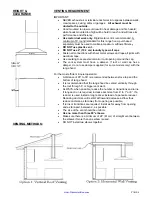
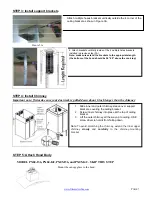
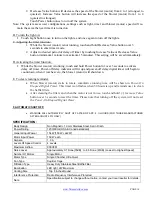
1. Attach multiple hoses brackets vertically outside the 4 corner of the
ceiling bracket as show in Figure 3A.
Figure 3A
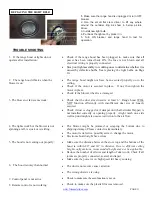
2. Attach brackets vertically inside of the 4 multiple holes brackets
installed in previous step (3A).
Note: make sure extend the brackets to the appropriate length.
(the bottom of the hood should be 26”-30” above the cook top)
STEP 4: Install Chimney
Important note: first make sure your ductwork is pulled down about 6 inch longer than the chimney
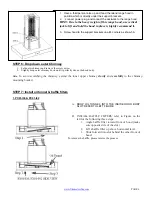
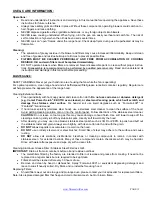
1. Slide inner and outer chimney sleeve over support
brackets, covering the ceiling bracket
2. Screw inner chimney into place at the top of ceiling
bracket
3. Lift the outer chimney all the way up to ceiling, USE
screw driver to hold it from falling down
Note:
To avoid scratching the chimney, extend the inner upper
chimney
slowly
and
carefully
to the chimney-mounting
bracket
.
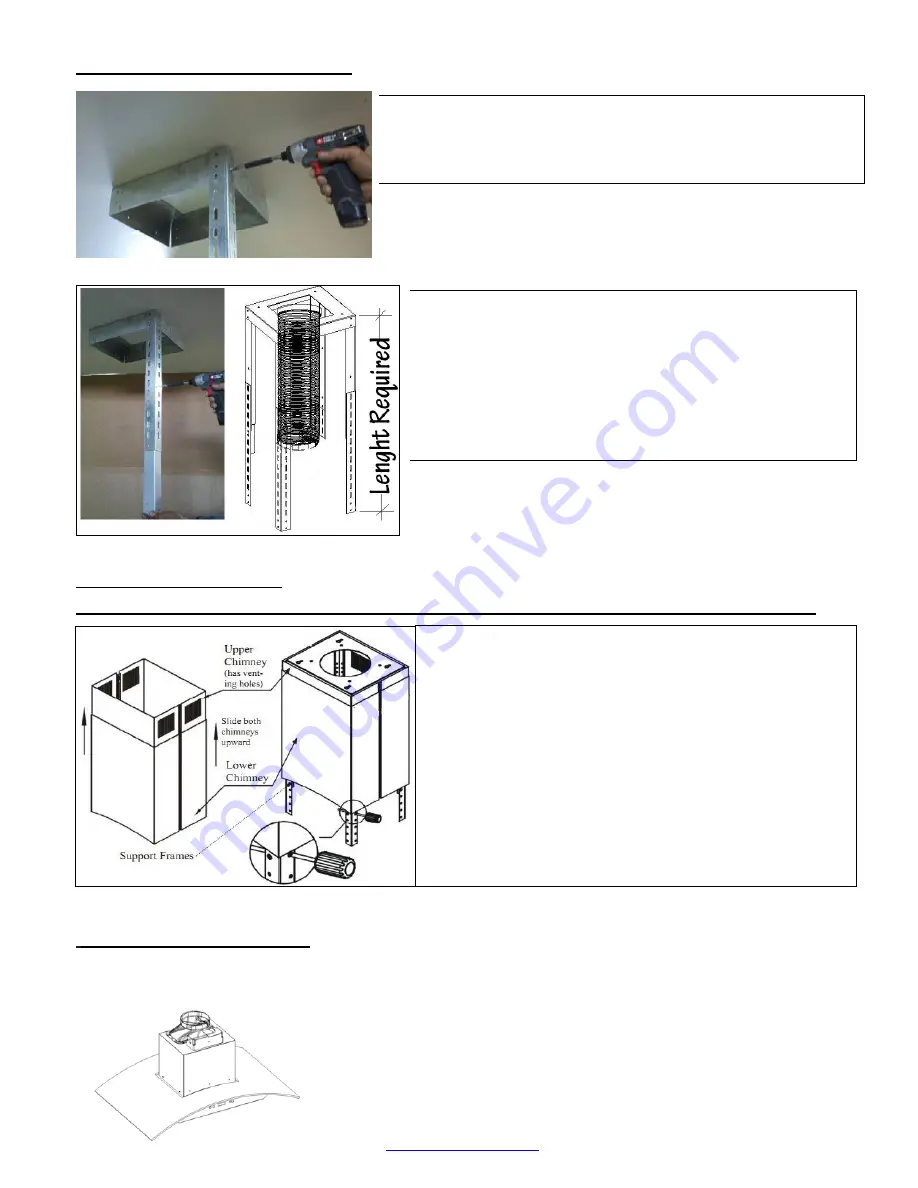
STEP 5: Attach Hood Body
MODEL PX04-I36, PX04-I42, PX05-I36, and PX05-I42 – SKIP THIS STEP
www.XtremeAirUsa.com
PAGE
7
Mount the canopy glass to the hood.


