


UC912G IP Phone
Copyright © 2019 Xorcom Ltd.
All rights reserved
Page 79 of 165
Keypad Lock
Enabling Keypad Lock using the phone interface
1.
1. Press Menu--Settings--Advanced Setting--Phone Setting--Lock
2.
2. Press Left arrow or Right arrow key or Info/Switch to change choose lock type. Available
options are All Keys, Menu Key, Function Key, Lock & Answer
3.
Press Save or OK key to save the configuration.
Disabling Keypad Lock using the phone interface
1.
Press Menu--Settings--Advanced Setting(Password: admin)--Phone Setting--Lock
2.
Press Left arrow or Right arrow key or Info/Switch to select state
3.
Press Save or OK key to save the configuration.
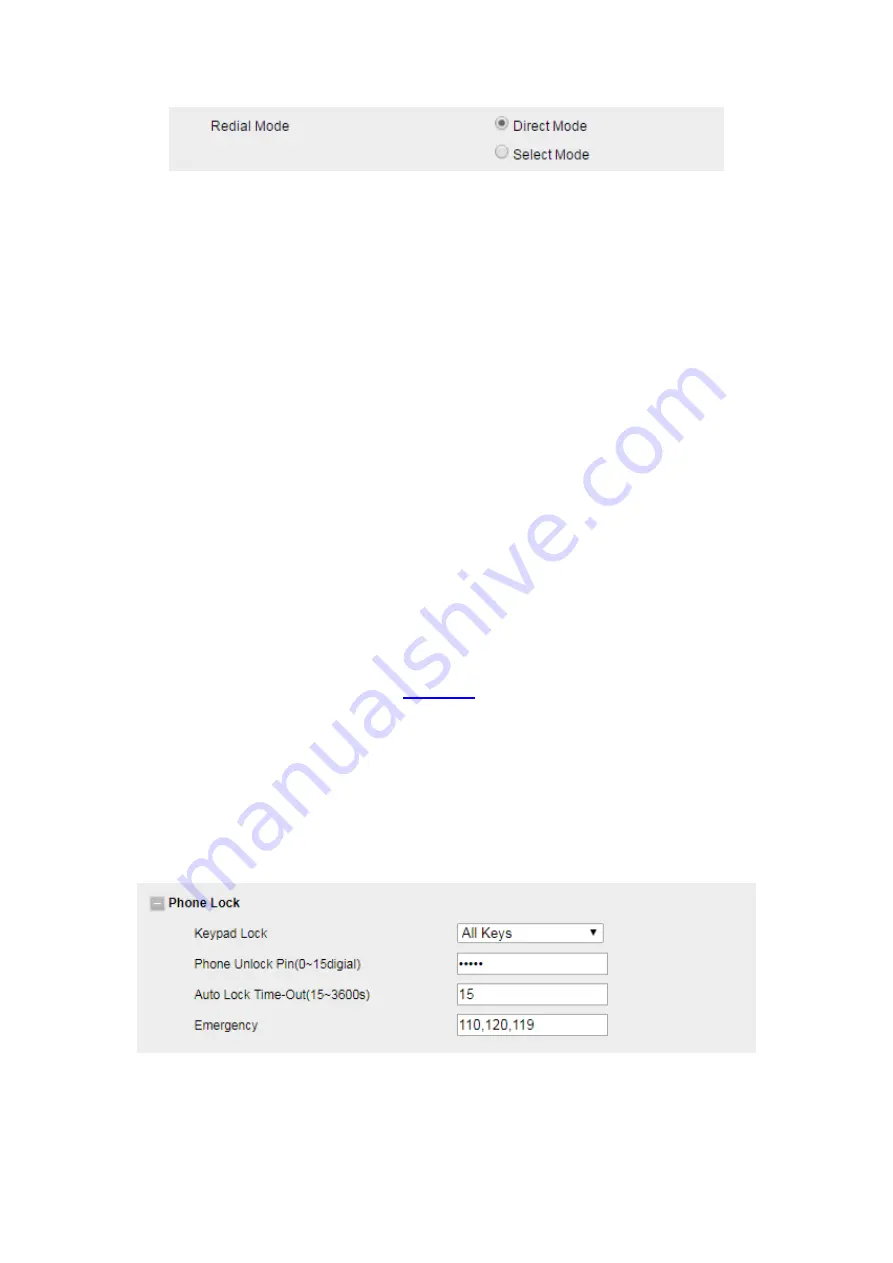
Enabling Keypad Lock using the web interface
1.
Login to the web interface (refer to
for details of the login process) and click Web
interface Setting → Features
2.
Choose the Phone Lock.
3.
To Enter the Phone Unlock Pin and Auto Lock Time-Out
4.
Enter the Emergency number: when the phone is locked, only the Emergency Number can
be dialed.
5.
Click SaveSet to save the configuration.
Содержание UC912G
Страница 1: ...UC912G IP Phone Xorcom UC912G IP Phone User Manual ...
Страница 16: ...UC912G IP Phone Copyright 2019 Xorcom Ltd All rights reserved Page 16 of 165 12 Mute ...
Страница 35: ...UC912G IP Phone Copyright 2019 Xorcom Ltd All rights reserved Page 35 of 165 ...
Страница 82: ...UC912G IP Phone Copyright 2019 Xorcom Ltd All rights reserved Page 82 of 165 ...
Страница 157: ...UC912G IP Phone Copyright 2019 Xorcom Ltd All rights reserved Page 157 of 165 ...
Страница 159: ...UC912G IP Phone Copyright 2019 Xorcom Ltd All rights reserved Page 159 of 165 ...


