

Wireless NVR System User Manual
39
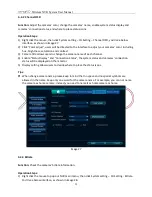
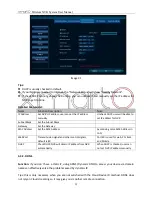
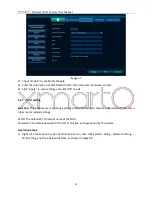
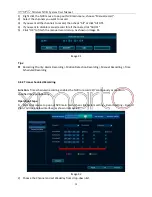
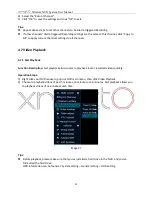
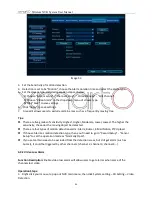
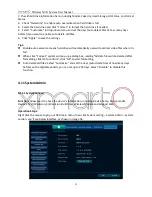
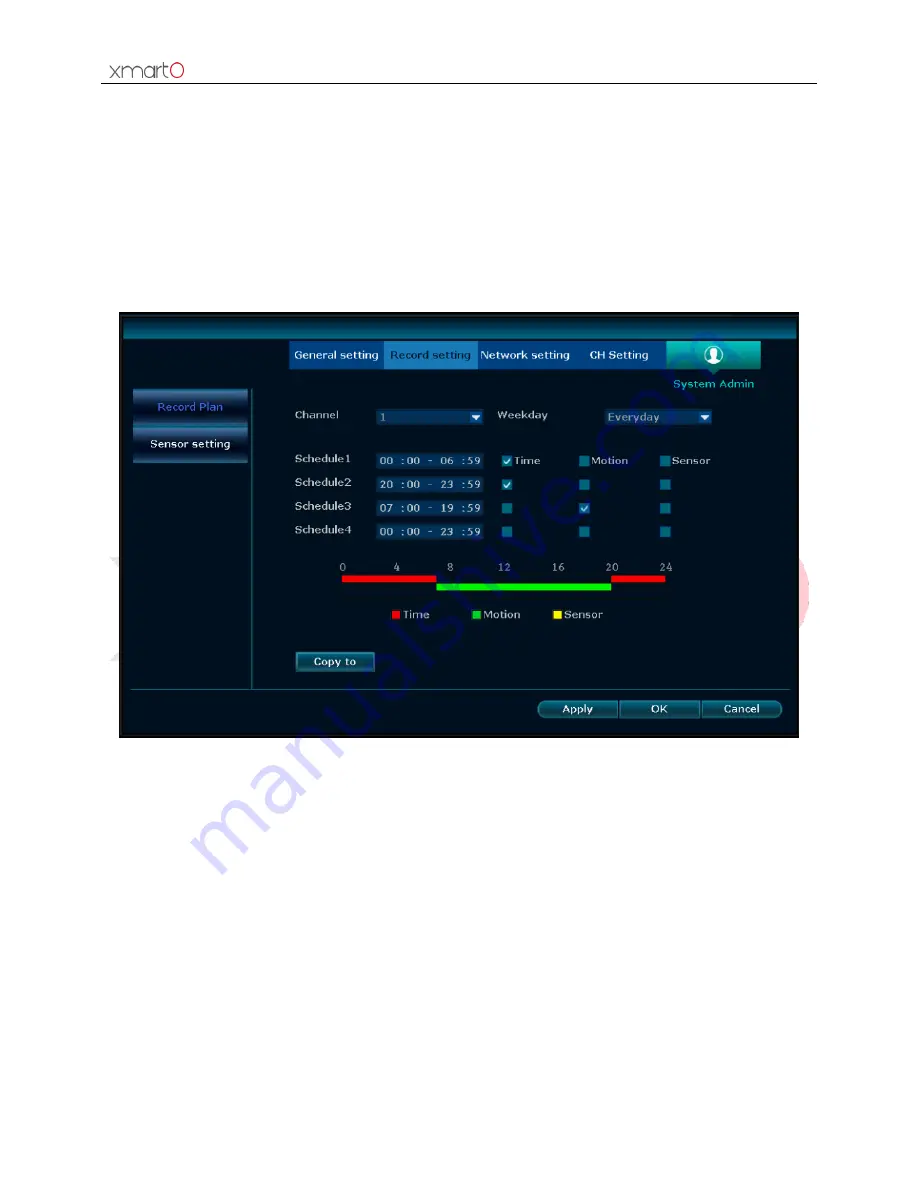
3)
Schedule the time period,
and check “Time”.
You can set 4 time periods for each channel.
4)
Click “Copy to” if you want to apply the settings to oth
er channel or all channels.
5)
Cli
ck “Apply” to save the settings and click “OK” to exit.
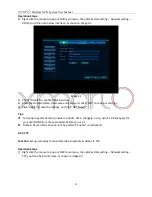
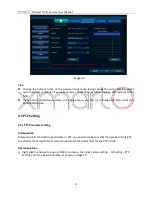
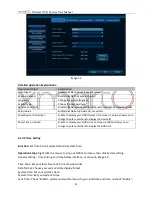
Tips:
You can set up to 4 time periods for each channel per your specific recording needs.
If you want the NVR to record 24 hours continuously, then you only need to set one time period,
from 0:00 - 23:59, and keep the other schedules blank.
Different time periods will show in different color for easy differentiation.
You can combine the various recording modes on each channel. As shown in image 43.
Image 43
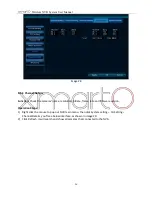
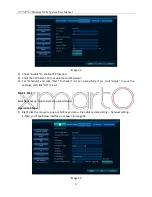
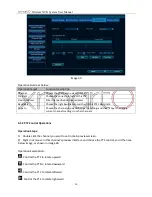
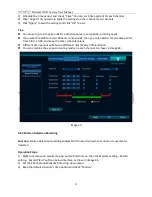
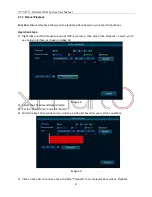
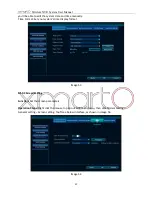
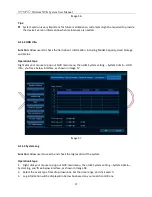
4.6.3 Motion Detection Recording
Function:
Motion detection recording enables NVR to record only when motion or movement is
detected.
Operation Steps:
1)
Right click mouse on monitor to pop out NVR main menu, then click System setting
–
Record
setting
–
Record Plan.
You’ll see below
interface, as shown in image 44.
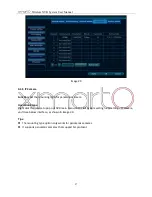
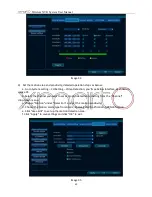
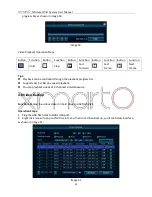
2)
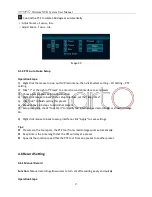
Set the Channel and Weekday from drop-down menu.
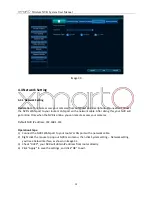
3)
Keep the default schedule 1 time period and c
heck “Motion”.


