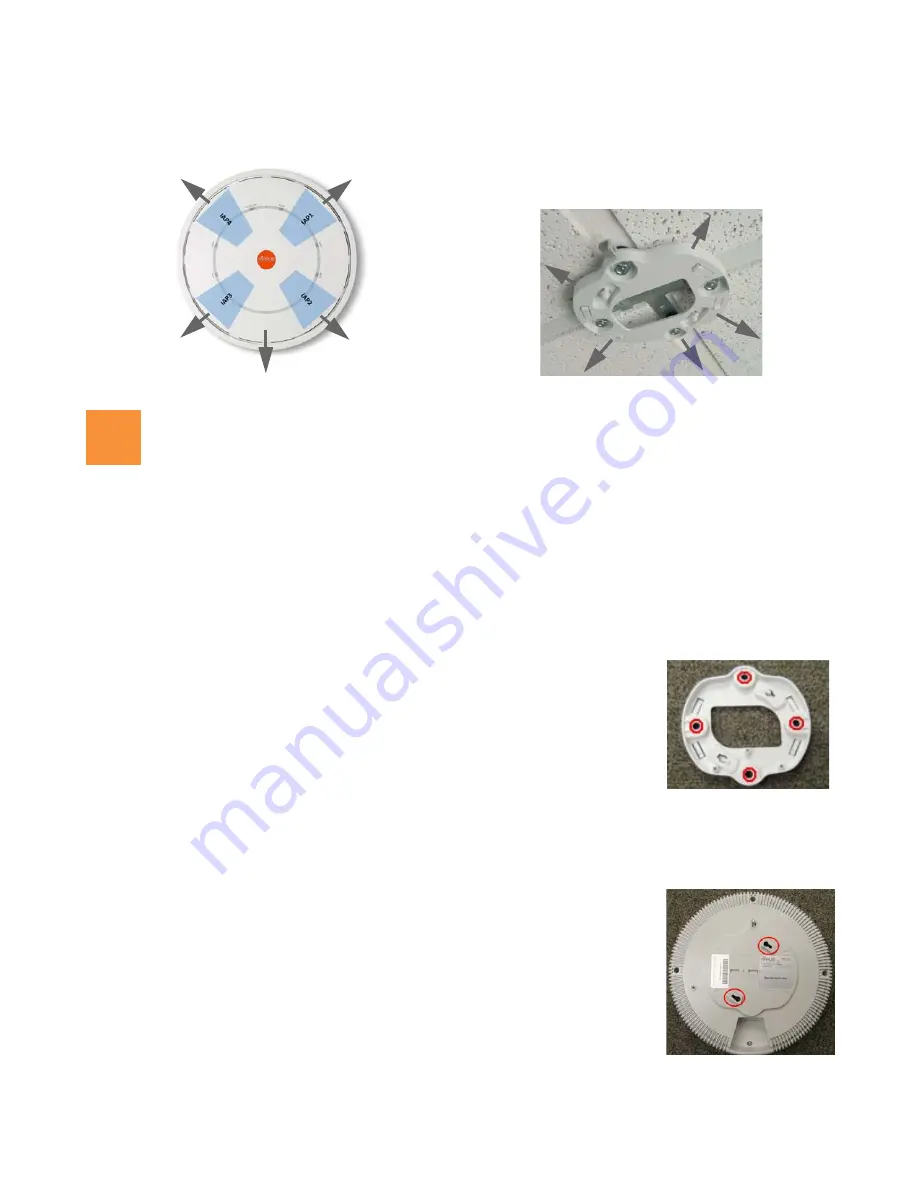
XD Series High Density Access Points
3
Install Mounting Hardware and AP
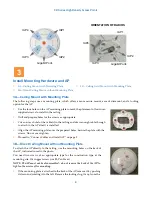
3A—Ceiling Mount with Mounting Plate
The following steps use a mounting plate, which offers a more secure mount, ease of dismount, and a locking
option for the AP.
3B—Direct Ceiling Mount without Mounting Plate
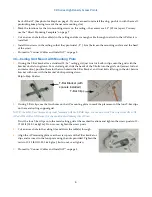
To attach the AP directly to the ceiling, use the mounting holes on the back of
the AP, indicated in red in the photo.
You need two screws of an appropriate type for the construction type at the
mounting site. We suggest screw size #8, Pan Head.
NOTE: The AP must not be disassembled - do not remove the back of the AP to
tighten the screws after mounting.
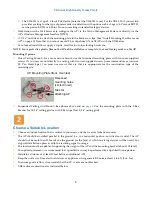
1.
If the mounting plate is attached to the back of the AP, remove it by pushing
it down and rotating it to the left. Remove the locking slug, if any, from the
3A—Ceiling Mount with Mounting Plate
3B—Direct Ceiling Mount without Mounting Plate
3C—Ceiling Grid Mount with Mounting Plate
1.
Use the four holes on the AP mounting plate to mark the placement of four user-
supplied screws to install in the ceiling.
2.
Drill and prepare holes for the screws as appropriate.
3.
Cut an access hole for the cable(s) in the ceiling and draw enough cable through
to attach to the AP after it is installed.
4.
Align the AP mounting plate over the prepared holes. Secure the plate with the
screws. Do not over-tighten.
5.
Proceed to “Connect Cables and Install AP” on page 5.
IAP1
IAP4
IAP2
IAP3
Gigabit Ports
IAP1
IAP4
IAP2
IAP3
Gigabit Ports
ORIENTATION OF RADIOS
3


