


A list of the applications and windows already open on your computer appears on the pop-up
menu.
3
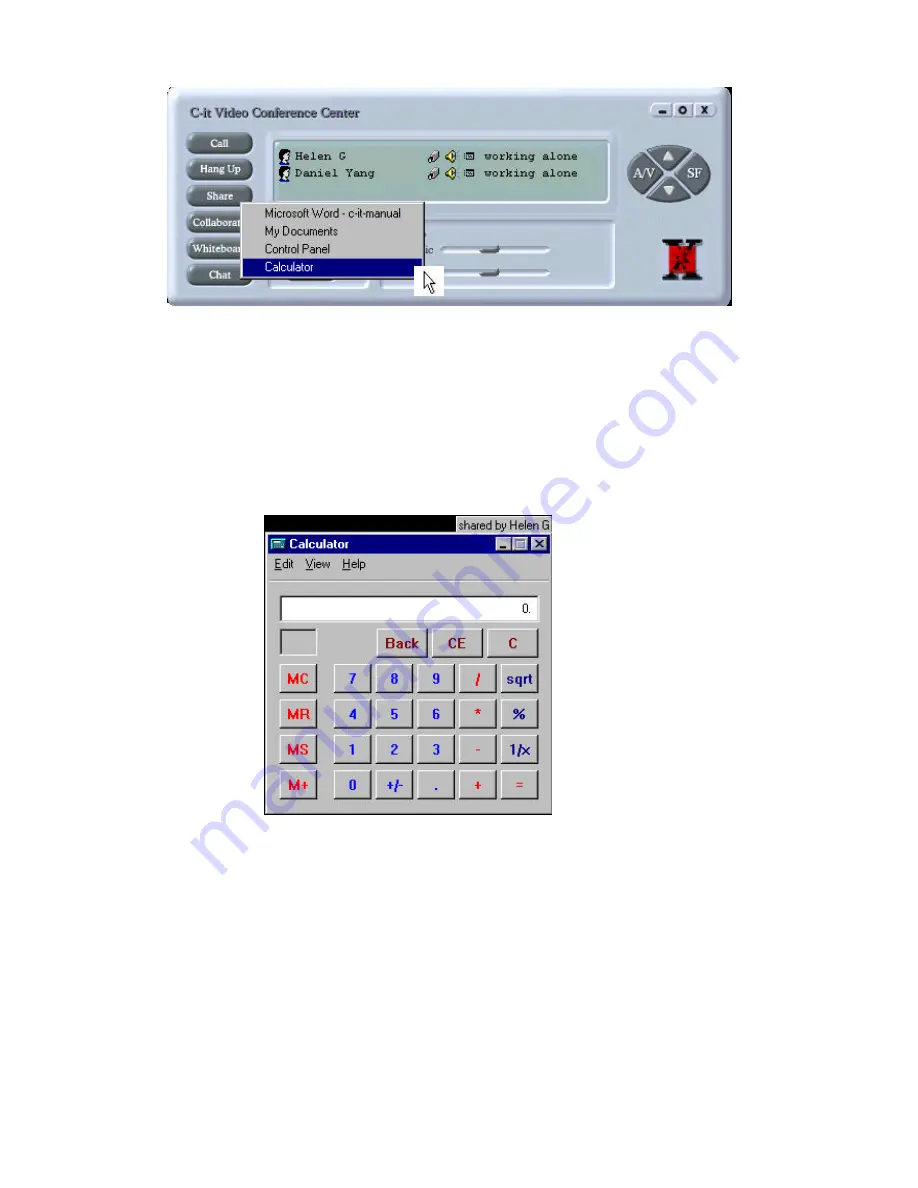
Select the application that you want to share. In the example, Microsoft PowerPoint is selected.
t
TIP: Make sure the application is not minimized when you select it from the list. If it's minimized,
the other conference participants will only see the application's minimized icon.
The software sends a complete image of that application to all the participants in the conference. If
a file is open, the conference participants see it too. This sample shows a PowerPoint presentation
being shared. Note the tab at the top left corner that shows who is sharing the application.
Everyone in the videoconference will see the entire application window, even if they don’t have
the application on their computer. The share tap shows who “owns” the application and is sharing
it.
4 Click on the application's window to bring it to the front. This helps the other participants see
the shared application better.
5 To end the sharing, click the Share button again and deselect the shared item. The checkmark
next to it indicates it's selected.
t
NOTE: Sharing allows everyone else to see the item that you decide to share. Typically it is an
application and file because that's how you can show work in progress. However, you could also
share any open window from your computer desktop. Sharing is like "read only" in that people
can see, but not work with, whatever you let them share.


