3 Select options for the video.
Send Image Size
-- The smaller the image size, the less data that has to be transmitted and
therefore the smoother the video motion. Click Small if the video motion is jerky. Then, on the
Local window itself, click the reduce button to set the window to be is as small as possible. The
best setting for a conference depends on the capabilities of the network You're using.
Video Quality
-- The better the image quality, the more data that has to be transmitted and
therefore the more likelihood that the video motions will become jerky. To transmit smoother
video, drag the slider to "Faster Video." The actual setting you choose depends on the capability
of the network You're using to videoconference. If motion is not important -- for instance the
camera is pointed at a presentation screen in an auditorium -- drag the slider all the way to Better
quality to see the best image.
Sending and receiving video
-- Click these two options to automatically send and receive video as
you start each conference. If they aren't checked, clicking the Local and Remote buttons on the
Video Conference Center panel opens the Remote and Local windows and starts sending and
receiving video.
Video Camera Properties --
These options are set for the C-it Video Camera and therefore do
not have to be changed.
4 Click OK. You may see a momentary flicker while the camera and software adjusts to the new
settings.
t
NOTE: The other tabs on the Options dialog box offer features and settings available from
Microsoft NetMeeting. Please see the documentation for NetMeeting for a description of those
features and settings. You also need to set Full Duplex in the Audio Option.
Adjusting Window Size
The Local and Remote windows can be enlarged and reduced. The larger the size, the more data that
has to be transmitted over the network. Thus, reducing the window sizes can help the video retain its
smoothness during transmission.
To change the window size, click the left and right arrows on the Local and Remote windows. Each
click of the left arrow reduces the window size by half. Each click of the right arrow doubles the
window size.
The actual size depends on its initial setting for the window on the Video Options dialog box. To
send the smallest possible window size, select Small image size first from the Video Options dialog
box, then click the reduce button on the window itself to further reduce its size.
Pause the Video
Just like you can mute audio while conferencing, you can pause video in case you don't want other
participants to see the image from your camera temporarily.
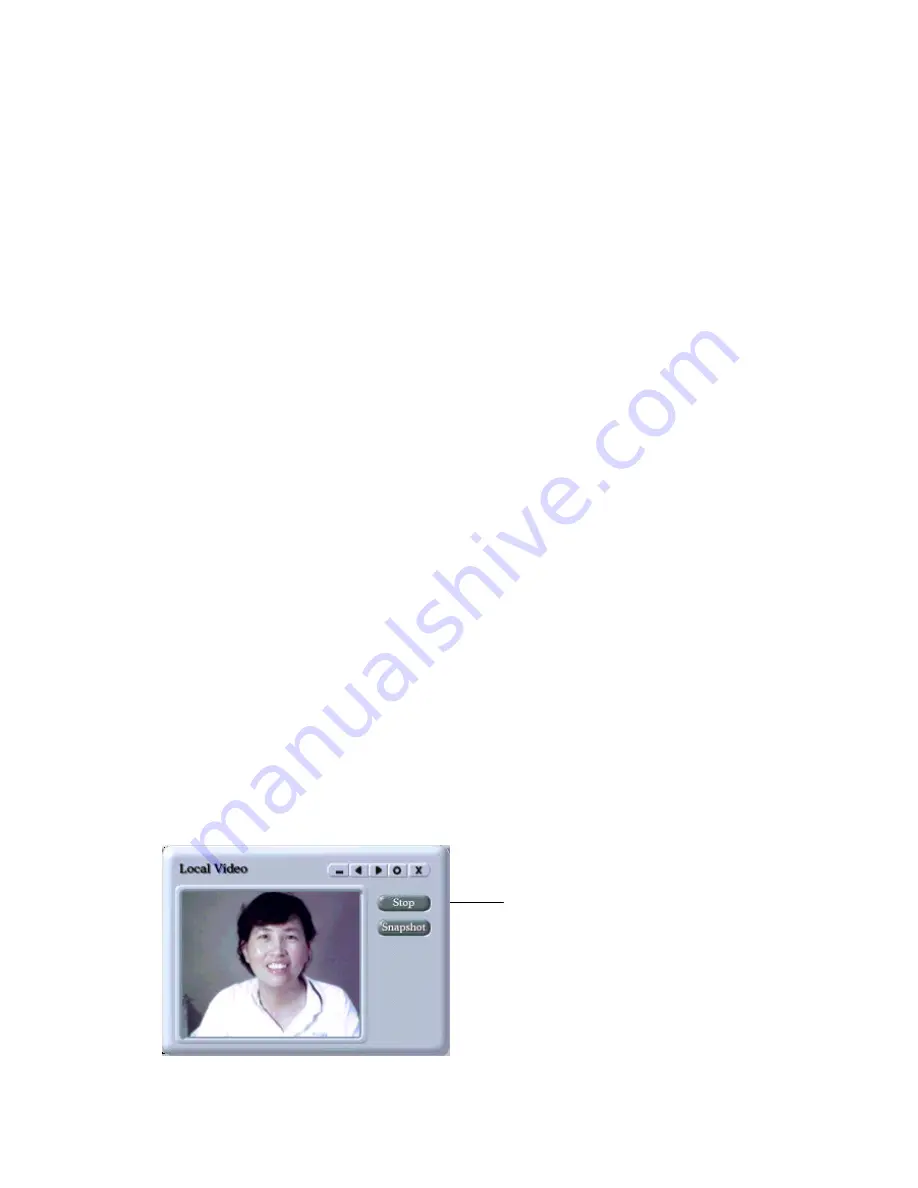
To pause the video:
1 Click the Stop button on the Local window. Your camera will stop transmitting video to the
other conference participants.
To stop receiving video from someone else, click the Stop button on the Remote window. The
Stop button now says Preview.
Click here to stop
sending / receiving
video images