Xerox Corporation
–
Scan to PC Desktop Professional Workgroup Edition v8
–
Orientation Guide
19
Manual Zoning for Complex Documents
1.
Select the image file you want to
convert from the PaperPort
desktop with a single mouse click.
2.
Click on the OmniPage Pro 15 icon
on the PaperPort Send To Bar.
OmniPage Pro will automatically
launch and load your image file into
the application.
3.
Click on the 2-Automatic button in
the OmniPage Toolbox.
OmniPage will automatically zone
the document and recognize it.
4.
Verify that the True Page
formatting button is selected in the
Text Editor.
5.
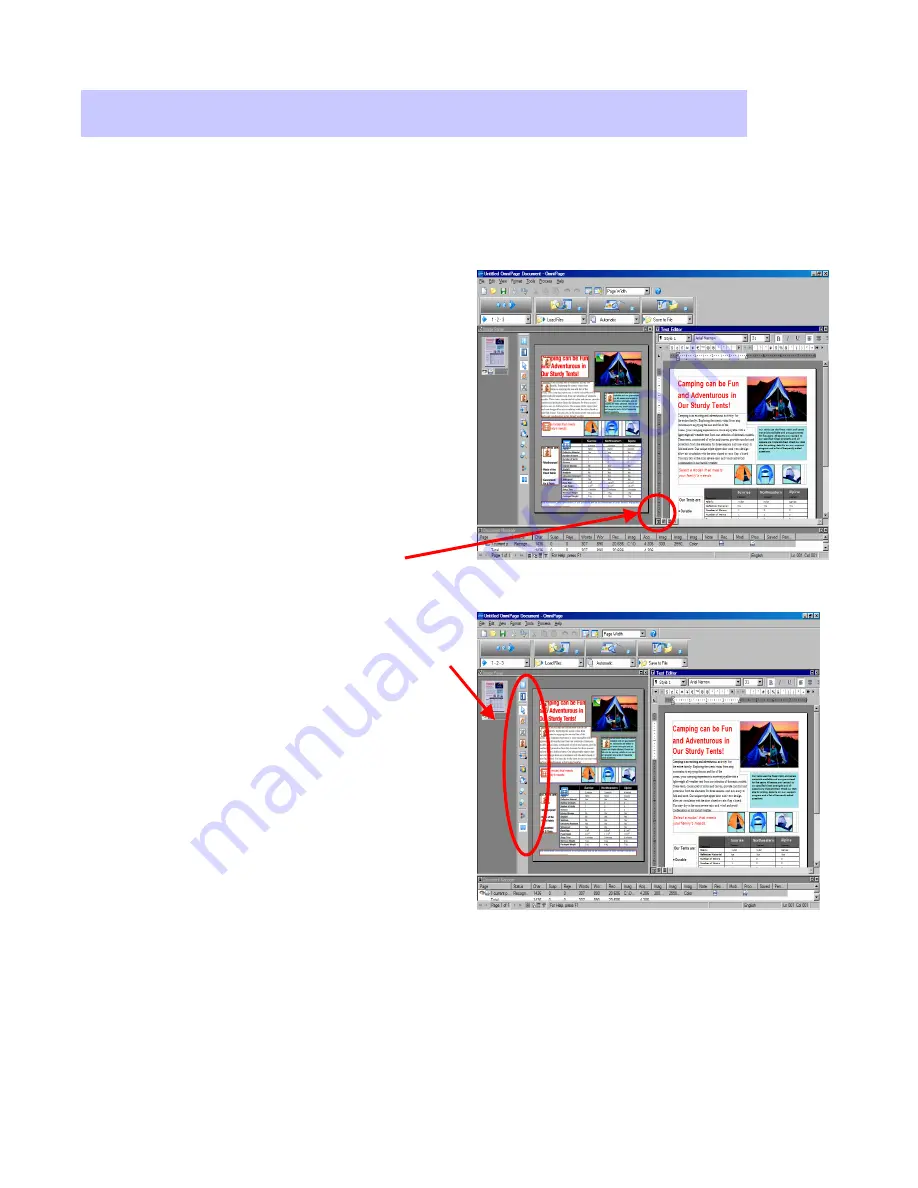
If OmniPage did not properly
recognize some parts of the
document, use the tools in the Image
Panel to adjust the size or change the
type of Text, Graphics, and Table
zones.
6.
When you have finished modifying
the zones, click on the 2-Automatic
button to re-recognize the document.
7.
Select
“
Yes
”
to re-recognize the
document.
8.
Click on the 3-Save to File button in
the OmniPage Toolbox.
Repurposing Documents
Repurposing Documents
–
–
Advanced OCR
Advanced OCR
OmniPage has additional options that allow improved recognition for complex
documents.
9.
Select the Look In location, File Name and Files of type (MS Word) from the
Save As window. Ensure that the Save and Launch radio button is also checked.
10.
Click on
“
OK
”
to save the document and open it in MS Word.


