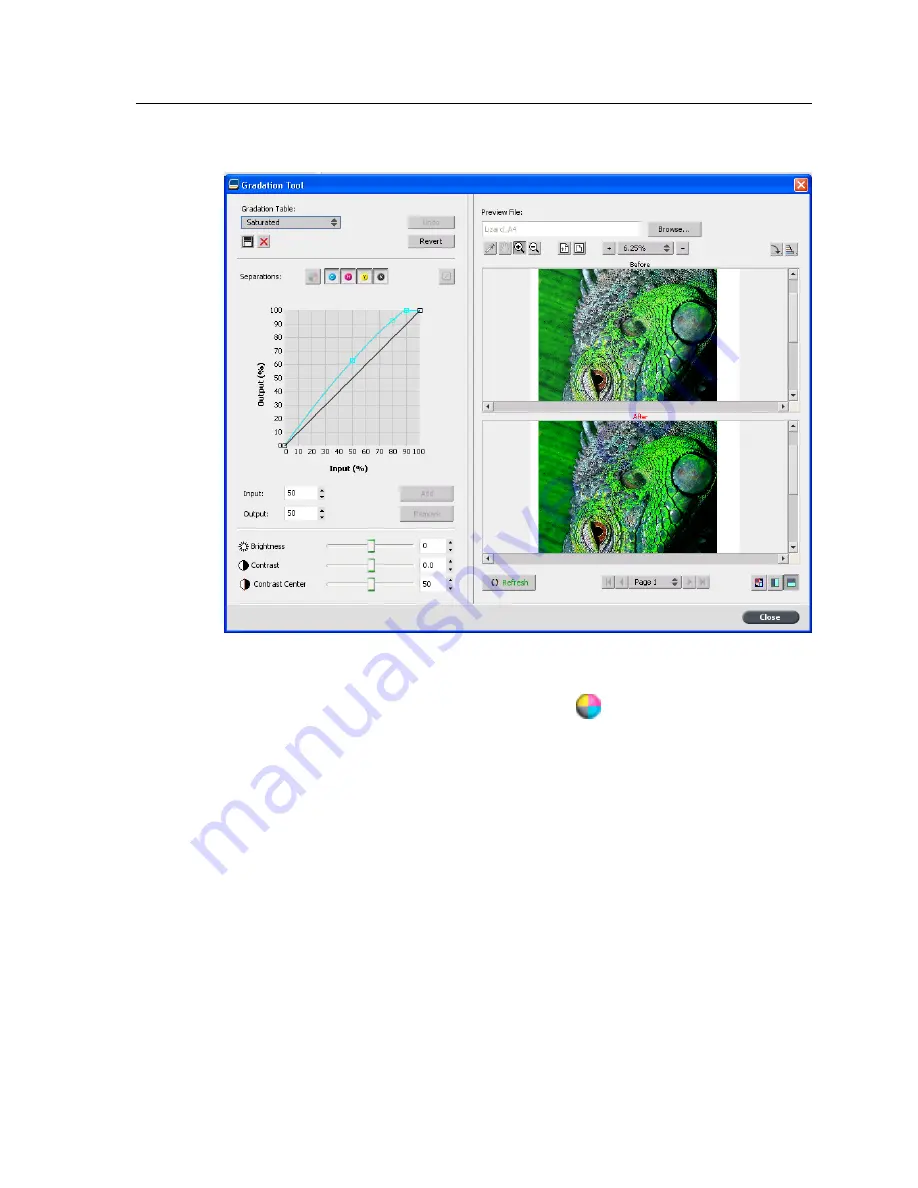
3.
Select the job that you want to preview, and then click
Open
.
4.
Select the separations that you want to edit by performing one
of the following actions:
●
Click the
All Colors
button
to edit all the separations
simultaneously.
●
Click the individual separation buttons for the separations
that you want to edit—for example, click the cyan
separation button only.
5.
Click the curve in the graph to add a point, and then drag the
point to modify the separation.
The value appears in the
Input
or
Output
boxes.
6.
To remove a point on the curve, select the point and then click
Remove
.
7.
To reset the gradation curve to a 45° curve, click
Reset
.
8.
To revert to the original gradation settings, click
Revert
.
9.
To remove the last change you made to the gradation graph,
click
Undo
.
10.
To edit the brightness or contrast, move the slider.
11.
To view gradation changes in your job, click
Refresh
.
Changes are automatically applied to the displayed image in
the
After
view.
Color adjustment with the Gradation Tool
59
Содержание CX PRINT SERVER 550
Страница 2: ......
Страница 9: ...15 Glossary 141 Contents ix...
Страница 10: ...x Xerox CX Print Server Powered by Creo Color Server Technology for the Xerox Color 550 560 Printer User Guide...
Страница 36: ...26 Chapter 4 Printing a file in Windows and Mac OS...
Страница 96: ...86 Chapter 9 Scanning documents...
Страница 124: ...114 Chapter 11 Job parameters...
Страница 150: ...140 Chapter 14 Troubleshooting...
Страница 166: ......


