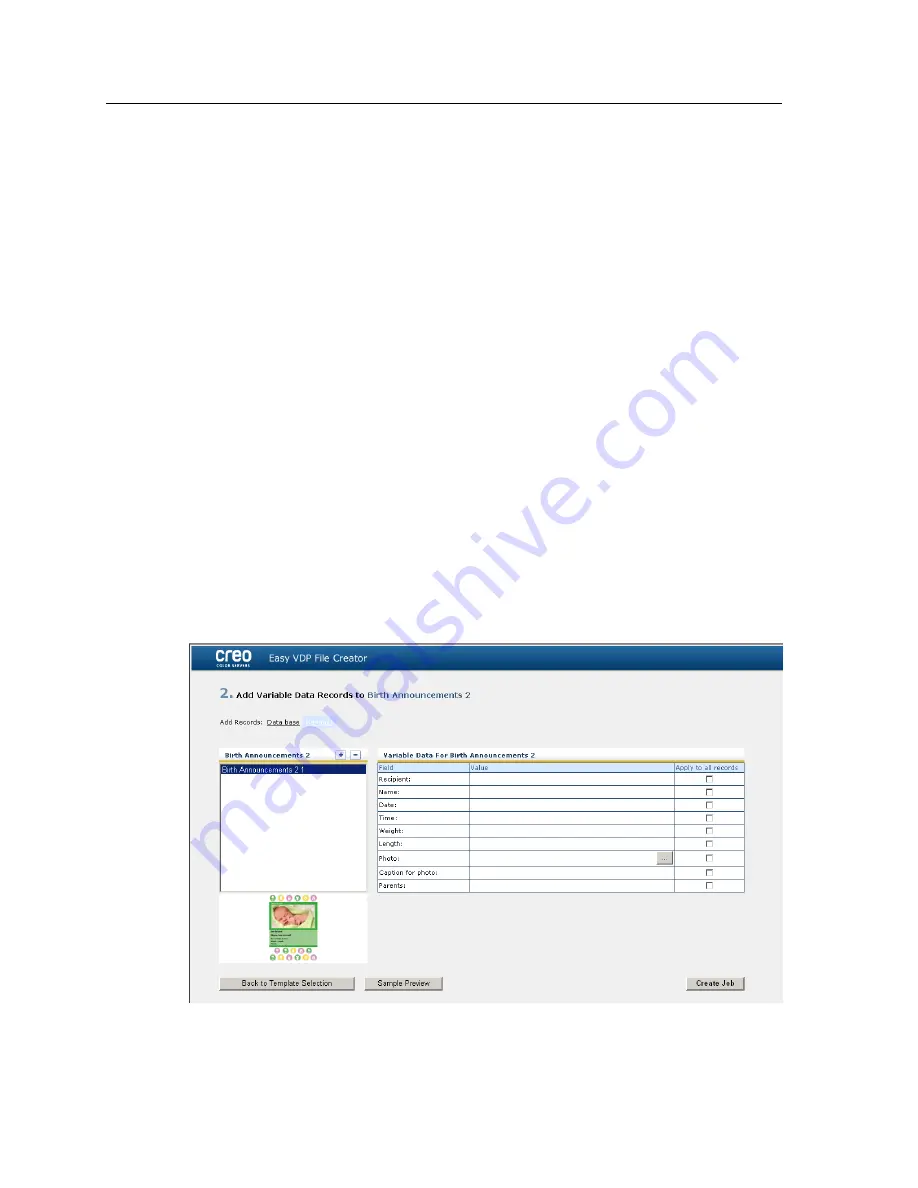
2.
In the
Templates
area, select the category and subject of the
type of variable data job that you want to create—for example,
Announcements
>
New baby
.
The templates matching this selection appear in the
Design
and properties
area.
3.
In the
Design and properties
area, select the template for
your job.
Note:
When you select a template the properties appear showing the
variable data fields assigned to that template. Each template has a
different set of fields that are suitable for that job.
4.
Click
Continue to add data records
.
Next
:
The next step is to add records to your job.
Adding records manually to your variable data job
The next step in defining a job using the Easy VDP File Creator
tool is to assign the information that will appear on the printed
variable data job.
In this step you add the variable data directly in the Easy VDP File
Creator tool.
1.
In the Easy VDP File Creator tool, select
Manually
.
2.
In the
Variable Data
area, type in the data for each field. If
you want a particular field to appear on every record then
select the
Apply to all records
check box next to that field.
Note:
Some of the fields may require you to upload images.
134
Chapter 13—Working with color server tools on your computer
Содержание CX PRINT SERVER 550
Страница 2: ......
Страница 9: ...15 Glossary 141 Contents ix...
Страница 10: ...x Xerox CX Print Server Powered by Creo Color Server Technology for the Xerox Color 550 560 Printer User Guide...
Страница 36: ...26 Chapter 4 Printing a file in Windows and Mac OS...
Страница 96: ...86 Chapter 9 Scanning documents...
Страница 124: ...114 Chapter 11 Job parameters...
Страница 150: ...140 Chapter 14 Troubleshooting...
Страница 166: ......


