


Load Paper into the Paper Trays
ColorQube™ 9201/9202/9203
Quick Use Guide
10
Energy Saver Options
The device is designed to be energy efficient and automatically reduces its
power consumption after periods of inactivity. The System Administrator can
setup the following
Energy Saver
options.
•
Intelligent Ready
wakes up and sleeps automatically based on previous
usage. The device uses algorithms and data gathered on a usage profile
to anticipate periods when the device is likely to be busy. Using this
information it automatically wakes up the device.
•
Job Activated
wakes up when activity is detected.
•
Scheduled
wakes up and sleeps at set times on a daily basis. The device
can be set to wake up when activity is detected, or a specific time can be
entered.
•
Fast Resume
reduces the time taken to wake up. This changes the default
sleep / low power timeouts and increases energy usage.
For information about setting up the
Energy Saver
options, refer to the System
Administrator Guide.
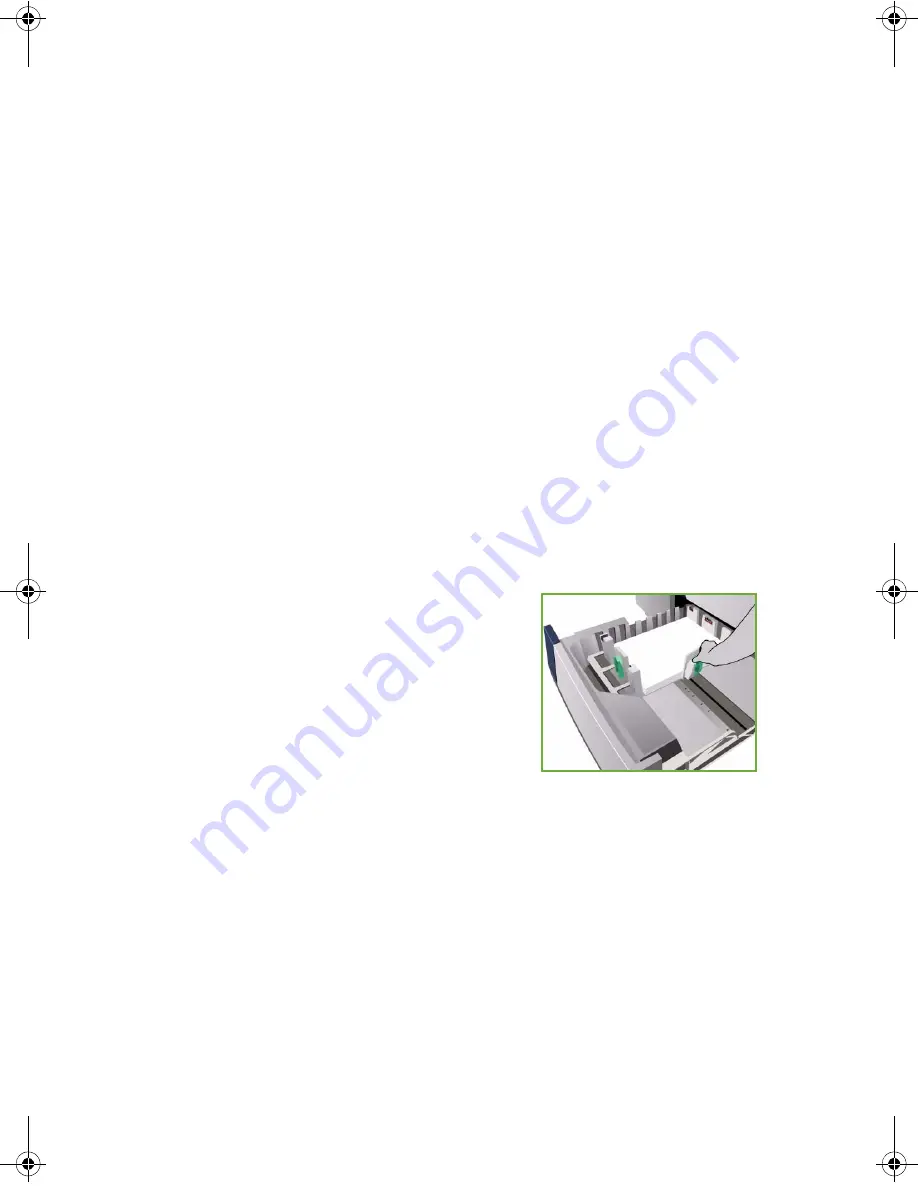
Load Paper into the Paper Trays
1.
Open the Paper Tray and load paper into
the tray. Do NOT fill above the Max line.
2.
Adjust the guides to hold the paper
against the side of the tray.
3.
When you close the tray, the
Paper Settings
screen is displayed. Input the
size, type and color of the paper you have loaded and touch
Confirm
.
Note:
A paper jam may occur if a tray is opened while it is being used to
feed stock. Do not open Tray 1 if Tray 2 is open.
For further information about loading paper and paper trays, refer to the User
Guide.


