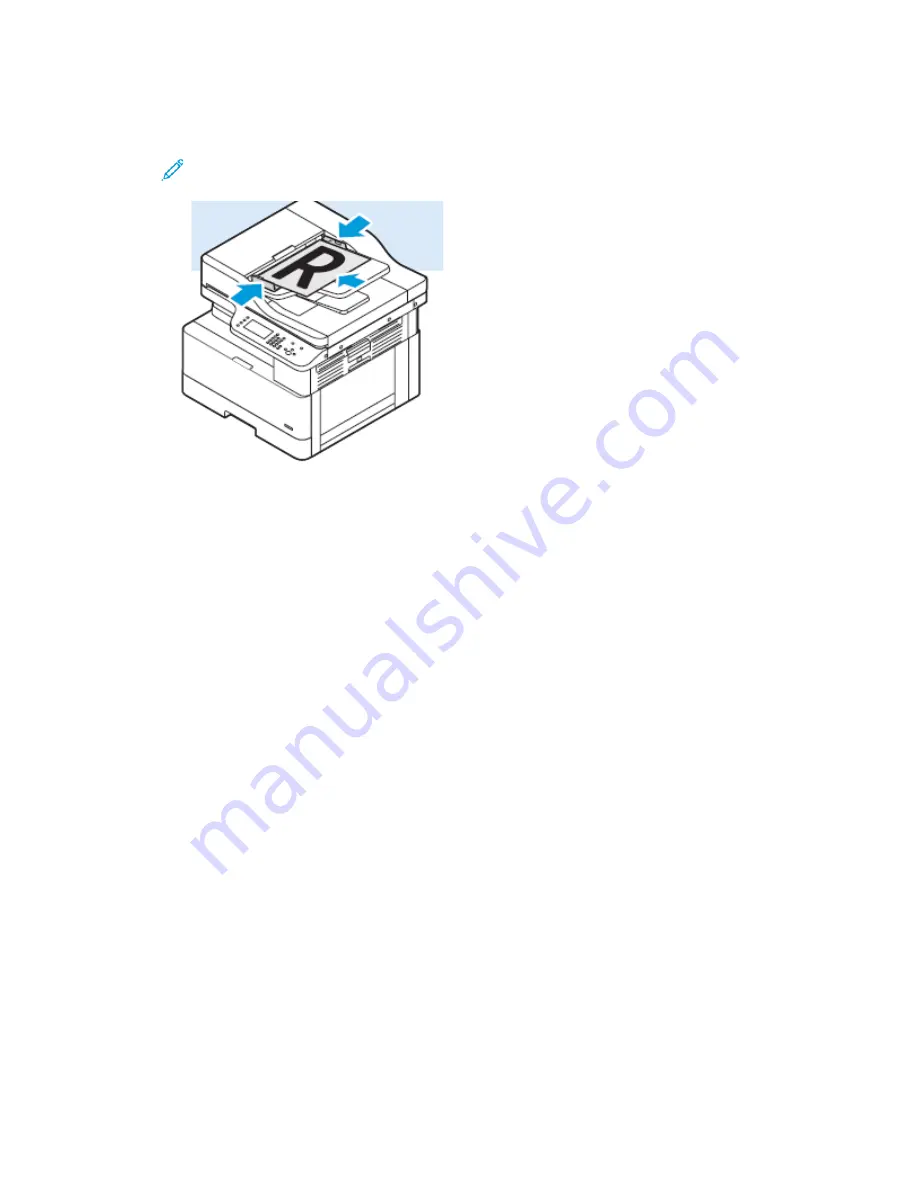
• For multiple or single pages, use the document feeder. Remove any staples and paper clips
from the pages, then place the pages face up in the document feeder.
Note:
For details about using the document feeder and associated guidelines, refer to
and
2. At the printer control panel, press the
Clear All
button, then press the
Services Home
button.
3. Touch
Fax
.
If the Fax feature is grayed-out, contact your system administrator to enable the feature. For
details, refer to the
System Administrator Guide
at
www.xerox.com/office/B1022_B1025docs
4. To enter a Fax address, use one or more of the available options.
•
Enter Recipient
: This option allows you to enter a fax number manually.
•
Device Address Book
: This option allows you to access the printer address book.
•
Manual Dial Mode
: This option allows you to insert characters, such as Dial Pause, in a fax
number.
5. Adjust other fax options, as needed.
For details, refer to
.
6. Press the green
Start
button.
After the printer scans all pages, the printer transmits the document.
AAddjjuussttiinngg FFaaxxiinngg O
Oppttiioonnss
SSeelleeccttiinngg 11--SSiiddeedd oorr 22--SSiiddeedd SSccaannnniinngg
The printer provides these faxing options: 1-Sided, 2-Sided, or 2-Sided, Rotate Side 2. Either of the 2-
Sided faxing options initiates the process of faxing both sides of the document.
1. At the printer control panel, press the
Clear All
button, then press the
Services Home
button.
2. Touch
Fax
.
The Fax Features screen appears.
3. Touch the
Right Arrow
icon twice.
Xerox
®
B1025 Multifunction Printer
User Guide
69


