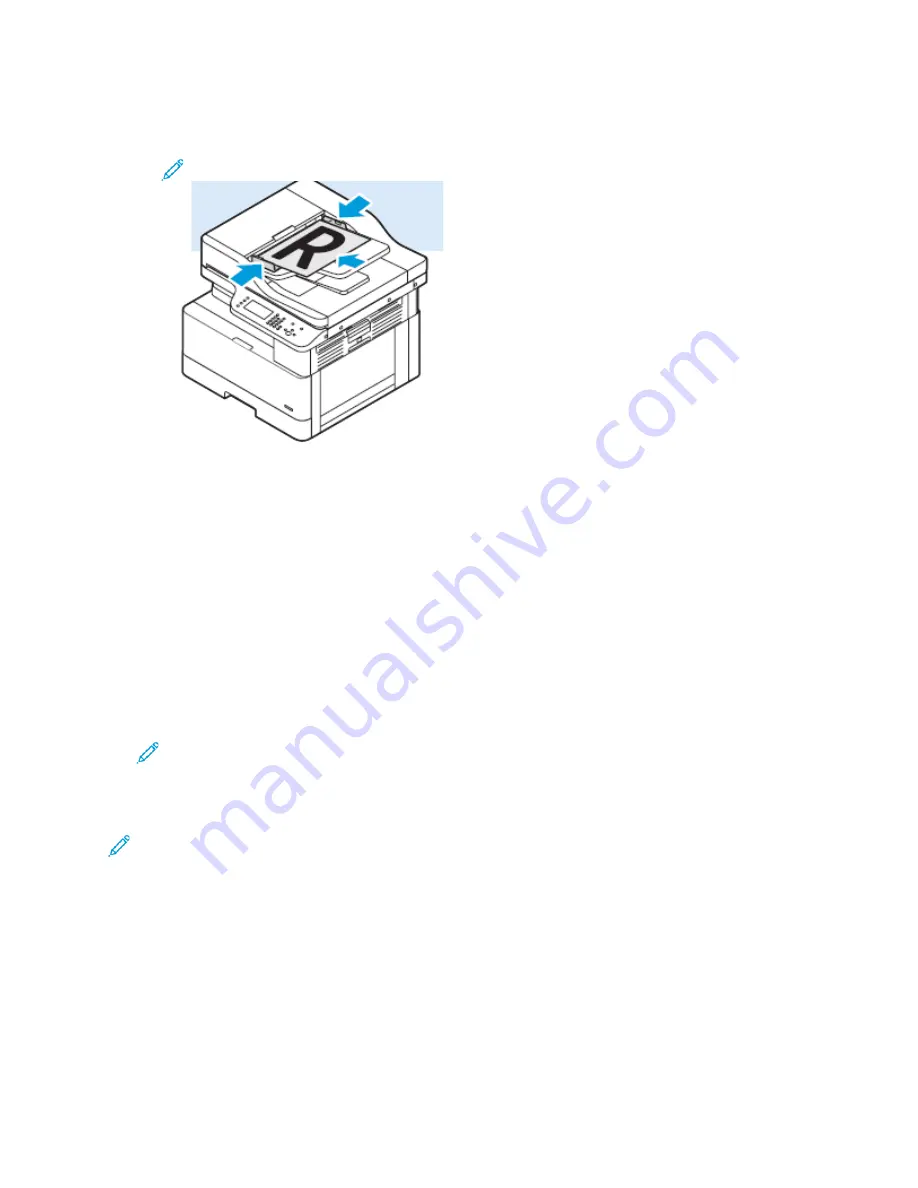
• For multiple or single pages, use the document feeder. Remove any staples and paper clips
from the pages, then place the pages face up in the document feeder.
Note:
For details, refer to
and
.
2. At the printer control panel, press the
Clear All
button, then press the
Scan To
button.
If the Scan To feature is grayed-out, contact your system administrator to enable the feature. For
details, refer to the
System Administrator Guide
at
www.xerox.com/office/B1022_B1025docs
3. Touch
Scan To PC
.
The Scan to PC screen appears.
4. Select an option and provide the required information.
•
Scan for Print to
: This option scans your image to an IP address.
•
Scan for Email to
: This option scans your image to a destination folder.
•
Scan for OCR
: This option converts printed characters into digital text.
5. To select a destination, touch the destination name.
6. Press the green
Start
button.
Note:
Change scan settings as needed. For details, refer to
SSccaannnniinngg ttoo aann EEm
maaiill AAddddrreessss
Note:
When you use this feature, the scanned images are sent as email attachments.
Before you scan to email, configure the email SMTP and From field properties. At least one email
address is required in the address book. If email properties are not configured properly, the email icon
appears grayed-out on the touch screen.
To scan to an email address:
1. Load your original documents in the document feeder or on the document glass.
Xerox
®
B1025 Multifunction Printer
User Guide
53


