Basic Installation Procedures
34
Freedom X Owner's Guide
possible and large enough to handle the required current, in
accordance with the electrical codes or regulations applicable to
your installation.
specifies the minimum DC cable size
and maximum fuse size for the Freedom X.
If at all possible, minimize routing your DC cables through an
electrical distribution panel, battery isolator, or other device that
will cause additional voltage drops which can degrade the
inverter’s ability to operate the loads.
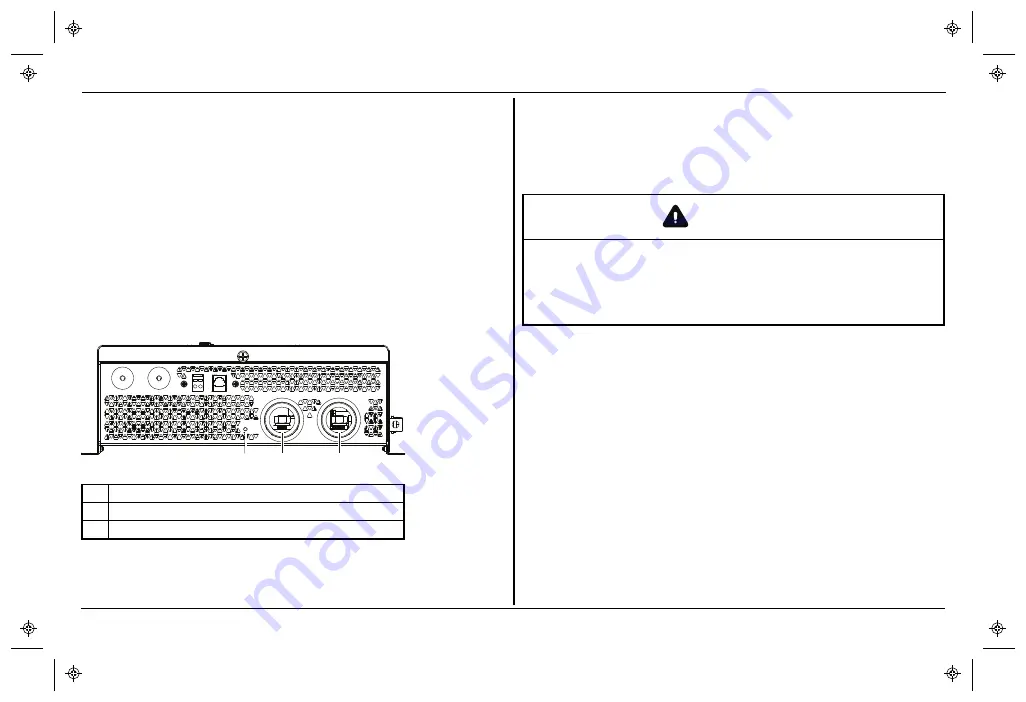
shows the DC end for your reference. The reverse
polarity LED will light up when the DC cables were reversed
during installation. Reversing the connections may void the
warranty.
Figure 11 DC End
1
2
3
1
reverse polarity LED
2
positive (+)
3
negative (–)
To make the DC connections:
1. Make sure the inverter is off and no AC or DC is connected
to the unit.
2. Remove the wiring compartment cover by loosening the
captive nut panel screw.
WARNING
ELECTRIC SHOCK HAZARD
Use a screwdriver to loosen the captive nut panel screw.
Failure to follow these instructions can result in death, serious
injury, or equipment damage
.
3. Loosen the DC terminal nuts from the terminal bolts and set
them aside for later.
4. Strip ½" (13 mm) to ¾" (19 mm) insulation from one end of
each cable. The amount stripped off will depend on the
terminals chosen.
5. Attach the connectors that will secure the cables to the
battery, to the disconnect/battery selector switch, and the
fuse block. The connectors you use must create a
permanent, low-resistance connection. It is recommended
to use approved and certified cable ring lugs. Use the tool
recommended by the terminal manufacturer. Make sure no
stray wires protrude from the lug or terminal.
NOTE
: You may find it more convenient to have the cable
lugs attached by the company that sells you the cable and/or
connectors.
Содержание Freedom X 1000 120VAC 12VDC
Страница 26: ...This page is intentionally left blank ...


