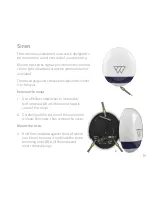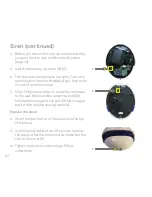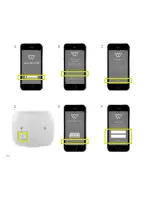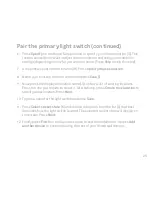
Light Switch
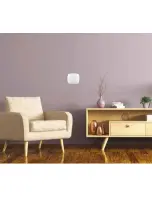
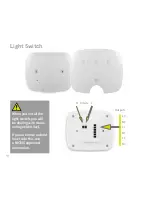
The light switch replaces a standard single gang light switch. For the primary light
switch, choose one that is close to your wireless internet router or near the middle of
your home.
1. Switch off the mains power supply
that supplies the light switch.
Remove the old light switch.
2. Pull the side of the Wondrwall light
switch cover towards you to unclip it
from the base (A).
3. Connect the Live and Neutral input
cables to the L and N connectors on
the back of the light switch base (B).
The connection screws are above
the cable entry points.
4. Connect the Live and Neutral output
cables to the lights:
•
If you only use 1 lighting circuit, use
connections L1/N1. The middle LED
will light.
•
For 2 circuits, use L2/N2 and L3/N3.
The outer LEDs will light.
•
For 3 circuits use all output
connections. All LEDs will light.
5. Fix the light switch base to the wall. It
uses the same holes as your old light
switch. Screws are supplied.
6. Clip the light switch cover back onto
the base.
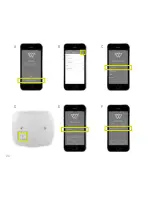
7. You can now pair the light switch
with other Wondrwall components
(see page 27).
8. Repeat this for each light switch that
you want to use.
15
Содержание Key fob
Страница 1: ...U S E R M A N U A L...
Страница 4: ...4...
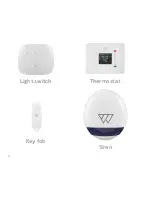
Страница 6: ...Light switch Key fob Thermostat Siren 6...
Страница 12: ...12...
Страница 22: ...A D B E C F 22...
Страница 24: ...G J H K I L 24...
Страница 26: ...A D B E C F 26...
Страница 30: ...A D B E C F 30...
Страница 32: ...A D B E C F 32...
Страница 36: ...36...
Страница 63: ...G E B R A U C H S A N W E I S U N G 63...
Страница 66: ...66...
Страница 68: ...Lichtschalter Schl sselanh nger Thermostat Sirene 68...
Страница 74: ...74...
Страница 84: ...A D B E C F 84...
Страница 86: ...G J H K I L 86...
Страница 88: ...A D B E C F 88...
Страница 92: ...A D B E C F 92...
Страница 94: ...A D B E C F 94...
Страница 98: ...98...
Страница 125: ...125...
Страница 126: ...126...
Страница 127: ...127...


