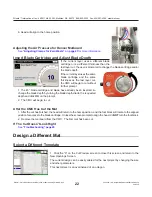
6. Place the pen cartridge into the head. The pen holder should be to the right, with the
pen tip facing toward the CMC.
7. Continue to the
Install Pen
utility on the pen configurations tab. You may need to run
this utility again if you change pen types.
8. If the pen is not going to be used for a while, please remove it from the pen holder
and replace the pen cap to keep it from drying out.
Blades and Cartridges
See the Knowledge Base at http://info.wizardint.com/KB to find additional information on
the other cartridges and changing the blades.
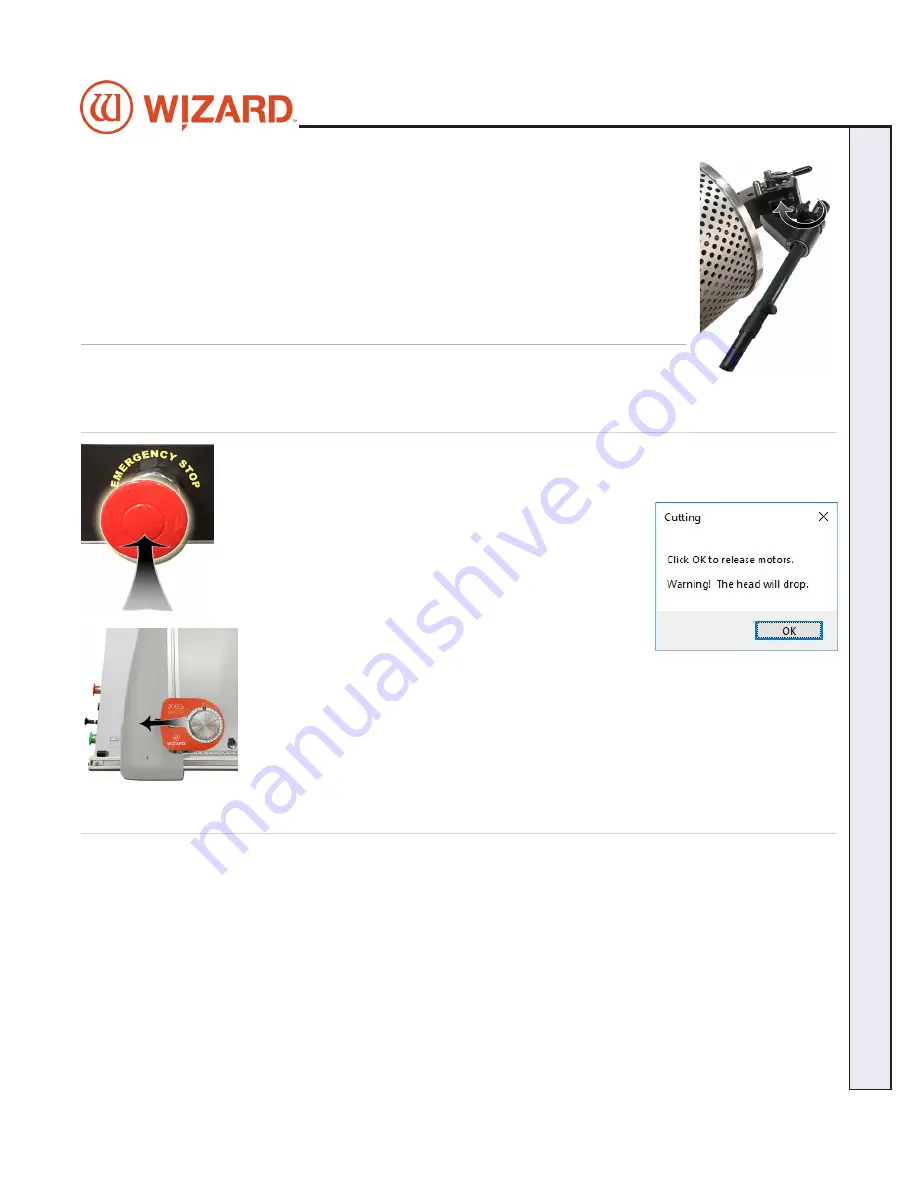
Aborting a Cut
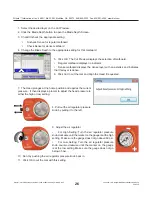
Hit the red Stop button on the control panel on the left side of the board to abort the cut.
Alternatively, hit any key on the keyboard. Hitting the spacebar pauses the cut and gives
option to abort.
A prompt to click OK to release the motors will display.
The motors will immediately release. Grasp the head and click OK, then manually lower
the head back to the home position. Pull out the red Stop button and Realign the Head for
the next cut.
See
“
Align the Head” page 21
for instructions on how to Align the Head.
Troubleshooting
Cuts Look Wavy
Check for squareness. See
“Check Squareness” page 9
.
Make sure the board cable is unobstructed. See
“Connecting the Board Cable” page 11
.
Check the head wheels. See Head Wheel Adjustment at
http://info.wizardint.com/KB
.
Check the blade depth - See
“Blade Depth Settings” page 18
and
Blade Depth Adjustment on the K
nowledge
Base at
http://info.wizardint.com/KB
.
20-34304-1A GettingStartedManual9000zFrameShop
04/05/19
29
W
izard CMC Model 9000z
Hardware and Software Getting Started Manual
Wizard™ CMC Model 9000z Hardware and Software Getting Started Guide


