7
2-1
Search
d
b
c
a
e
a
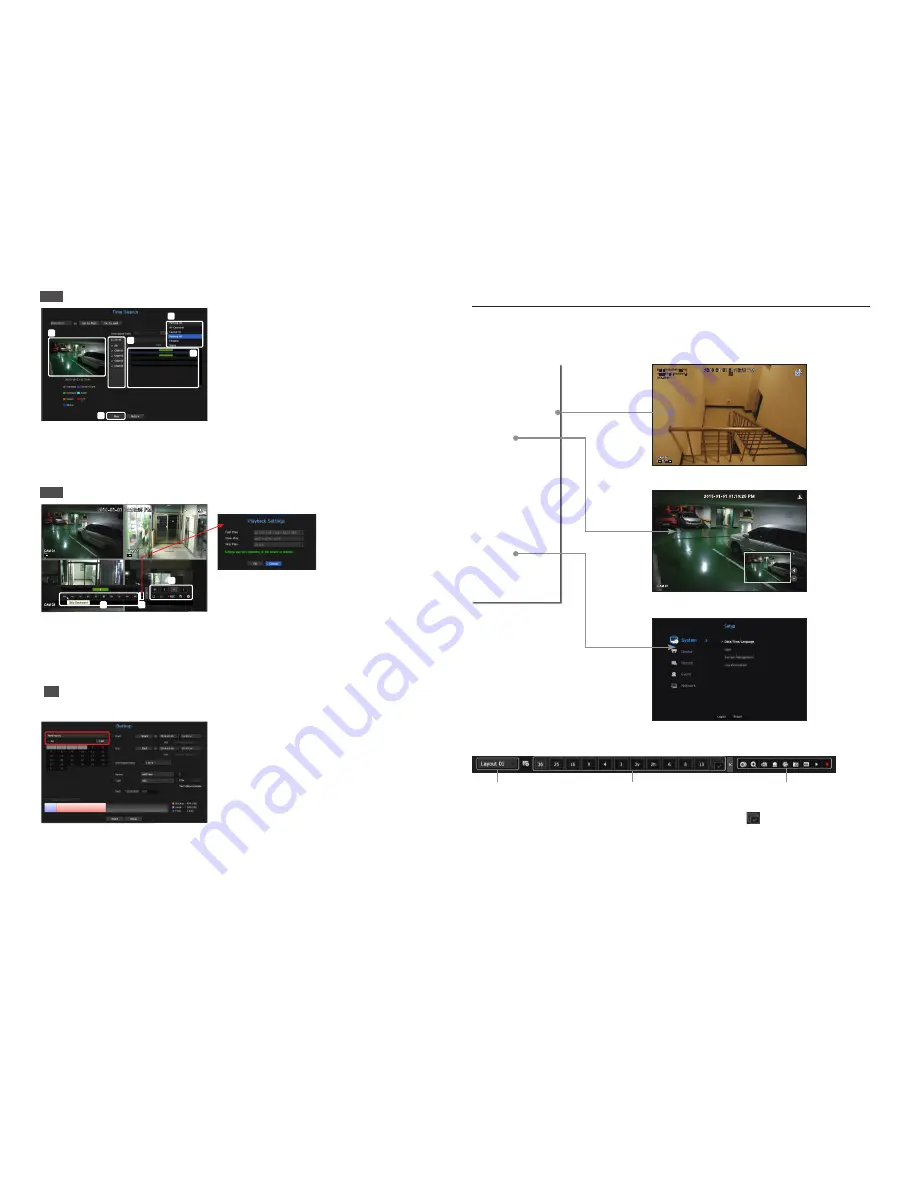
The initial search option is set to <
All Channels
>. Select a desired layout from among the channel group
created in the live screen.
b
Select a channel for each selected group.
c
Move the time bar to view the preview screen as shown in Figure
d
.
e
Press the <
Play
> button to enter the play screen.
2-2
Play
a
b
c
a
These are the various functions available for playback. Hover over them and a tool tip will be prompted.
Control the playback by referring to the tool tip.
(Ex : Skip Backward)
b
You can configure specific functions in
a
through playback settings.
Ex) Jump to play: 10 minutes, 30 minutes, 1 hour, 24 hours, etc.
c
Displays functions that are operating in split mode and during other playback.
3
Backup
Right-click on the live screen and select <
Backup
>.
a
Select a layout.
b
Select a channel.
c
Set the time, device, and format to back up.
d
Click the <
Check capacity
> button to check if backup is possible.
e
Click the <
Start
> button to proceed with the backup.
Use the basic guide
Show shortcut menu
Right-click on the live screen and you can access various functions that NVR provides. Hover over an icon and a brief
definition of term for each function is prompted.
Live launcher
a
You can configure a live layout.
b
You can configure a supported split mode. You can view the end sequence (
) in serial order for a specific
period of time for each split mode.
c
You can configure additional functions in the live screen, such as alarm control or audio.
Layout
Layout Setup
Keep ch. scr ratio
Status
PTZ
ZOOM
Audio
Freeze
Stop Alarm
Capture
Record
Play
Search
Backup
Menu
Shutdown
Logout
Hide Launcher
RES : 1920x1080 (H.264)
SET/IN/DEC : 30/30/30.0
XXX-0000
a
b
c


